Эта статья на русском в двух частях. См.:
«Happy is the one who does what he loves. And doubly happy is the one who dedicated himself not out of necessity, but because he decided so himself.»
Andrew Matthews
Glass engraving. The beginning
I (Vladimir Makovetsky) started engraving glass in 1982 at the Leningrad Art Glass Factory. The first few years were the years of mastering the basic techniques of classic machine engraving. The very process of glass carving turned out to be so exciting for me that it gradually replaced all past hobbies from my life. In fact, he turned his whole life upside down! However, it was still far from creative work.
The classical glass engraving method
The classical method of glass engraving dates back several centuries and is still used by many artists around the world. The basic principle is that the product is in the hands of the master, and he brings it from below, from the side, at an angle to the cutting tool – a copper circle with a suspension of abrasive powder or a circle with a diamond layer (Fig. 01).
Having dedicated yourself to this method of engraving, you must be prepared in advance for the great difficulties of its development.
Steadily develop the technique to virtuosity
It is very difficult to reach a level where the technical side of the skill of work allows the maximum fulfillment of everything conceived by the author, it is only possible to achieve this through many years of practice.
P.P. Chistyakov wrote: “Technique is the language of the artist; develop it tirelessly to virtuosity. Without it, you will never be able to tell people your dreams, your experiences, the beauty you have seen.“
The classical method of engraving on glass with rubber rods
For a long time I fought with a lot of weight with the help of rubber rods – suspensions. Although they slightly restrict the movements of the hands with the product, they perform the main task – they compensate for the weight. Having come to the use of rubber hangers, I engraved even small objects with their help, so the accuracy of movements increases (Fig. 02, 03).Engraving large objects
But the large dimensions of the object (for example – flat glass more than 40×40 cm) do not make it possible to engrave with the classical method on the machine. So when working with large flat glasses, you have to use a fundamentally different technique, engraving with a hand tool – using a motor with a flexible shaft, a drill.Such work requires the organization of a completely different workspace. It is extremely important that it be as convenient as possible for work, thought out to the smallest detail, helping the author to translate his ideas into a work. Engraving “on the knee” is a dead end way.
Starting in 2006, we gradually began to experiment with engraving on large planes and to this day the process of improvement continues.
Glass engraving technique using a flexible shaft motor
I. Organization of the workspace.
Required components.
Work table
1) Work table with plastic tray for water drain (Fig. 04, 05, 06).
Water supply to the working area
The system of support rods (pipes)
5) The system of support rods (pipes), attached to the table itself, or to the ceiling above the table, allowing the glass to be processed at an angle, is convenient for engraving in front of the artist’s face.
There are 4 longitudinal rods (crossbars) in total running along the work table (Fig. 04, 12).
Rod 1 (rear) – used for hanging light plastic (polypropylene) shields on hooks – splash protection;
Rod 2 – for hanging on the hooks of the mirror sheet, which is necessary for the constant control of all stages of the engraving process;
Rod 3 – a support rod for placing a structure (frames, bars) on which the processed glass, mirror is installed. By changing the location of this rod, you can change the slope of the structure;
Rod 4 – serves exclusively for hanging the working tool and all kinds of small things accompanying the work.
Support system (armrests)
6) Support system – armrests for the arms. The structure of the armrest supports must be rigid and not tied directly to the work table. Design solutions can be different. We use a spacer support system. Each of them is equipped with a powerful spacer bolt that moves the upper and lower parts of the support (spacer to the floor and ceiling) and a system of removable clips for shelves (armrests). With the help of such a device, the height of the armrests is changed within 40 cm. Up – down (Fig. 15, 16, 17, 18,).
Lighting of the engraver’s workplace
7) Light. The system for supplying light to the working area of the engraving (on the back of the glass) consists of a longitudinal beam (40×50 mm) along the entire table and pallets with several attachment points for 2 – 3 composite lamps. This design of the lamps themselves (no matter fluorescent or LED) allows you to conveniently illuminate the glass from the back side in the entire area accessible for engraving (Fig. 19).
In parallel with the presence of lamps for backlighting glass, lamps are needed for end-illumination of the workpiece. A waterproof LED strip installed in a U-shaped plastic profile from an electrical cable channel is ideal for this purpose.
Auxiliary mirror
Seat
Glass Engraving Work Tool
10). Work tool.
The main link in such a glass engraving scheme is a good motor with a flexible shaft. There are a lot of options for such a tool on the market today. Proven and reliable is the American “Foredom”.
It is important that it is the original and not the Chinese counterpart. We do not recommend such analogs, also produced in China under the Foredom brand, for continuous work.
There are several nuances – when buying, you need to check the originality of the kit. In addition to the motor itself, it also includes a flexible shaft, a pedal with a speed controller and a 3-cam tip.
It is especially worth paying attention to the operation of the pedal, when engraving it is extremely important to have a minimum shaft rotation speed, the pedal must provide it. The presence of such a speed is more important than maximum, since it allows you to accurately smooth the surface of the selected relief. If it is necessary to smooth large surfaces, you should purchase a shaft speed regulator with a rheostat (Fig. 27, 28).
3-jaw tip. Suitable for setting larger (heavy) diamond wheels up to 50 mm in diameter. and a thickness of 10 mm., many polishing wheels (Fig. 29, 30).
Collet tip. It is very lightweight, suitable for setting a range of small diamond wheels (Fig. 31, 32).
In most cases, tips (especially collet) should be considered as a whole with each specific diamond disc. The disc (circle) is installed on the disc holder, clamped into the collet of the tip, sharpened and no longer removed from it. Even if the disc (circle) itself becomes unusable, it can be re-soldered onto a new one without removing it from the collet and re-welded. Actually, the collet itself in the process of work, if it is not used directly for its intended purpose, very quickly “sticks” and the disc holder is no longer removed from it.
So 1 diamond disc (circle) = 1 collet.
We often leave the 3-cam tips used for operating large-diameter diamond discs (wheels) non-removable, the blown-in disc (wheel) remains there permanently. At the same time, part of the 3 cam tips, used as removable ones, remains in the tool set. Disc holders with abrasive rubbers or polishing wheels are placed alternately on them, if necessary.
In such cases, the tip must be marked with a countersink directly on the chuck. After the inflow of a polishing or abrasive wheel, a mark is also placed on its disc holder. Accordingly, with each new setting of the disc on the tip, both marks are aligned. If the disc holder and chuck jaws are kept clean, ideal (primary) alignment is ensured and, accordingly, the disc (circle) rotates without a fight.
In the process of work, depending on its intensity, it is imperative to carry out preventive lubrication of the bearings of the handpieces and the flexible sleeve with thick and liquid lubricants. Especially if the work is carried out vertically (more precisely at a slight angle from the vertical) supplied glasses. In this case, water will inevitably enter the tip itself and there is a high probability of its penetration into the tip onto the bearing. Both types of handpieces are periodically replaced if necessary.
In my opinion, this “engraver” is the best addition to the powerful “Foredom” and allows you to work on the smallest details.
Each of the “engravers” of the set is equipped with diamond tips with a diameter of 1 balls; 1.4; 1.8; 2 mm. These dental burs, made by the method of electroplating a diamond layer, are purely consumable and they do not last long. The market sells burs marked with stripes of different colors – yellow, red, blue, green, depending on the size of the applied diamond grains.
I use burs with a red mark, on which the grains are small and in the process of work do not “scree” along the edge of the track. Burs with a yellow mark have an even finer grain, but they are rarely bought.
Rack for replaceable nibs
11) Rack for replacement tips.
There can be many options for storing replacement tips with diamond wheels, we tested several and eventually settled on a vertical rotating stand set on wheels. It can be made on the basis of a high turnsette for ceramists (Fig. 38, 39, 40, 41). Installed on the left, in the immediate vicinity of the workplace.
Basic and additional equipment.
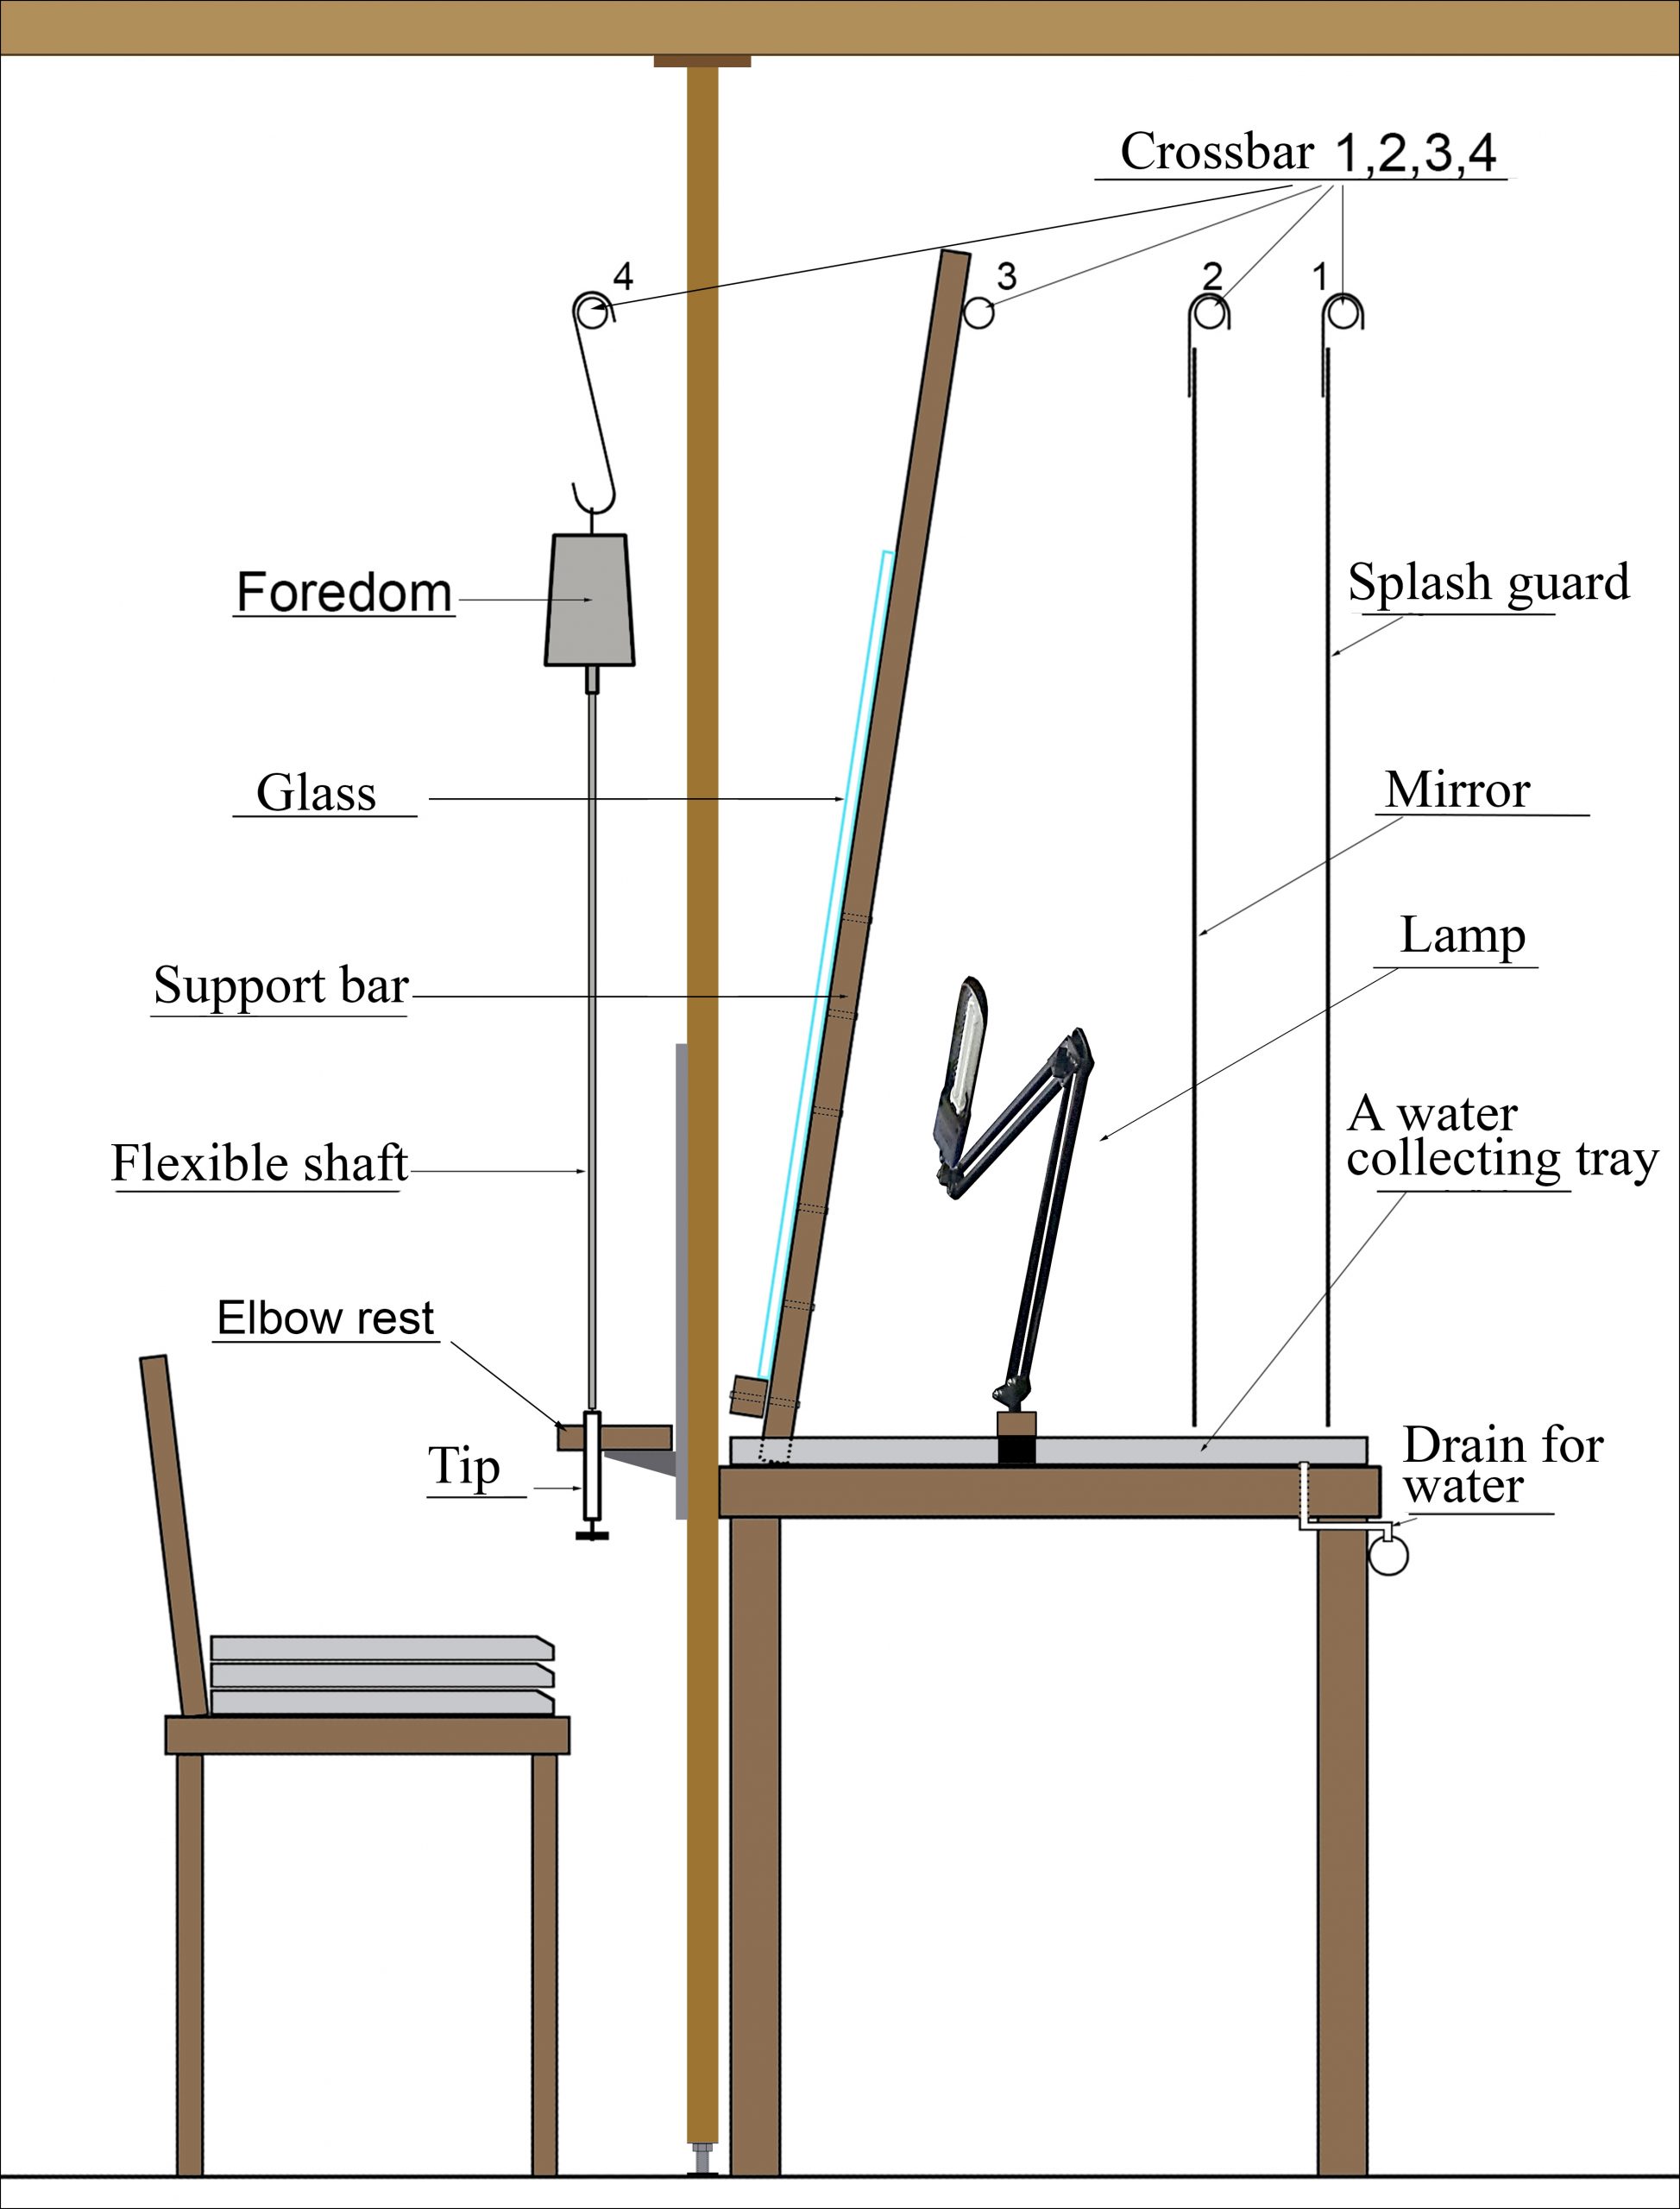
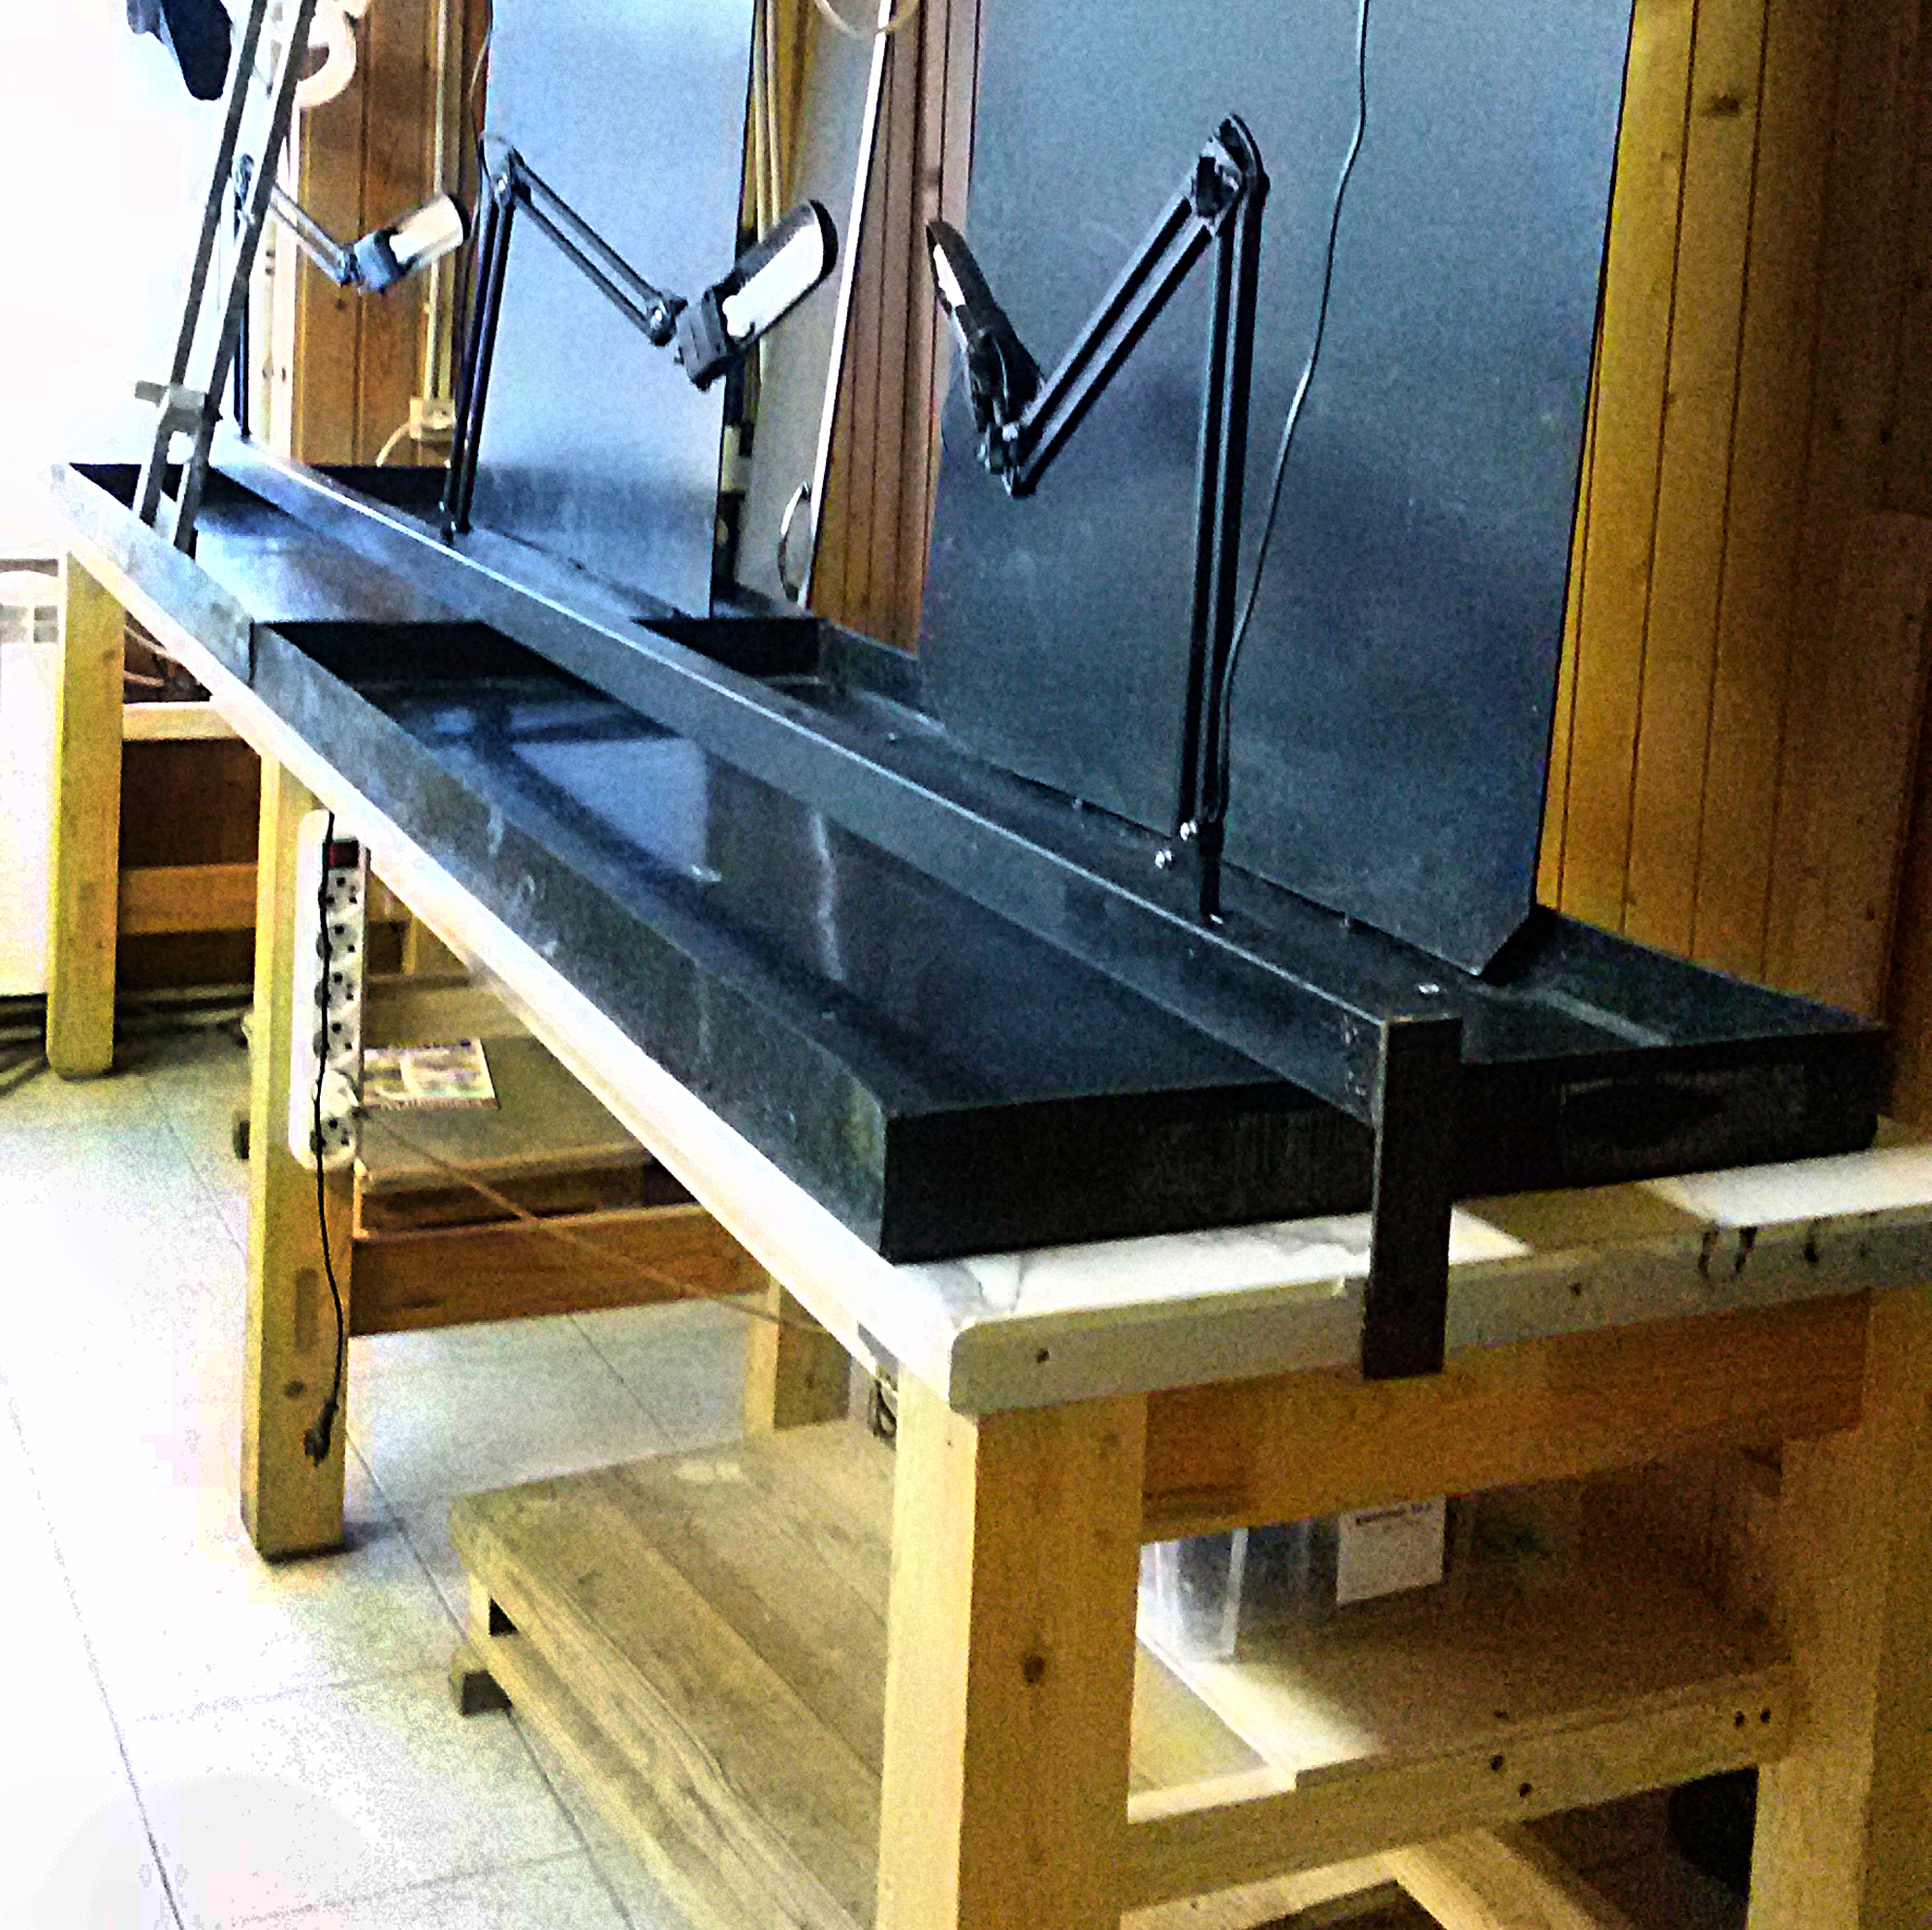
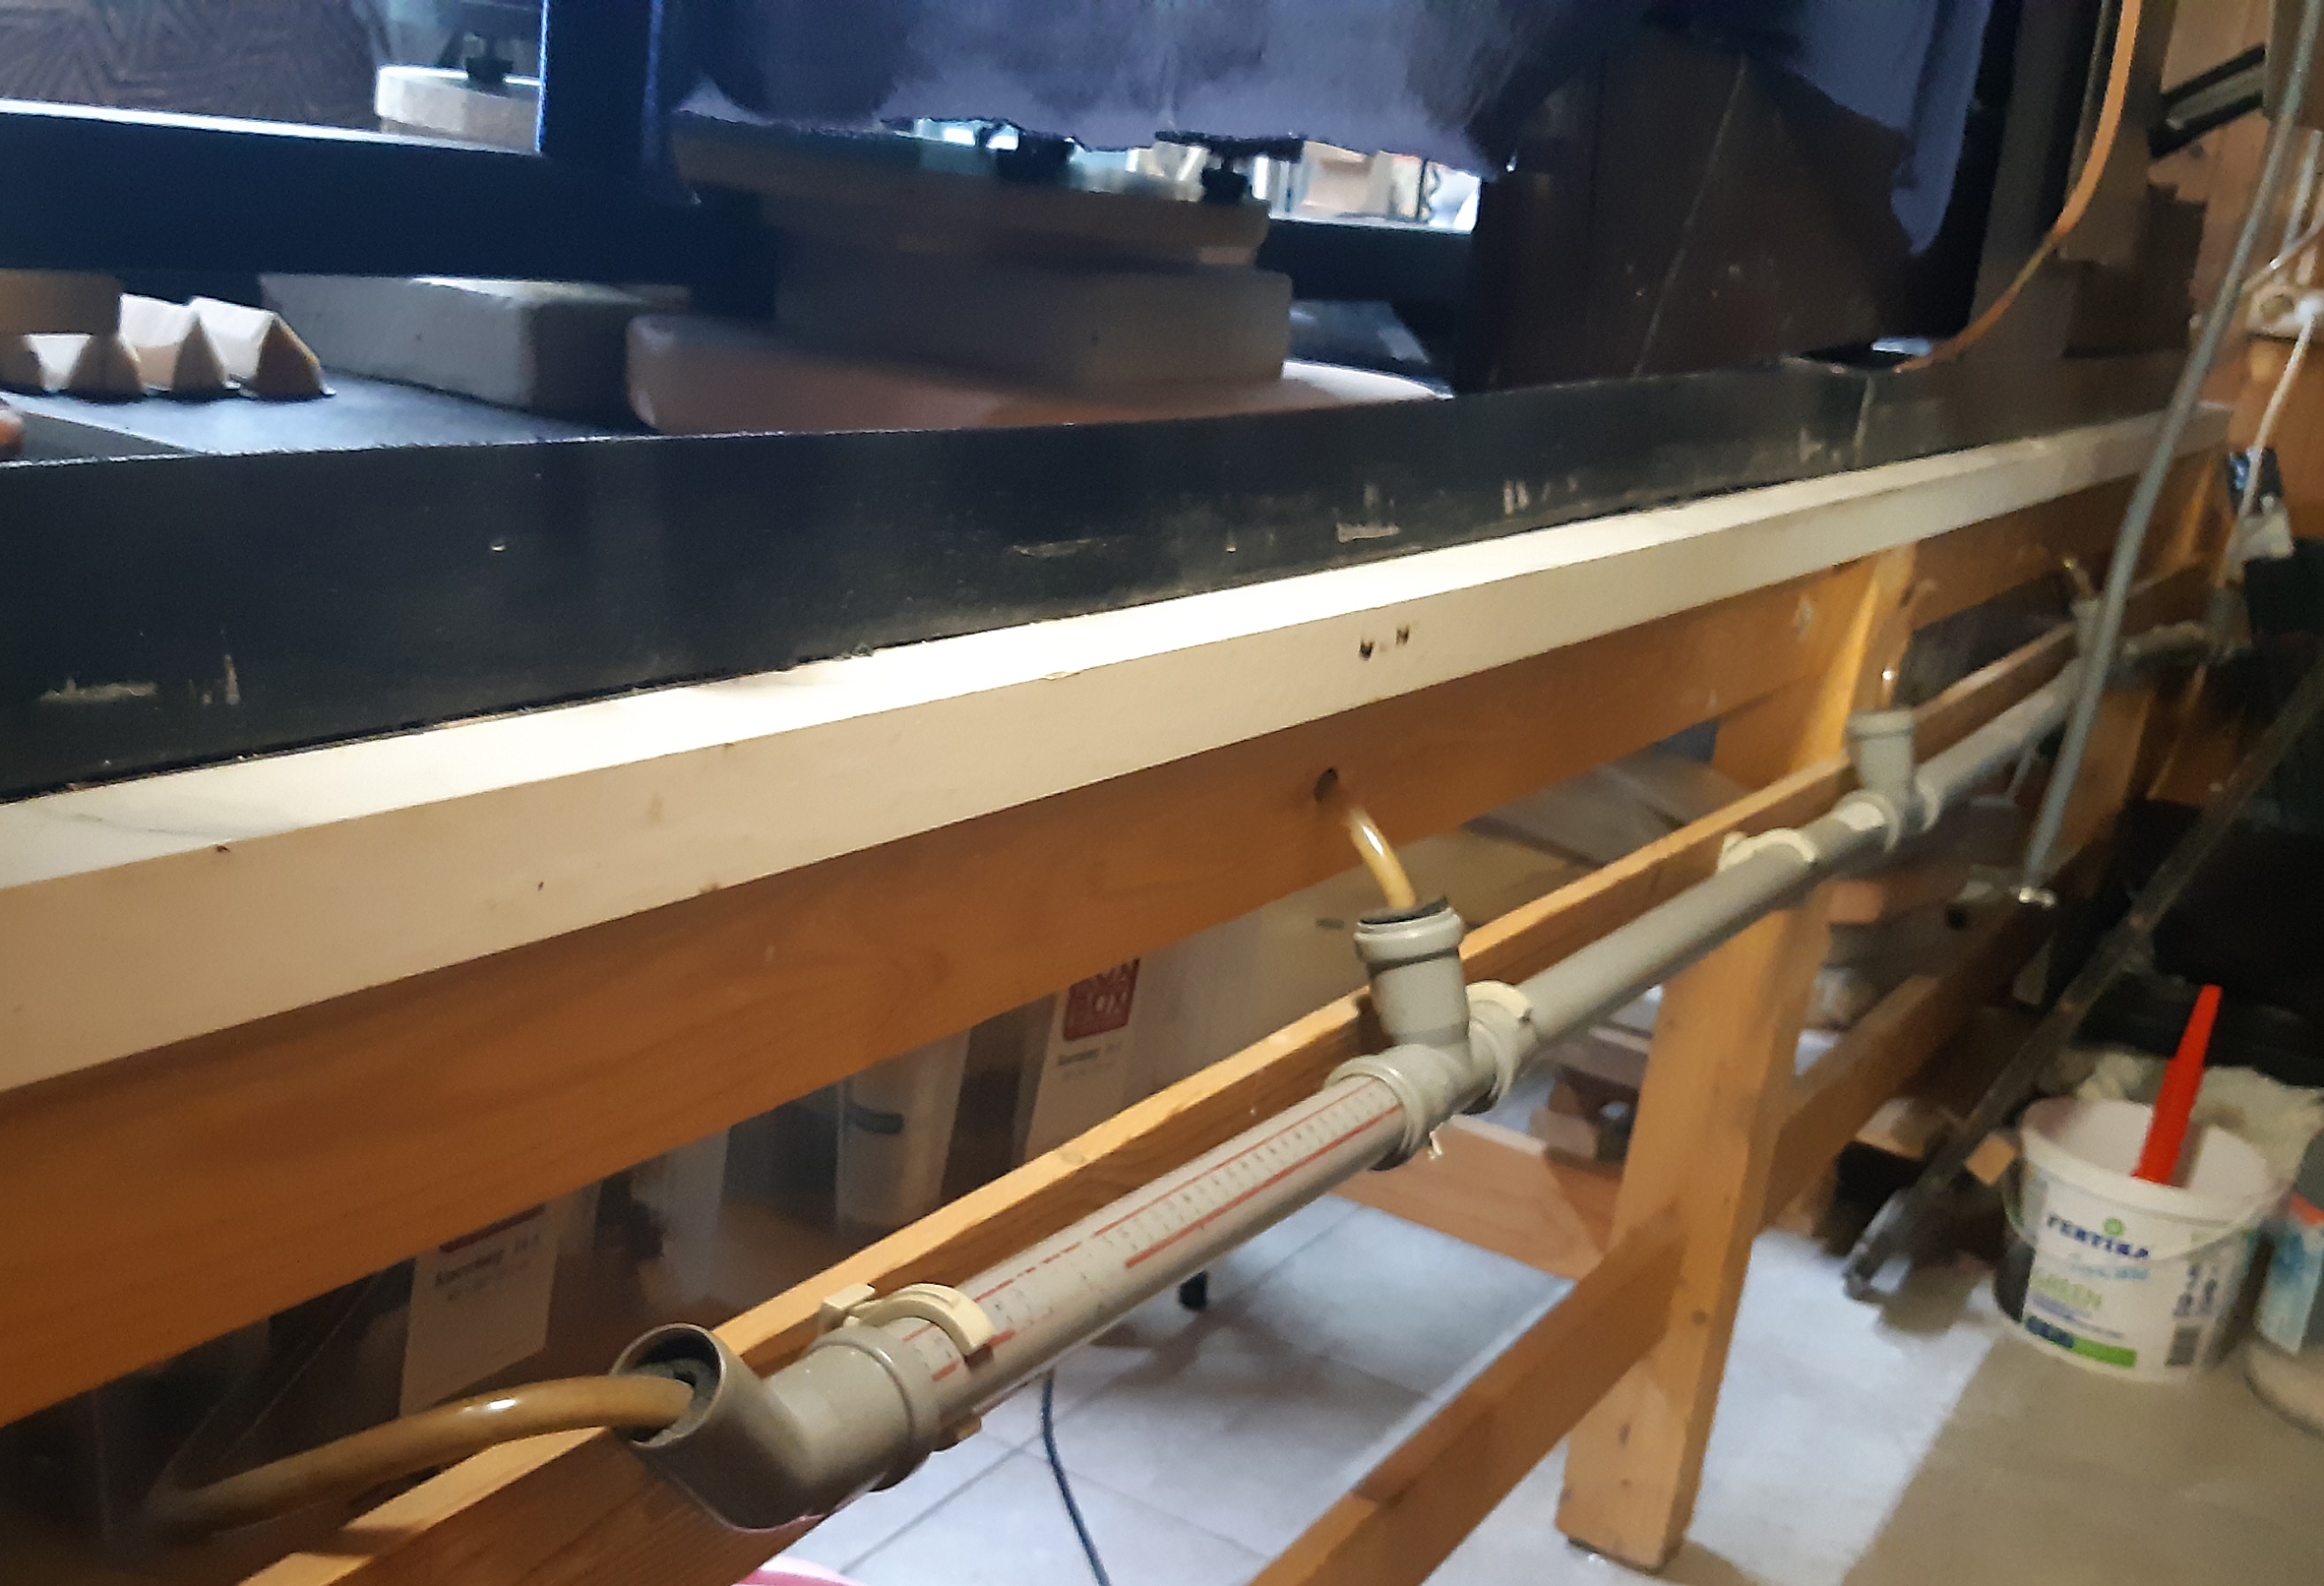
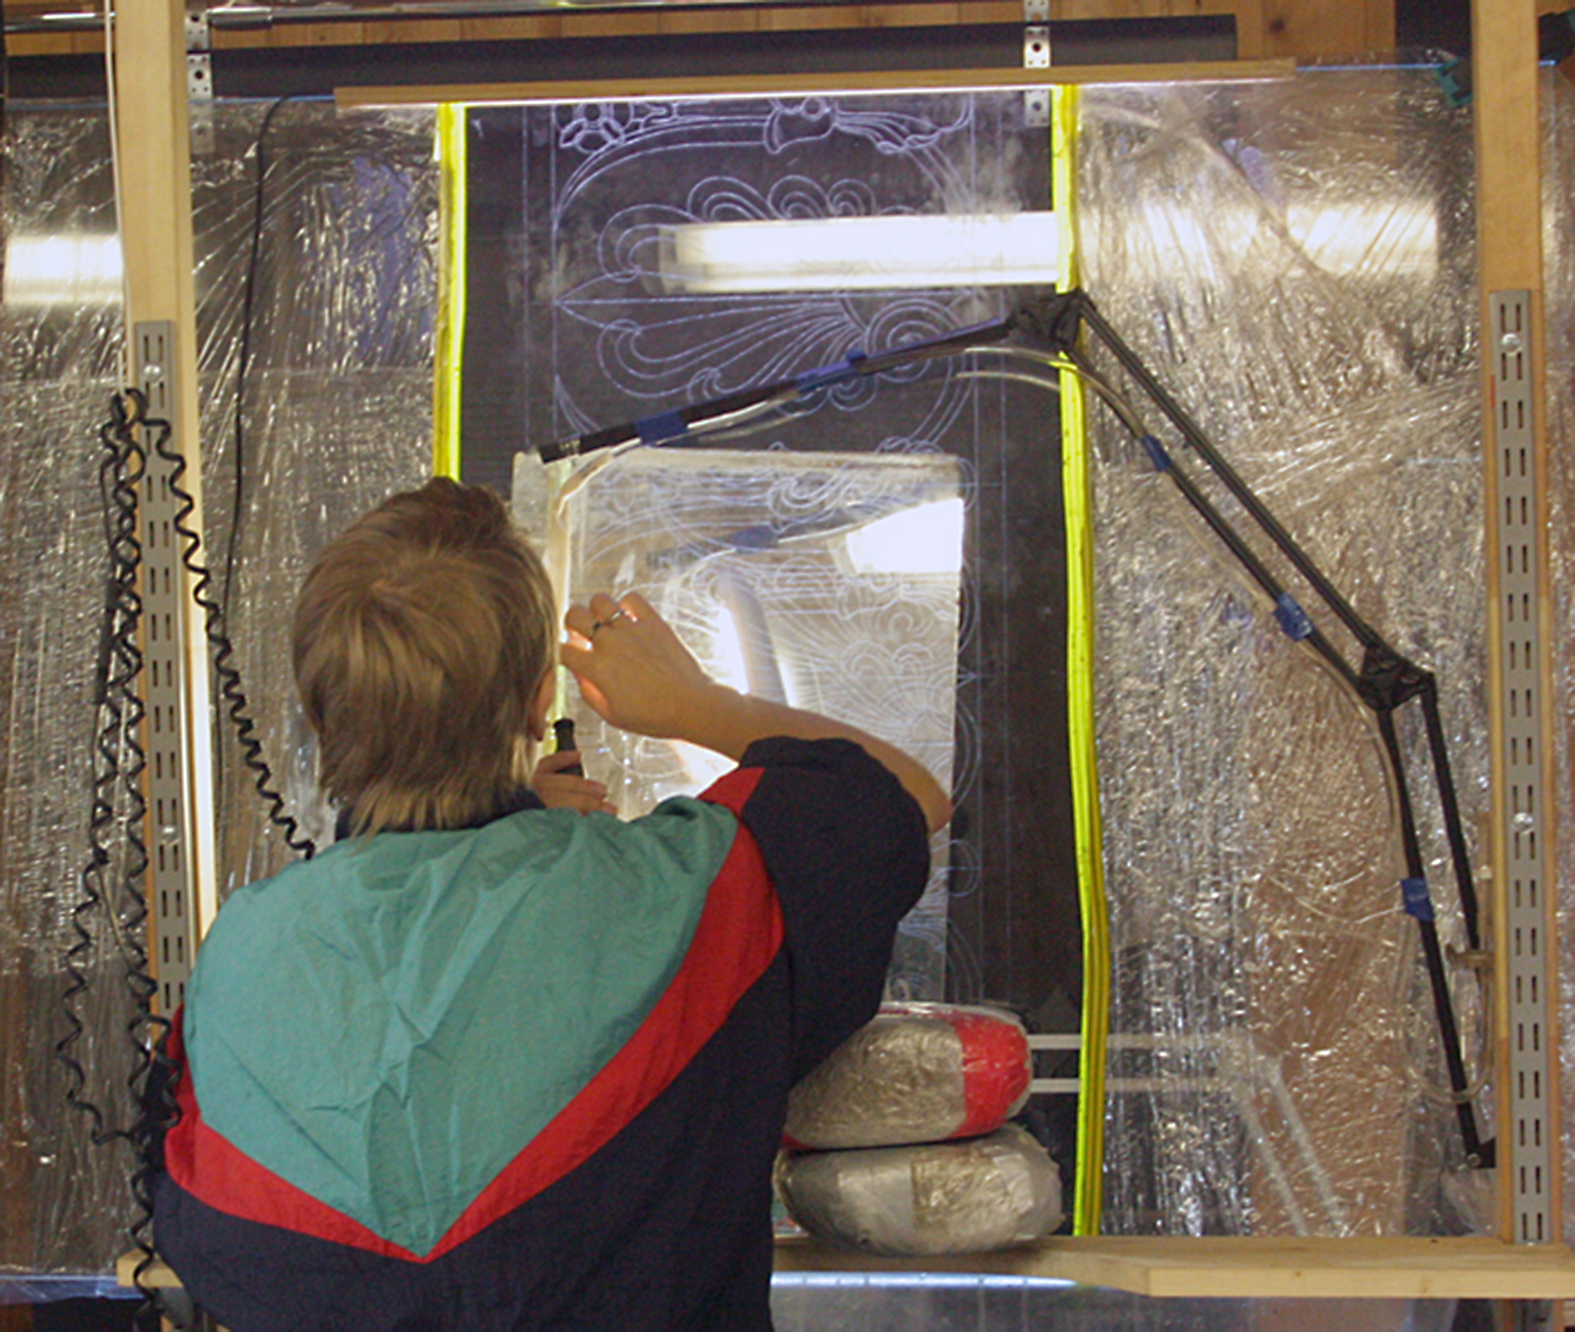
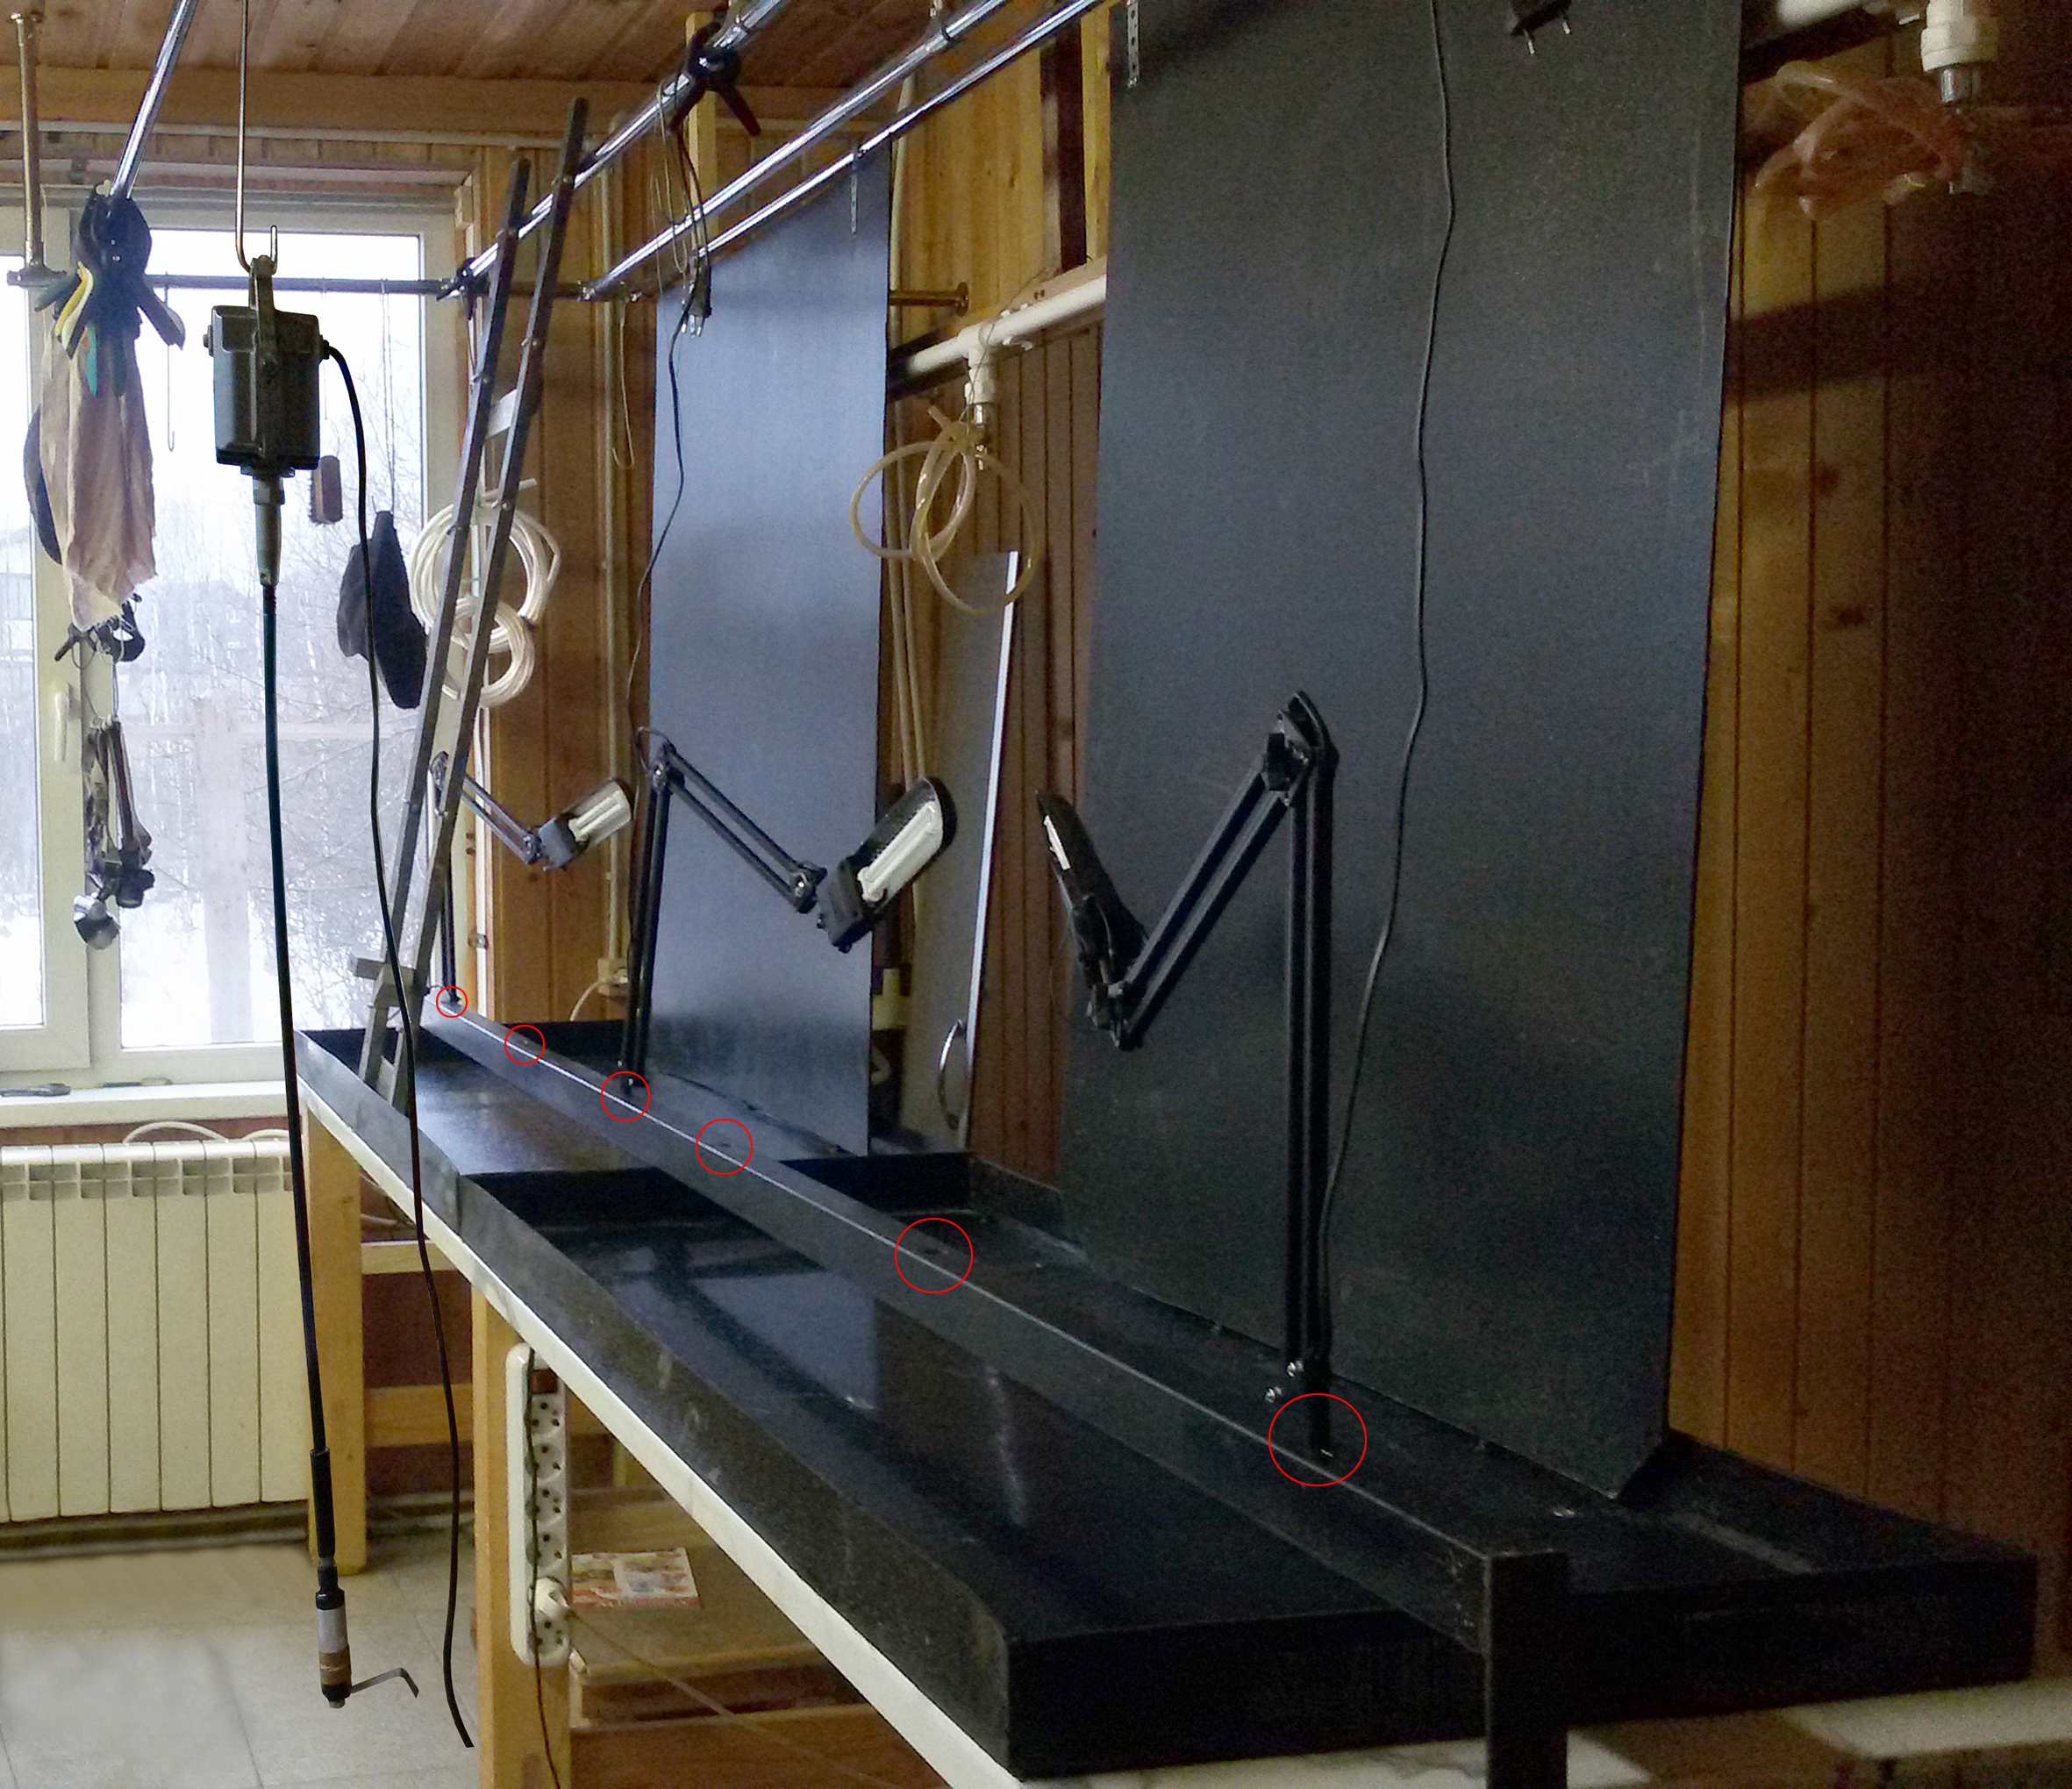
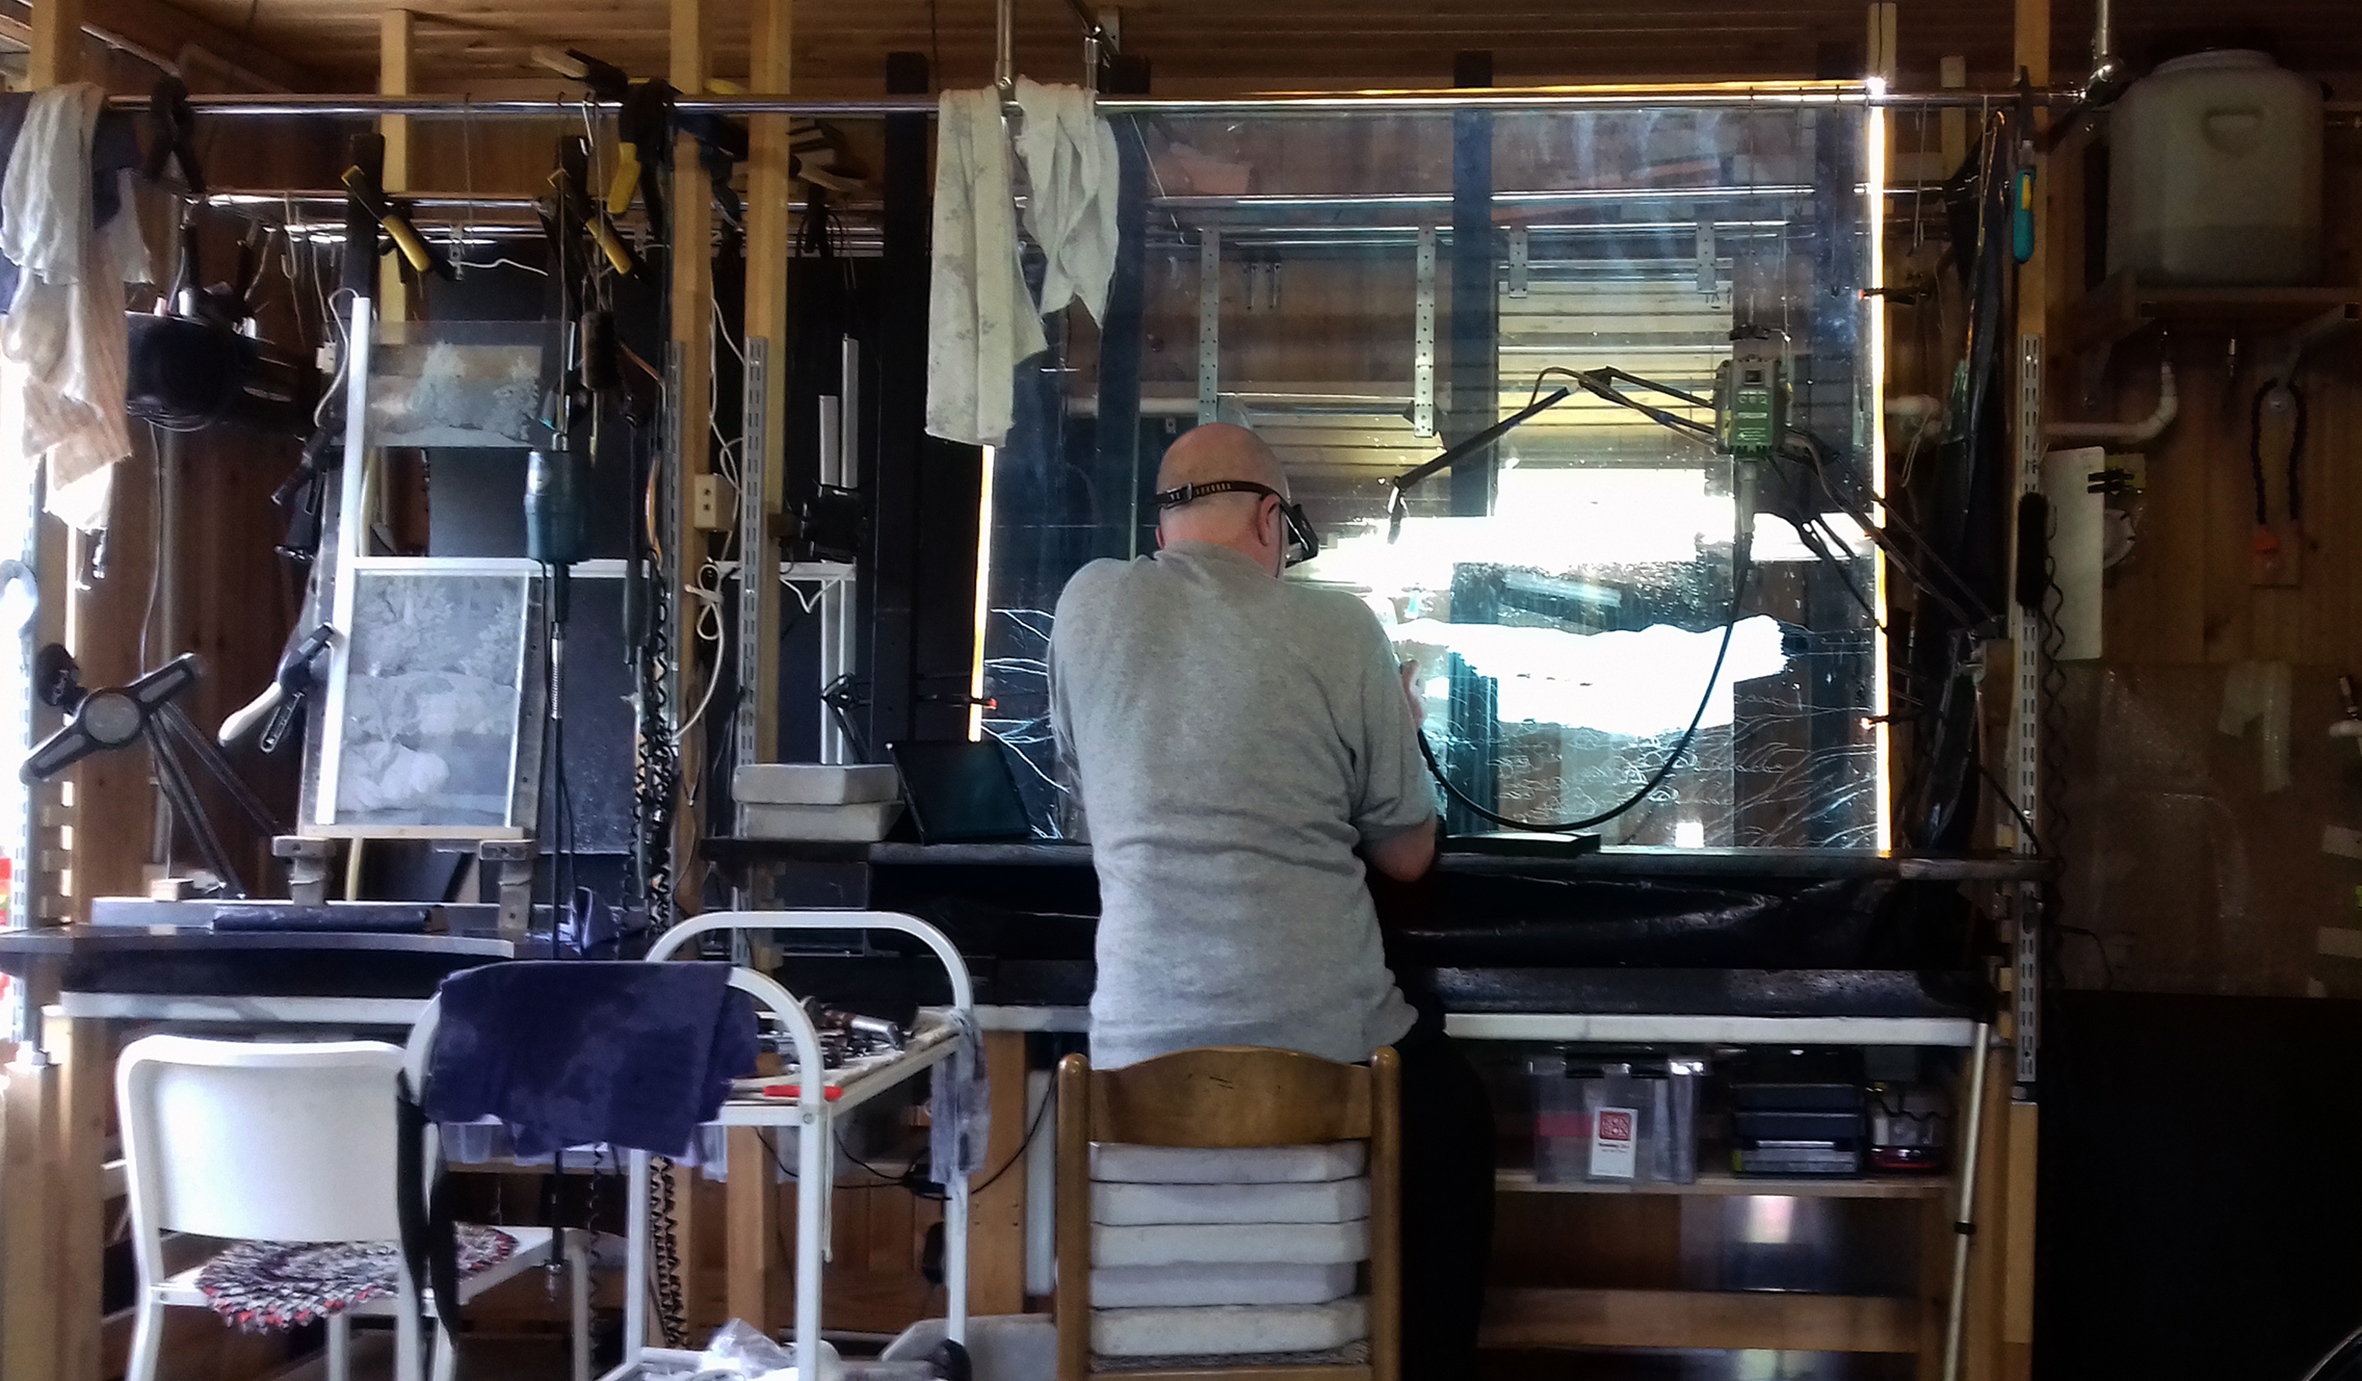
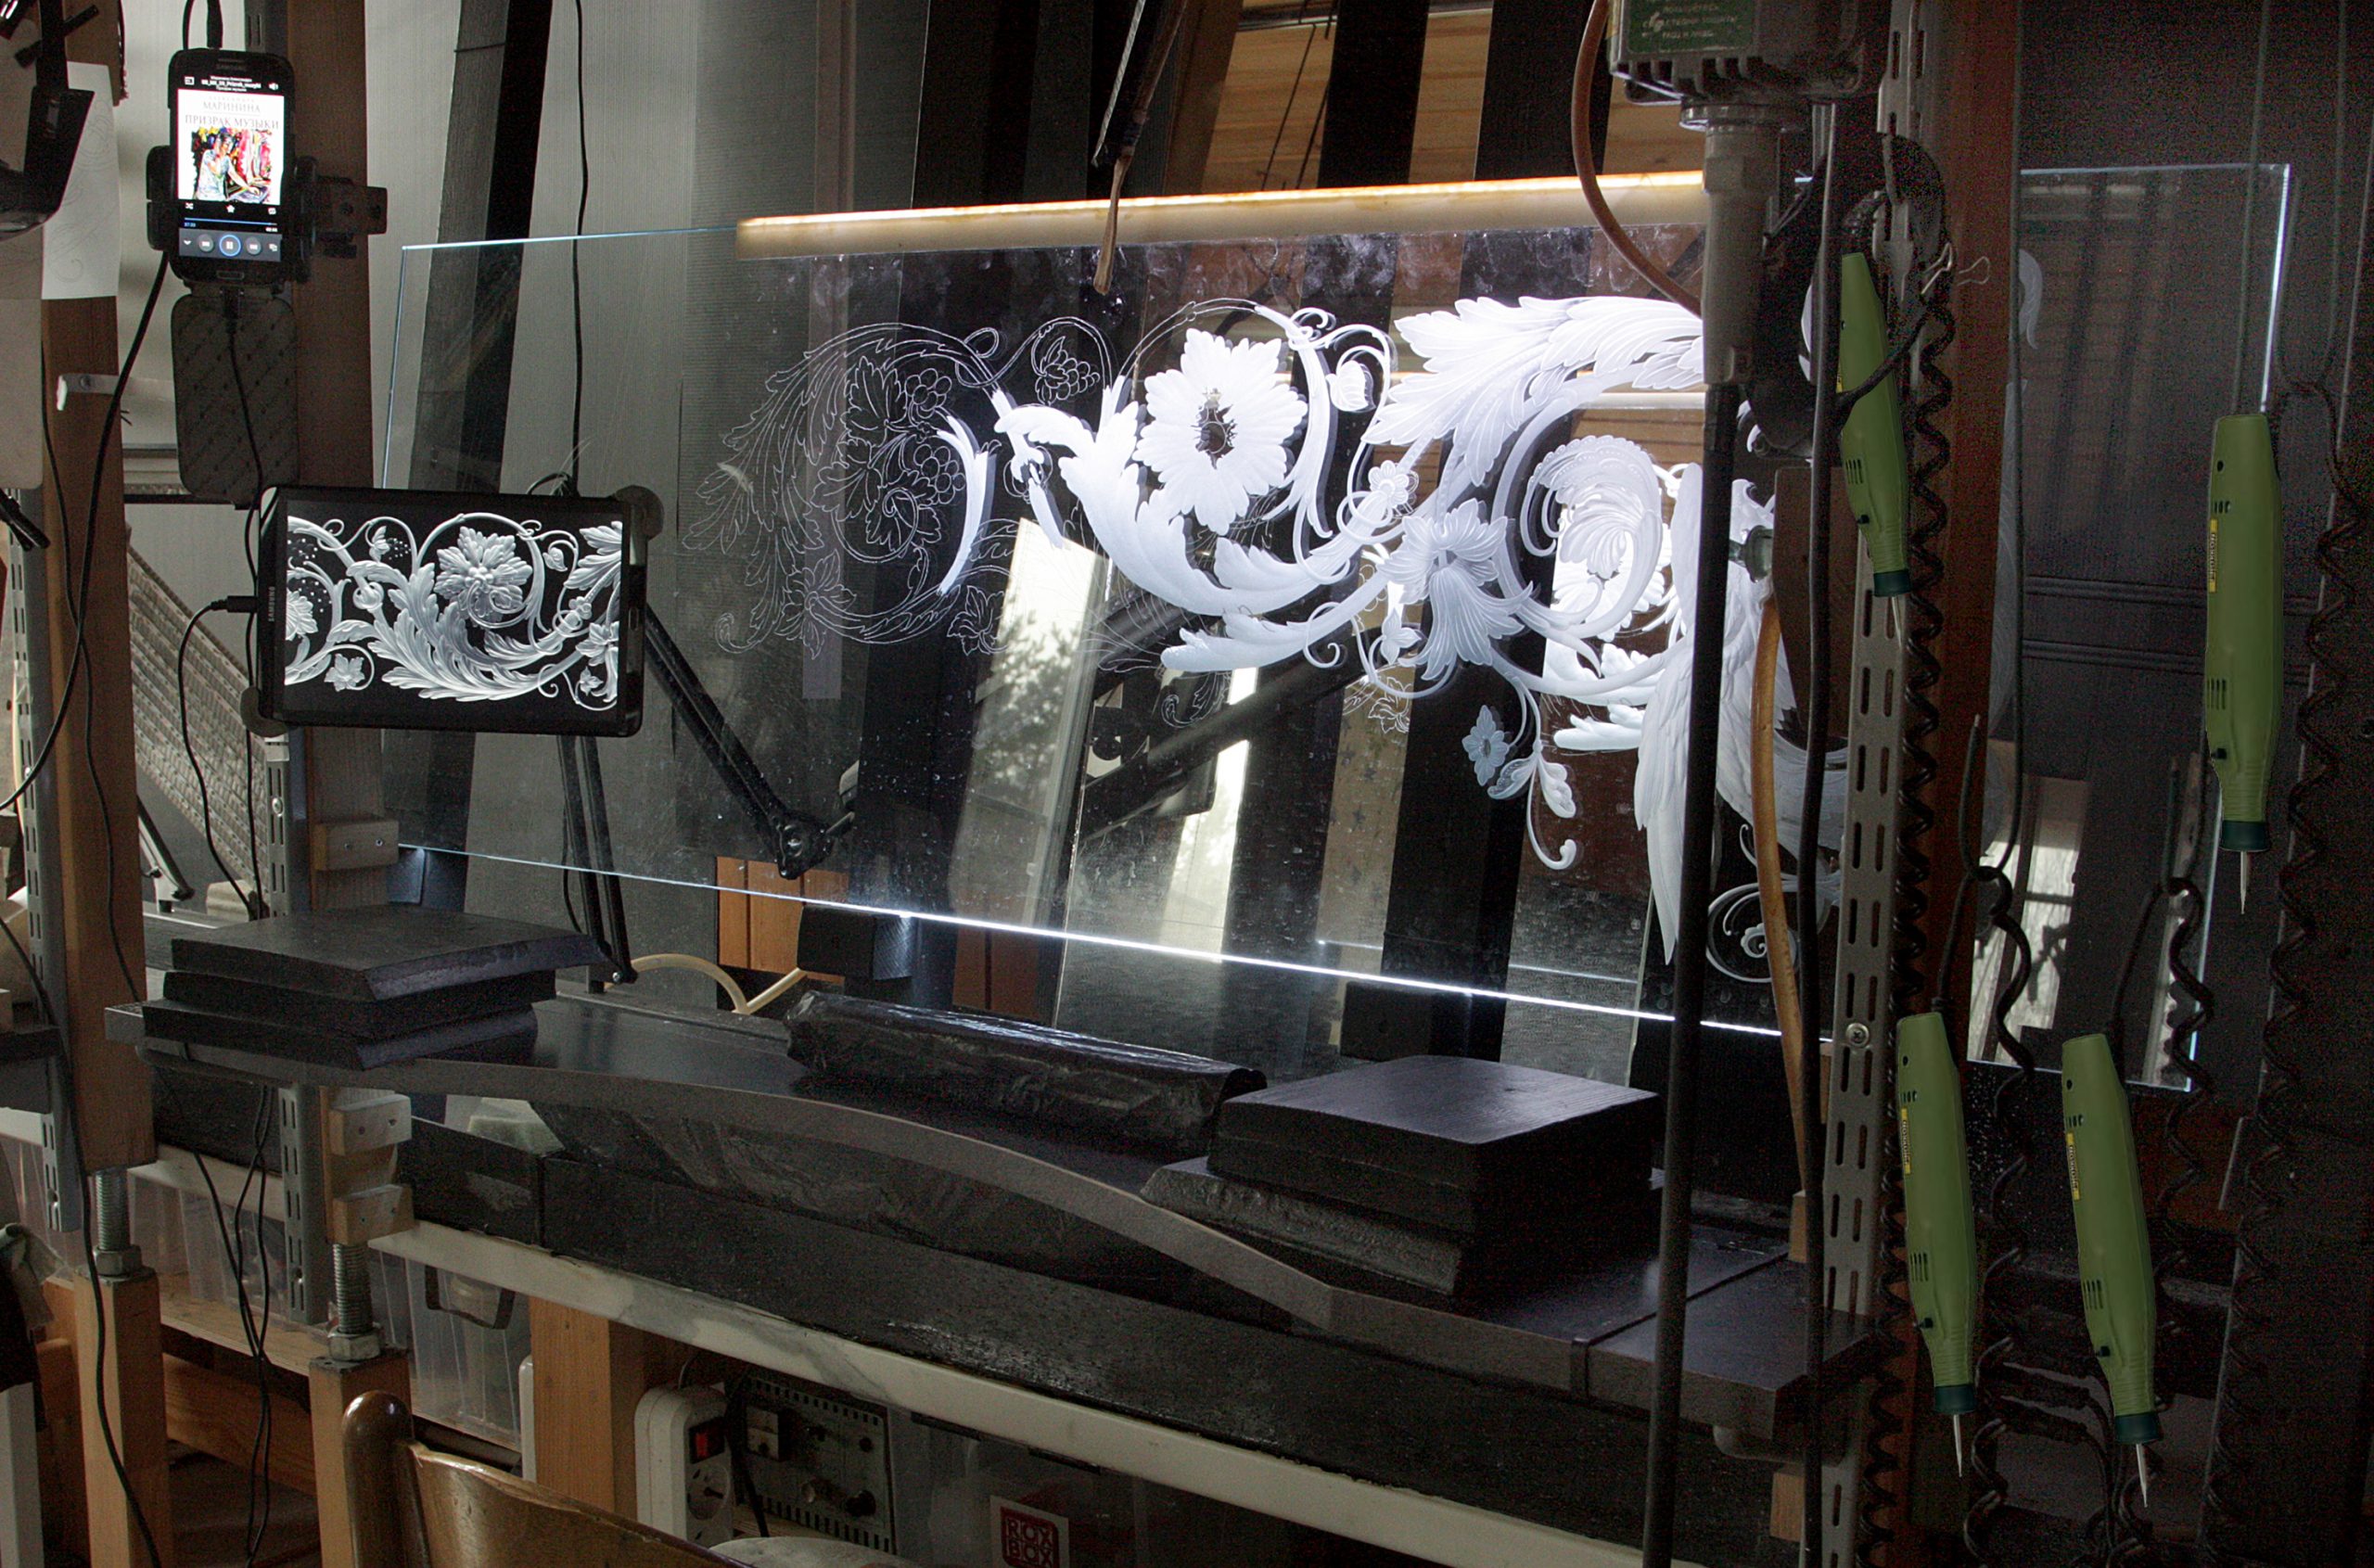
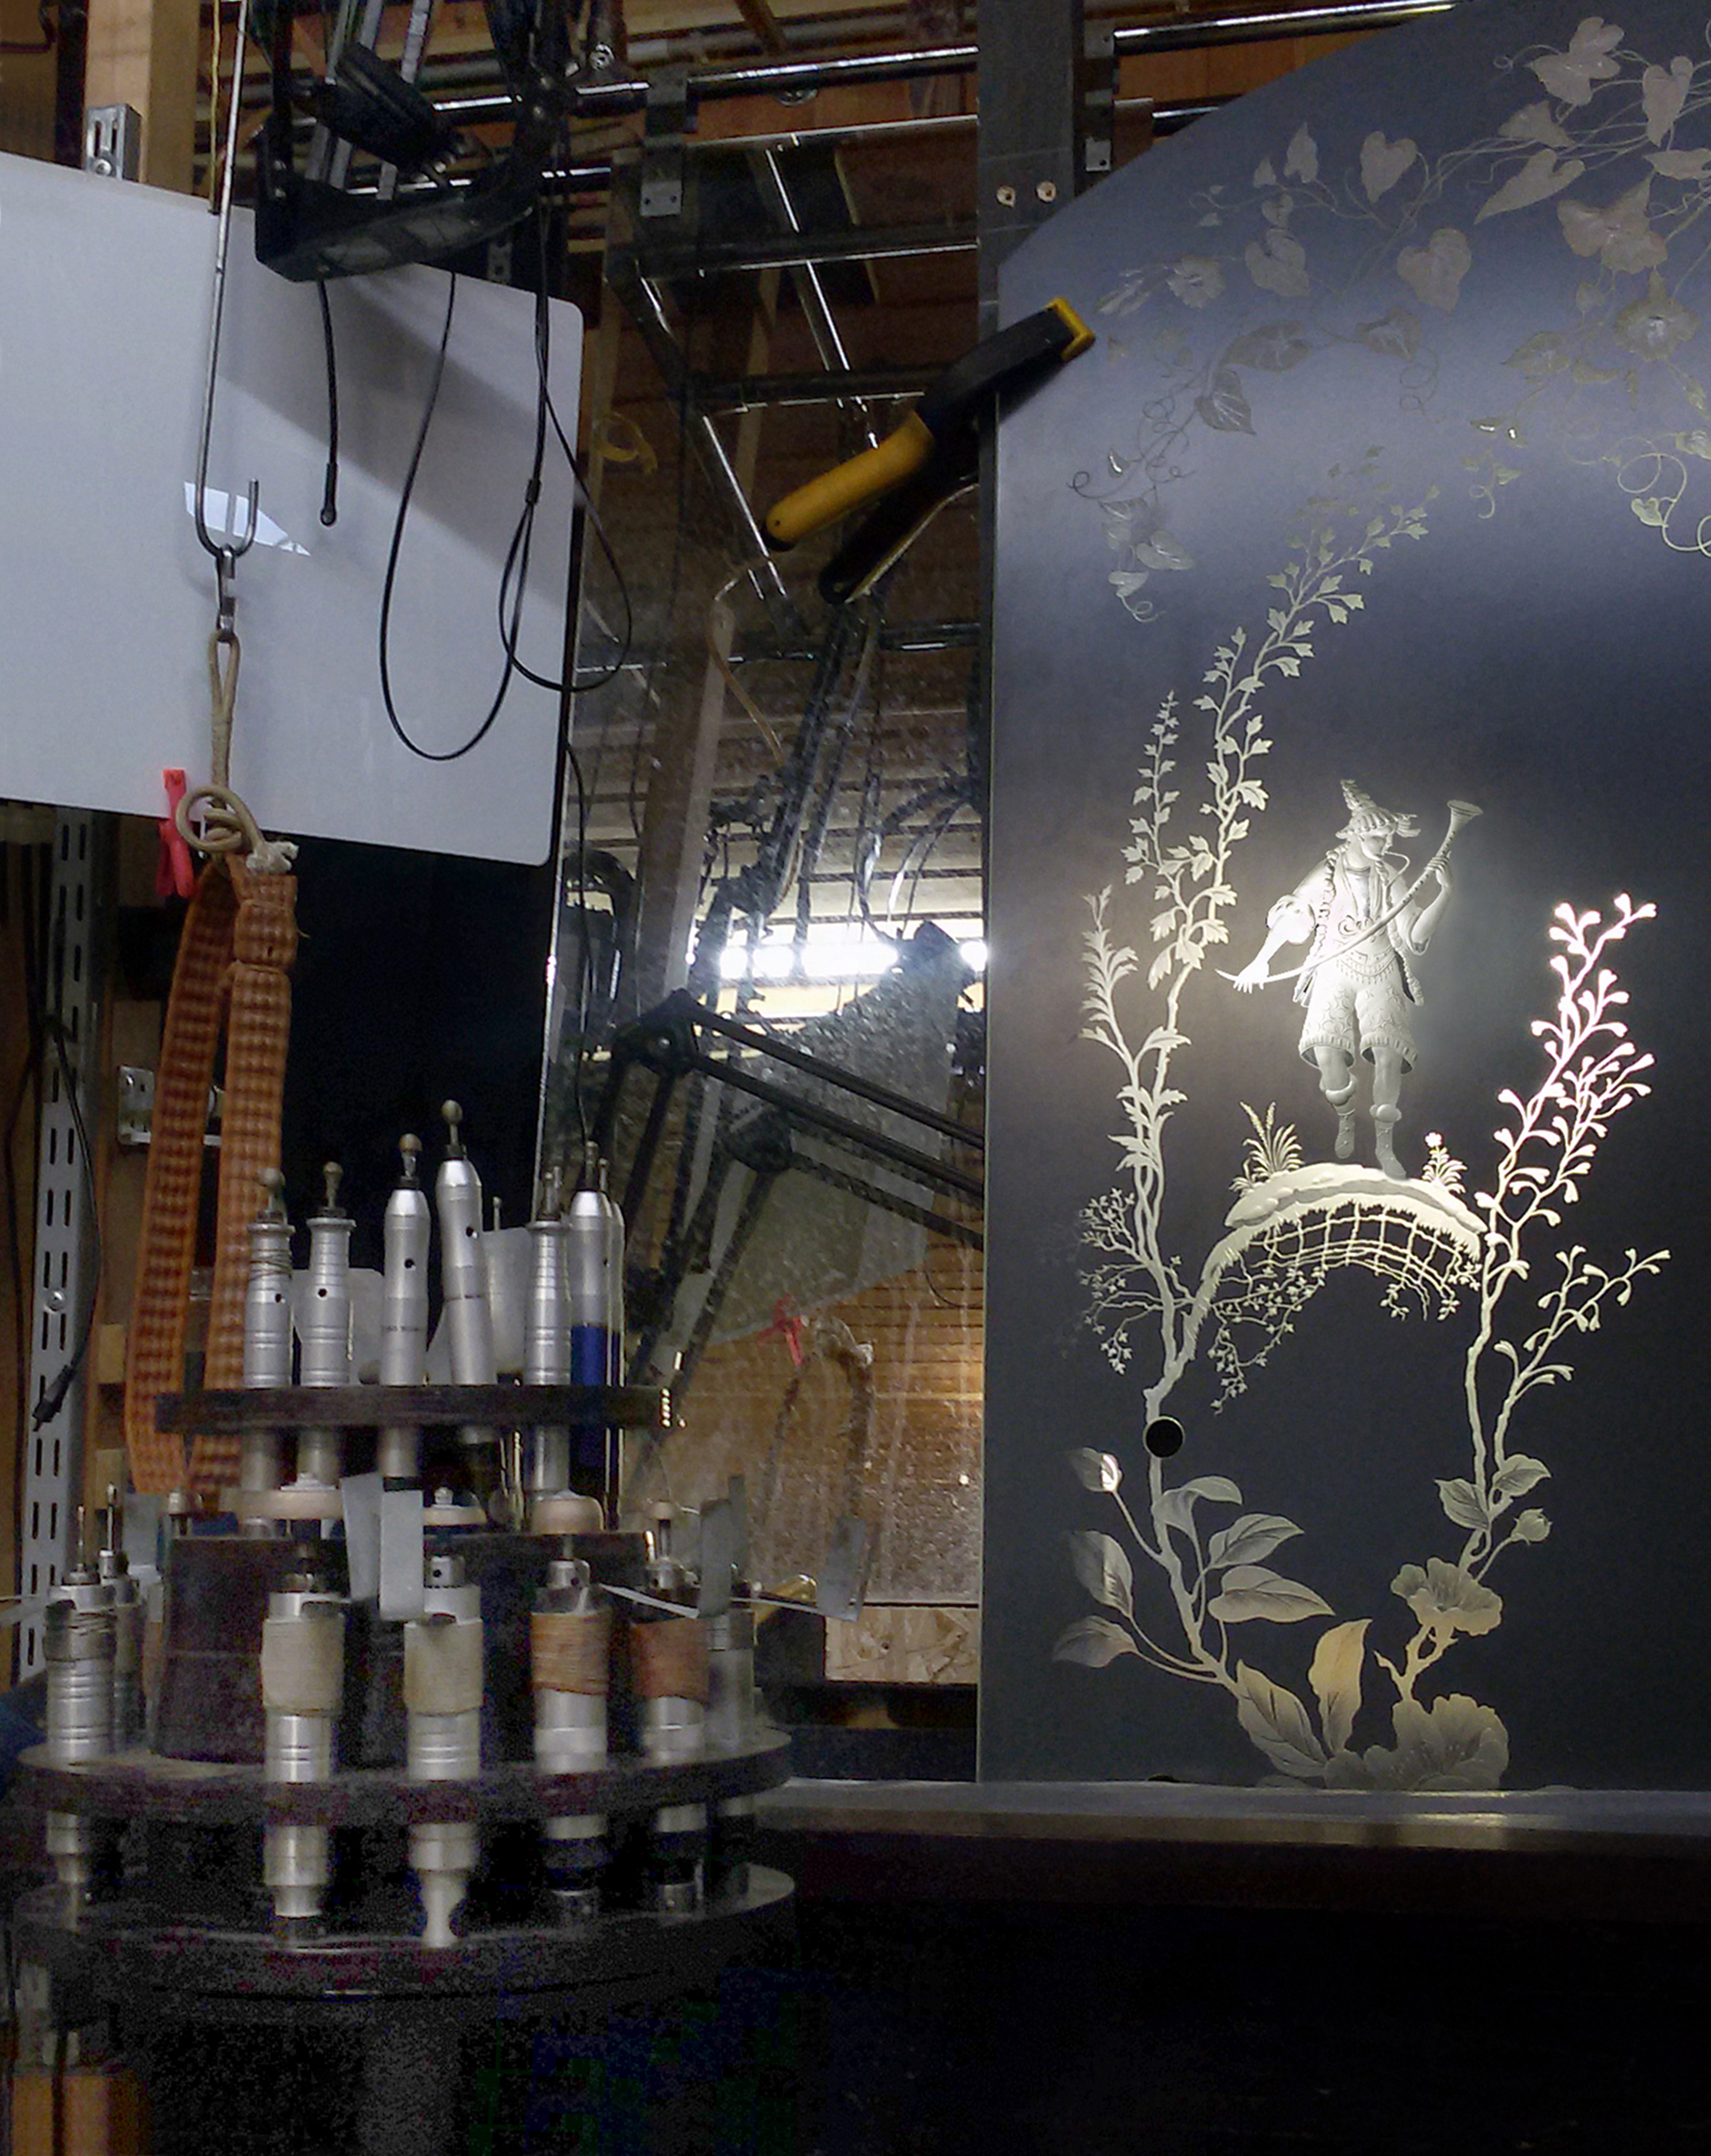
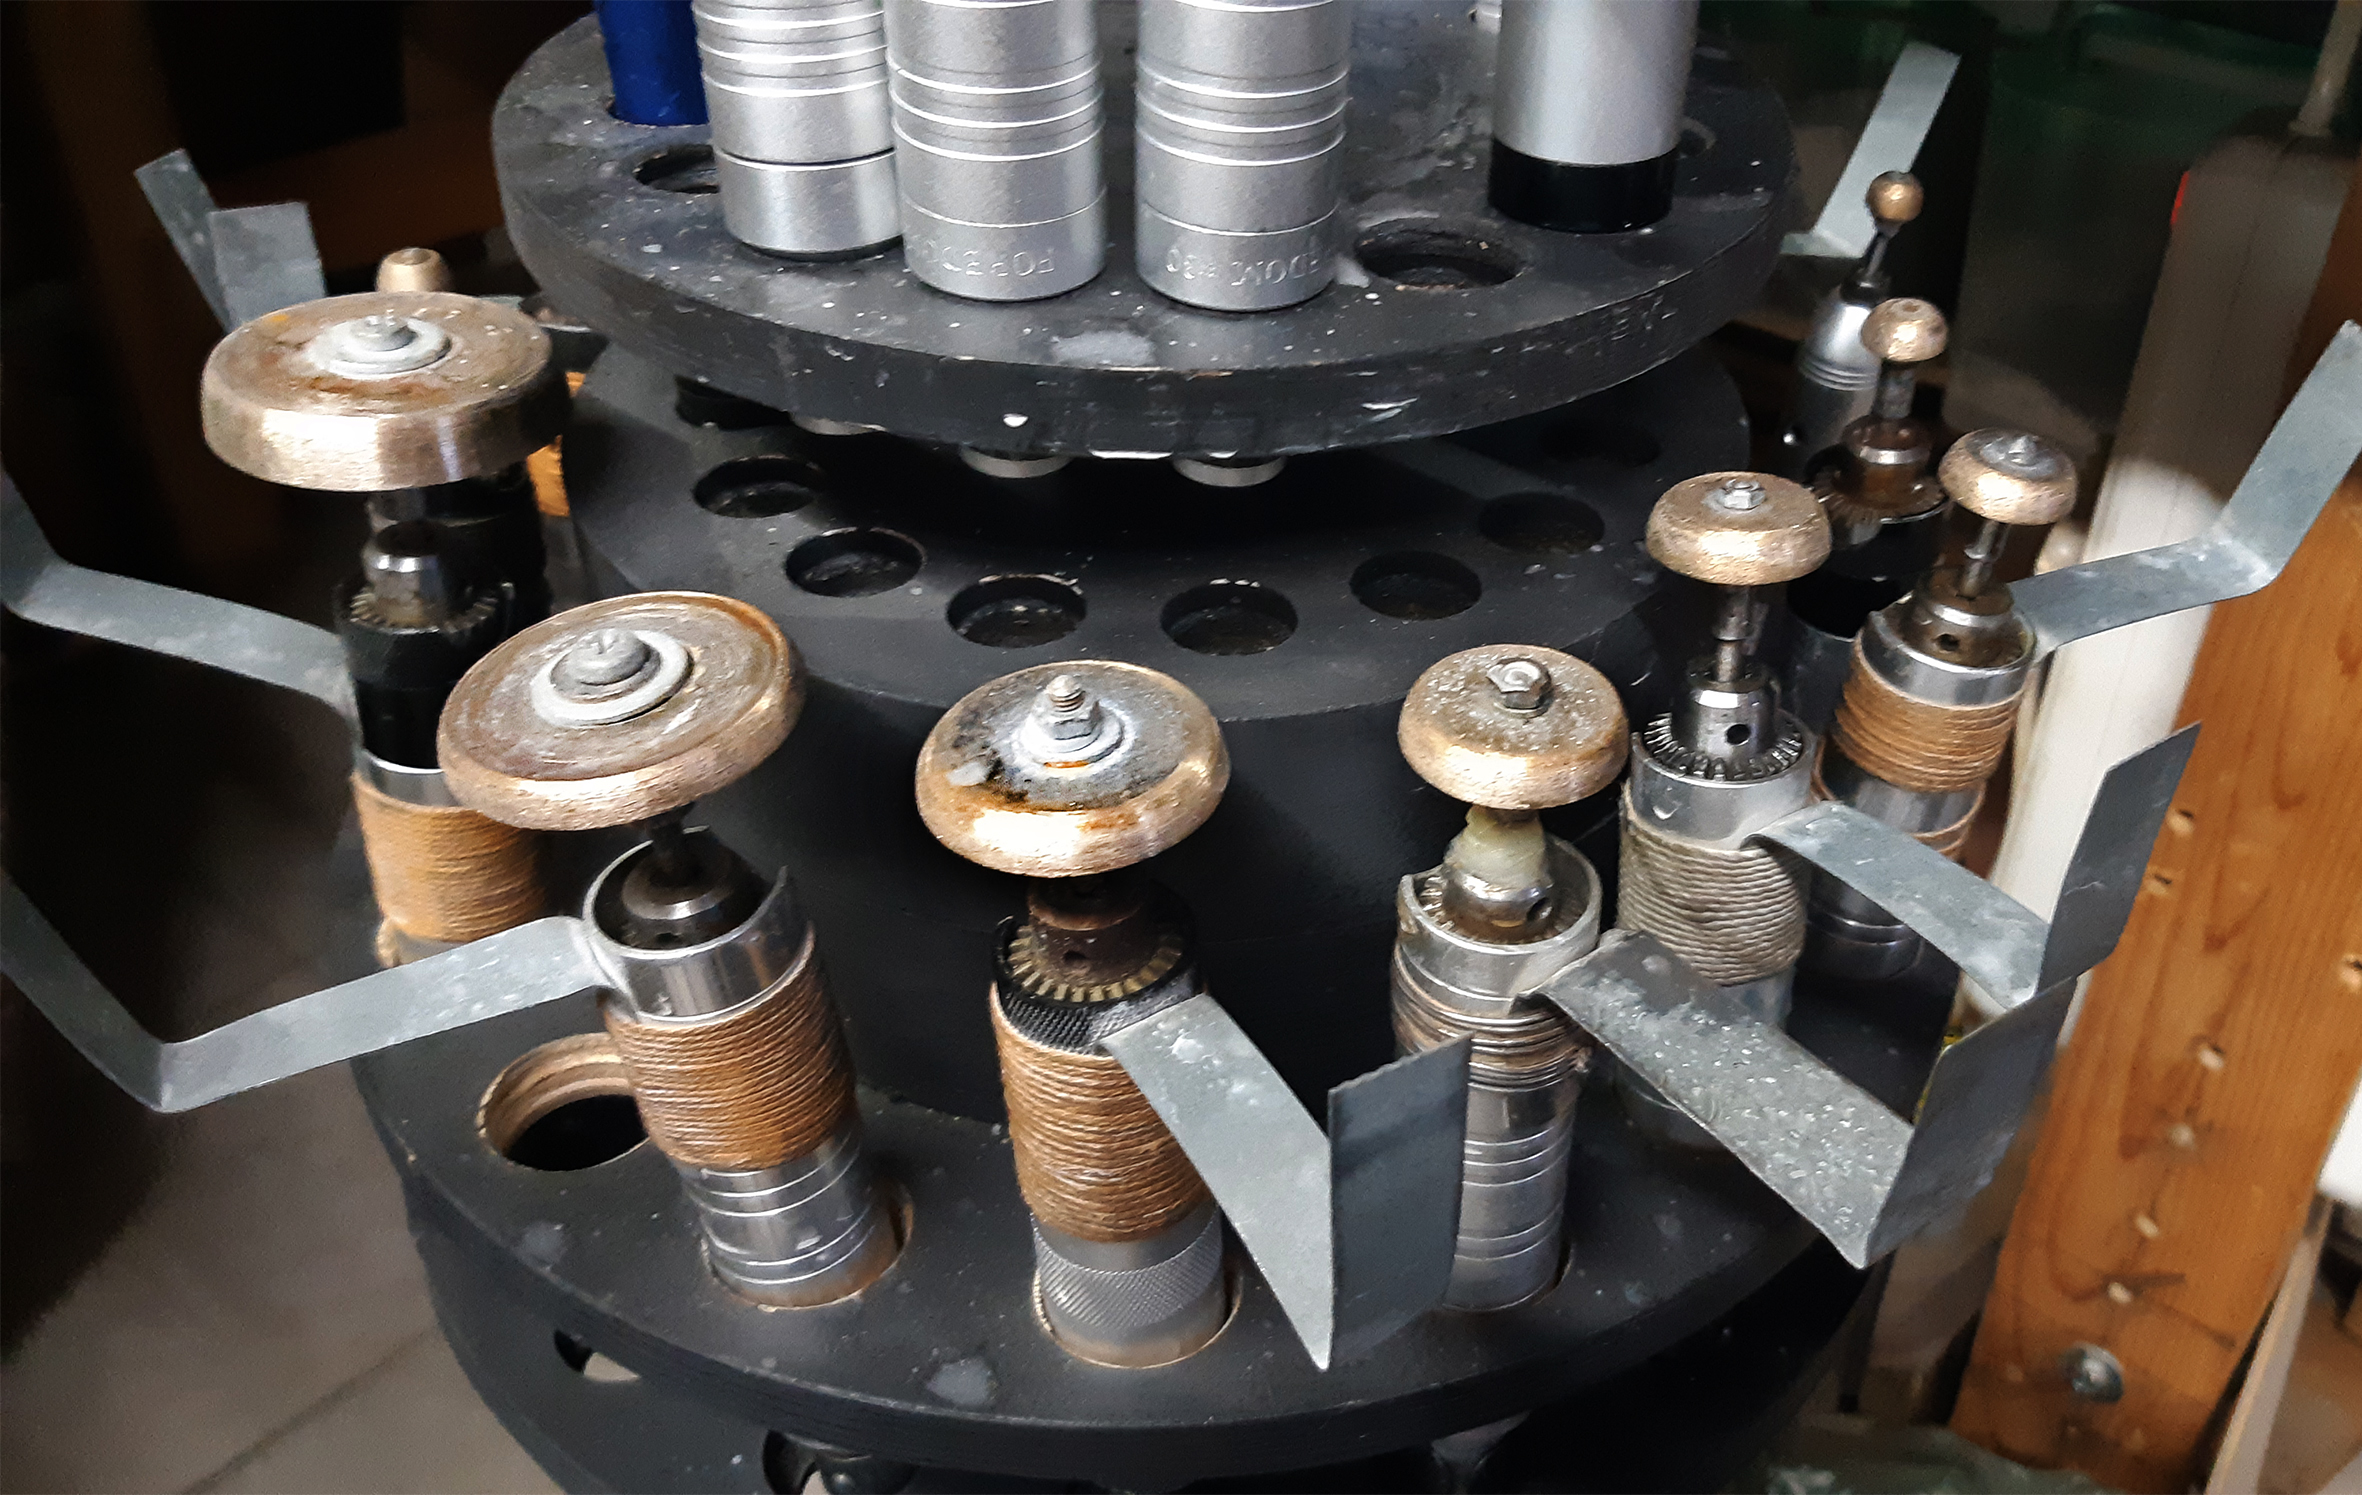
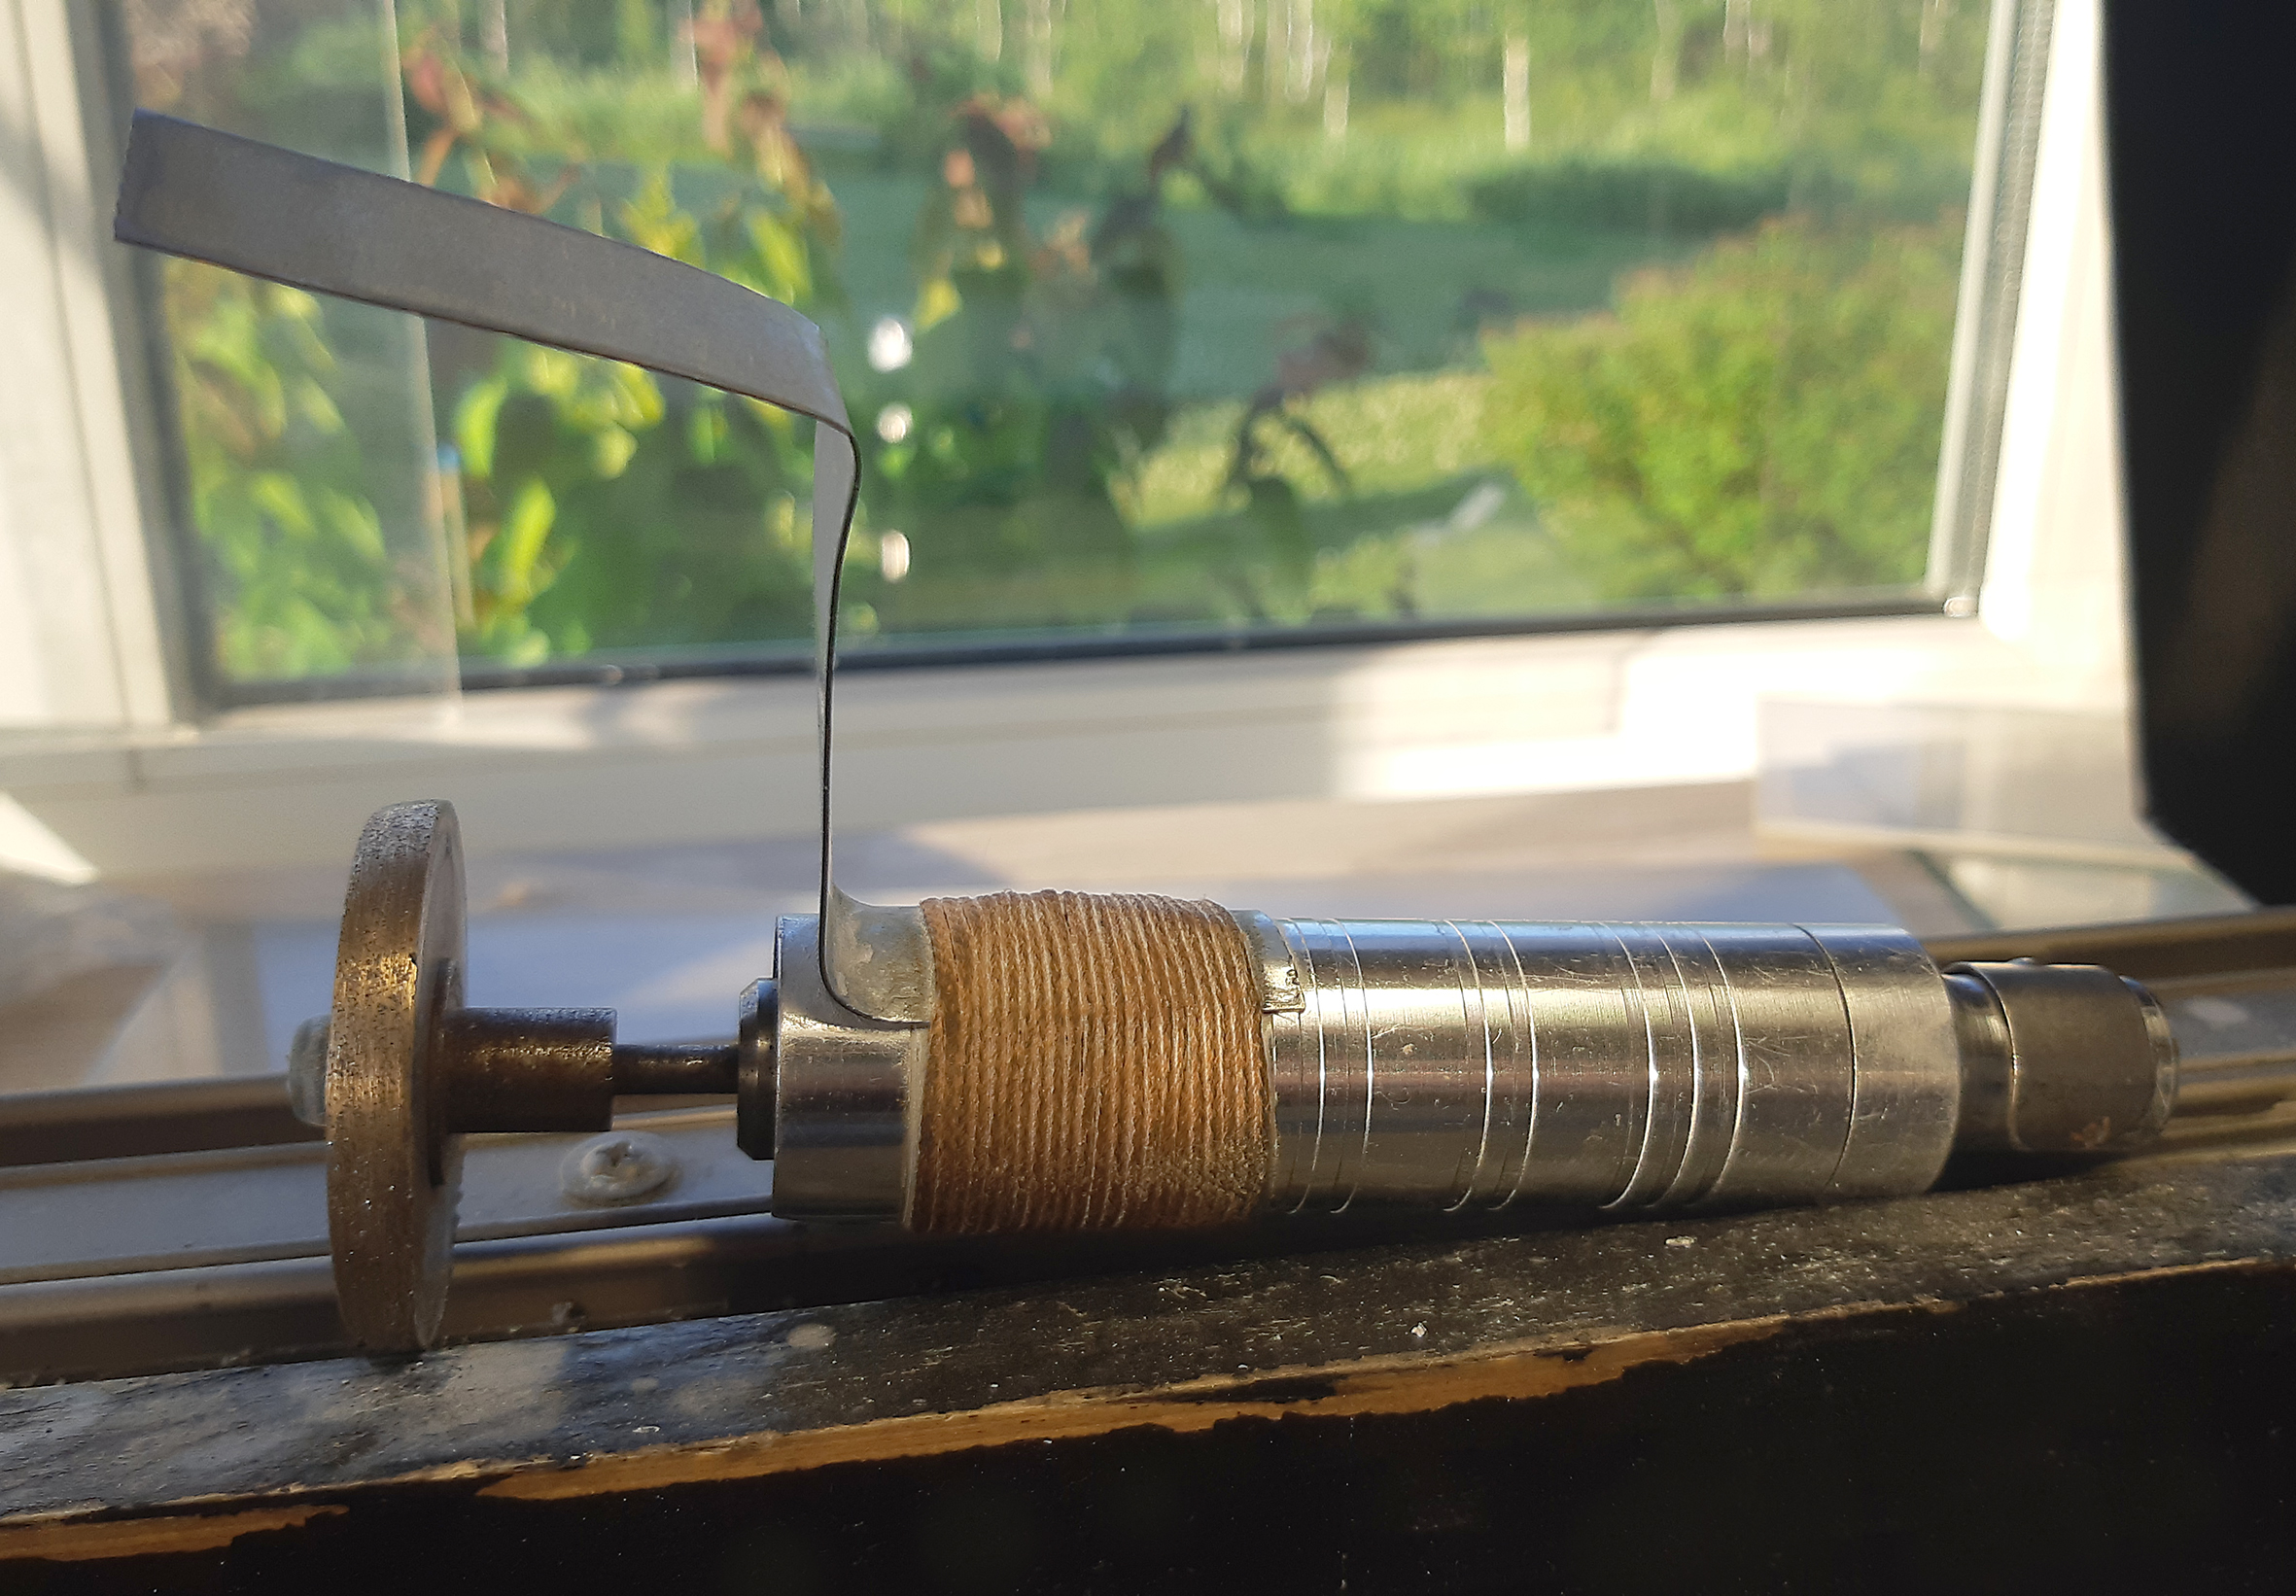
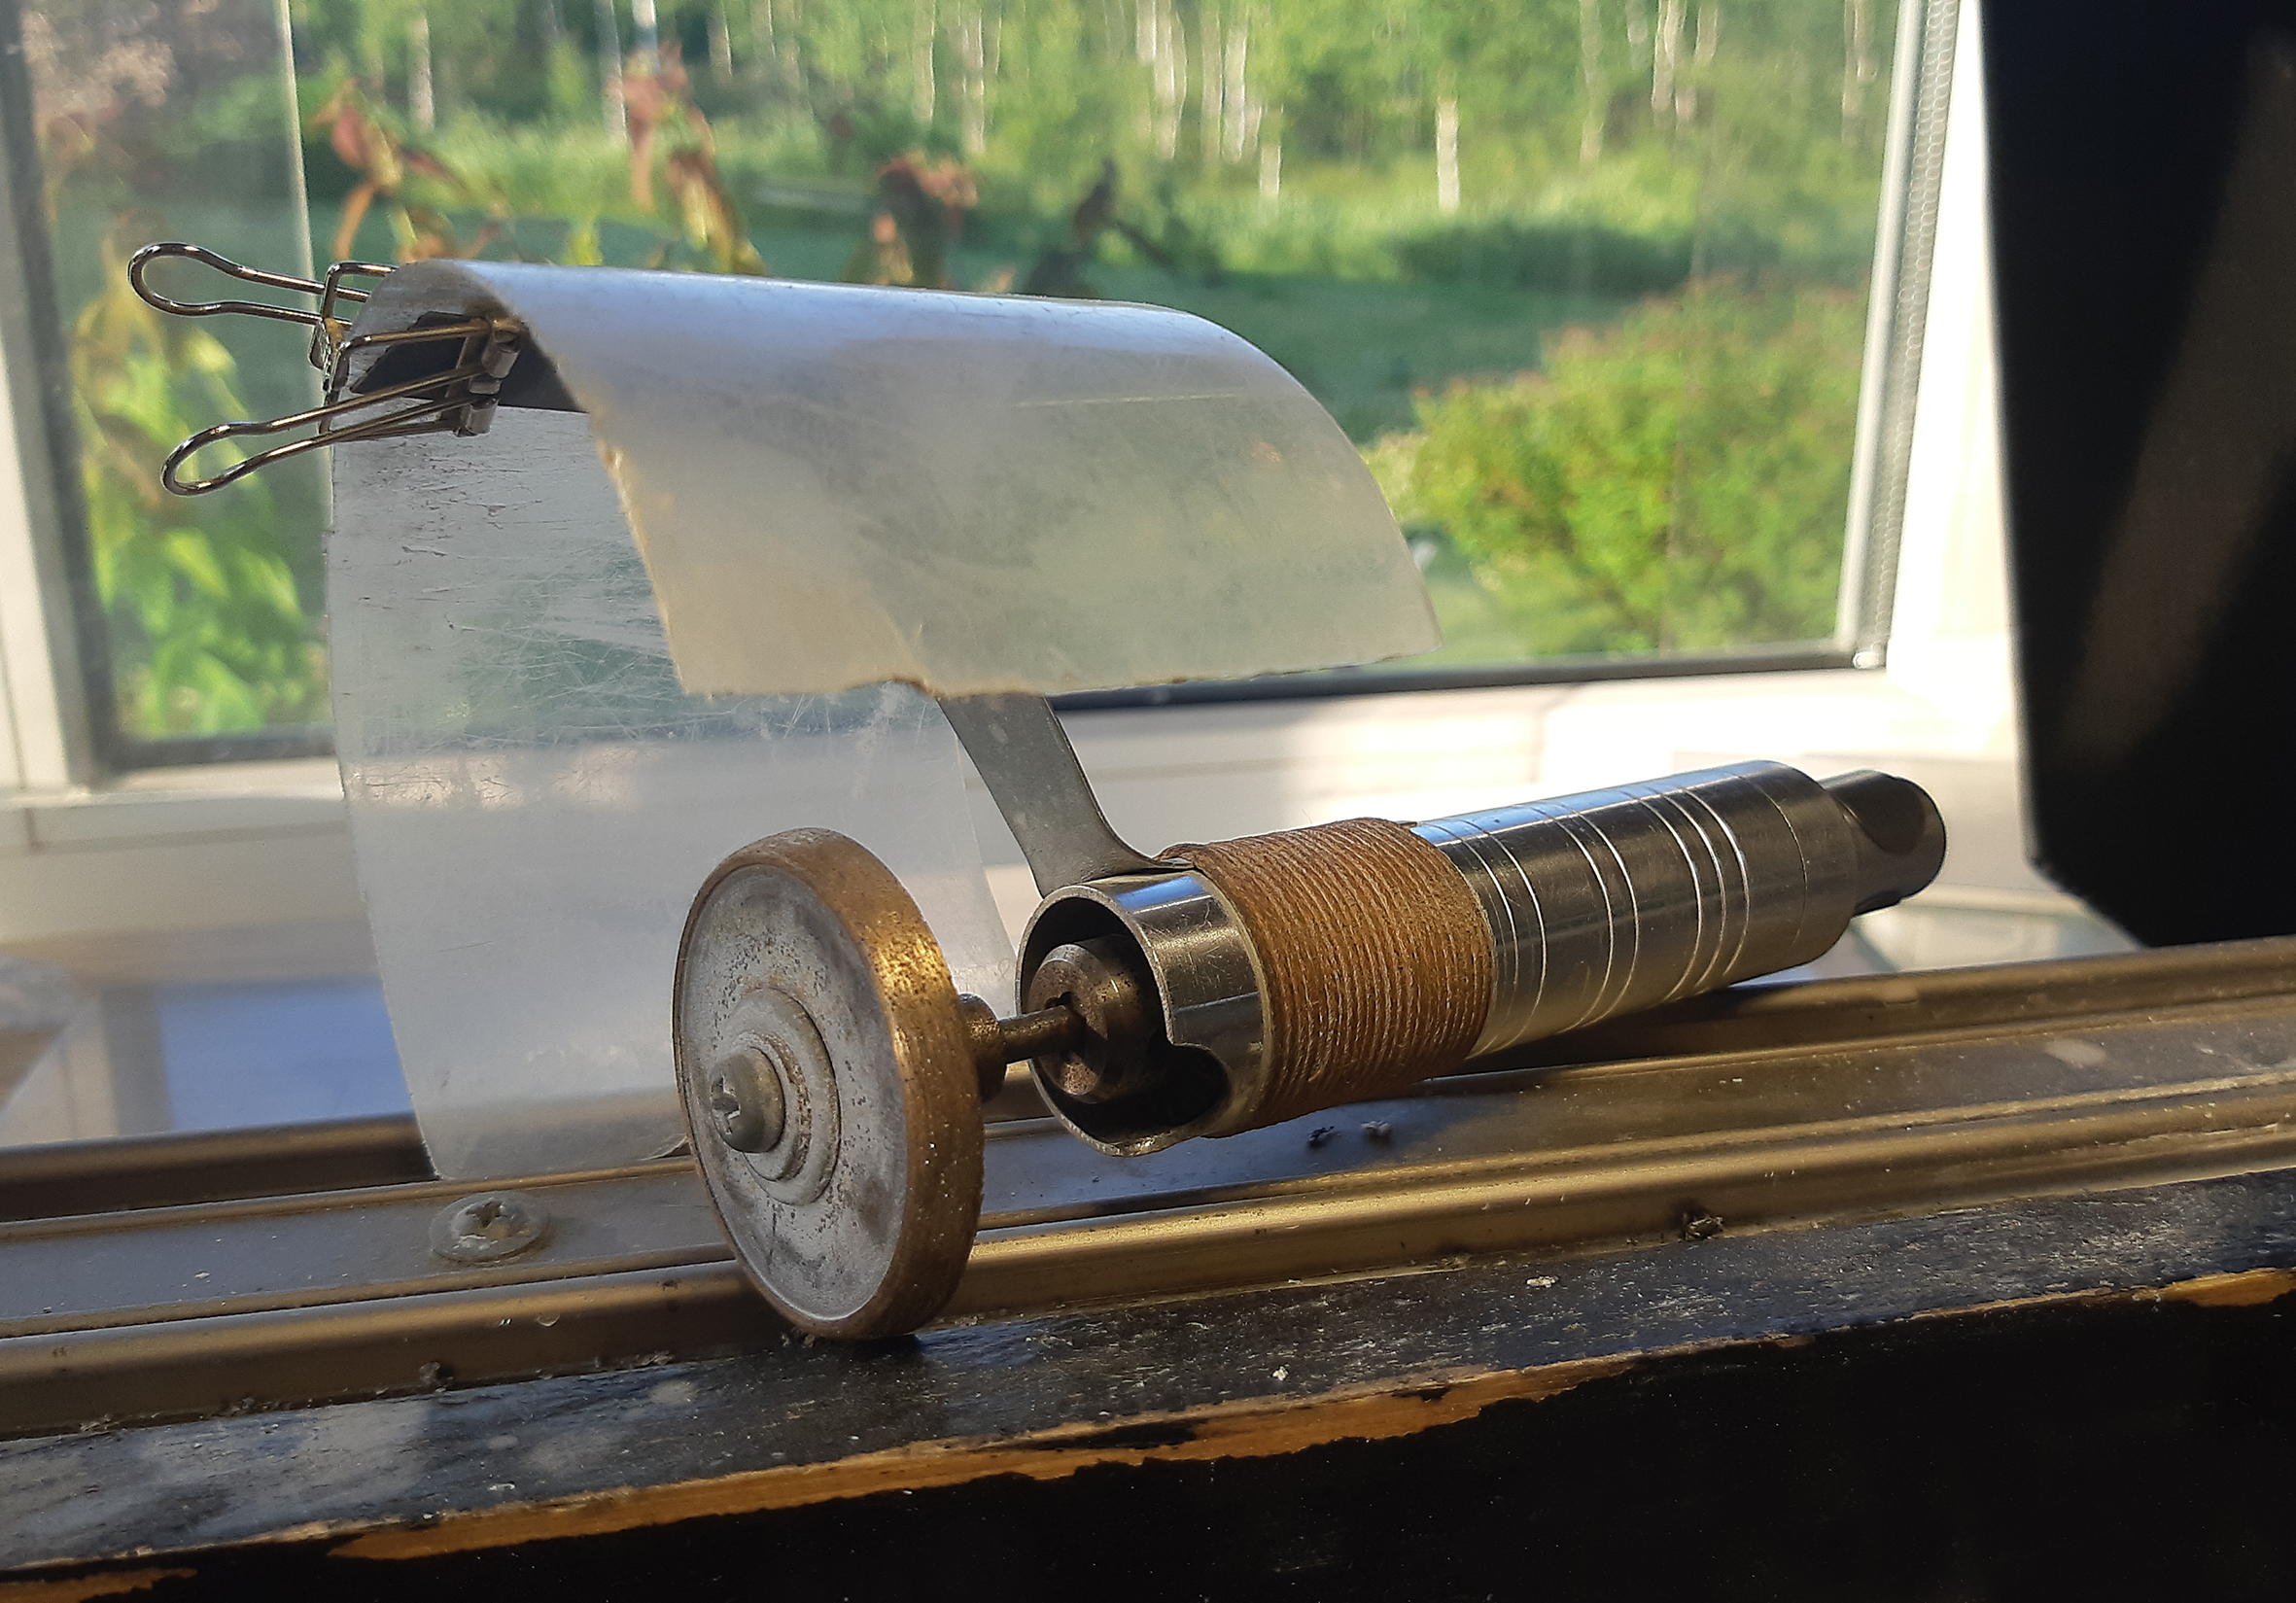
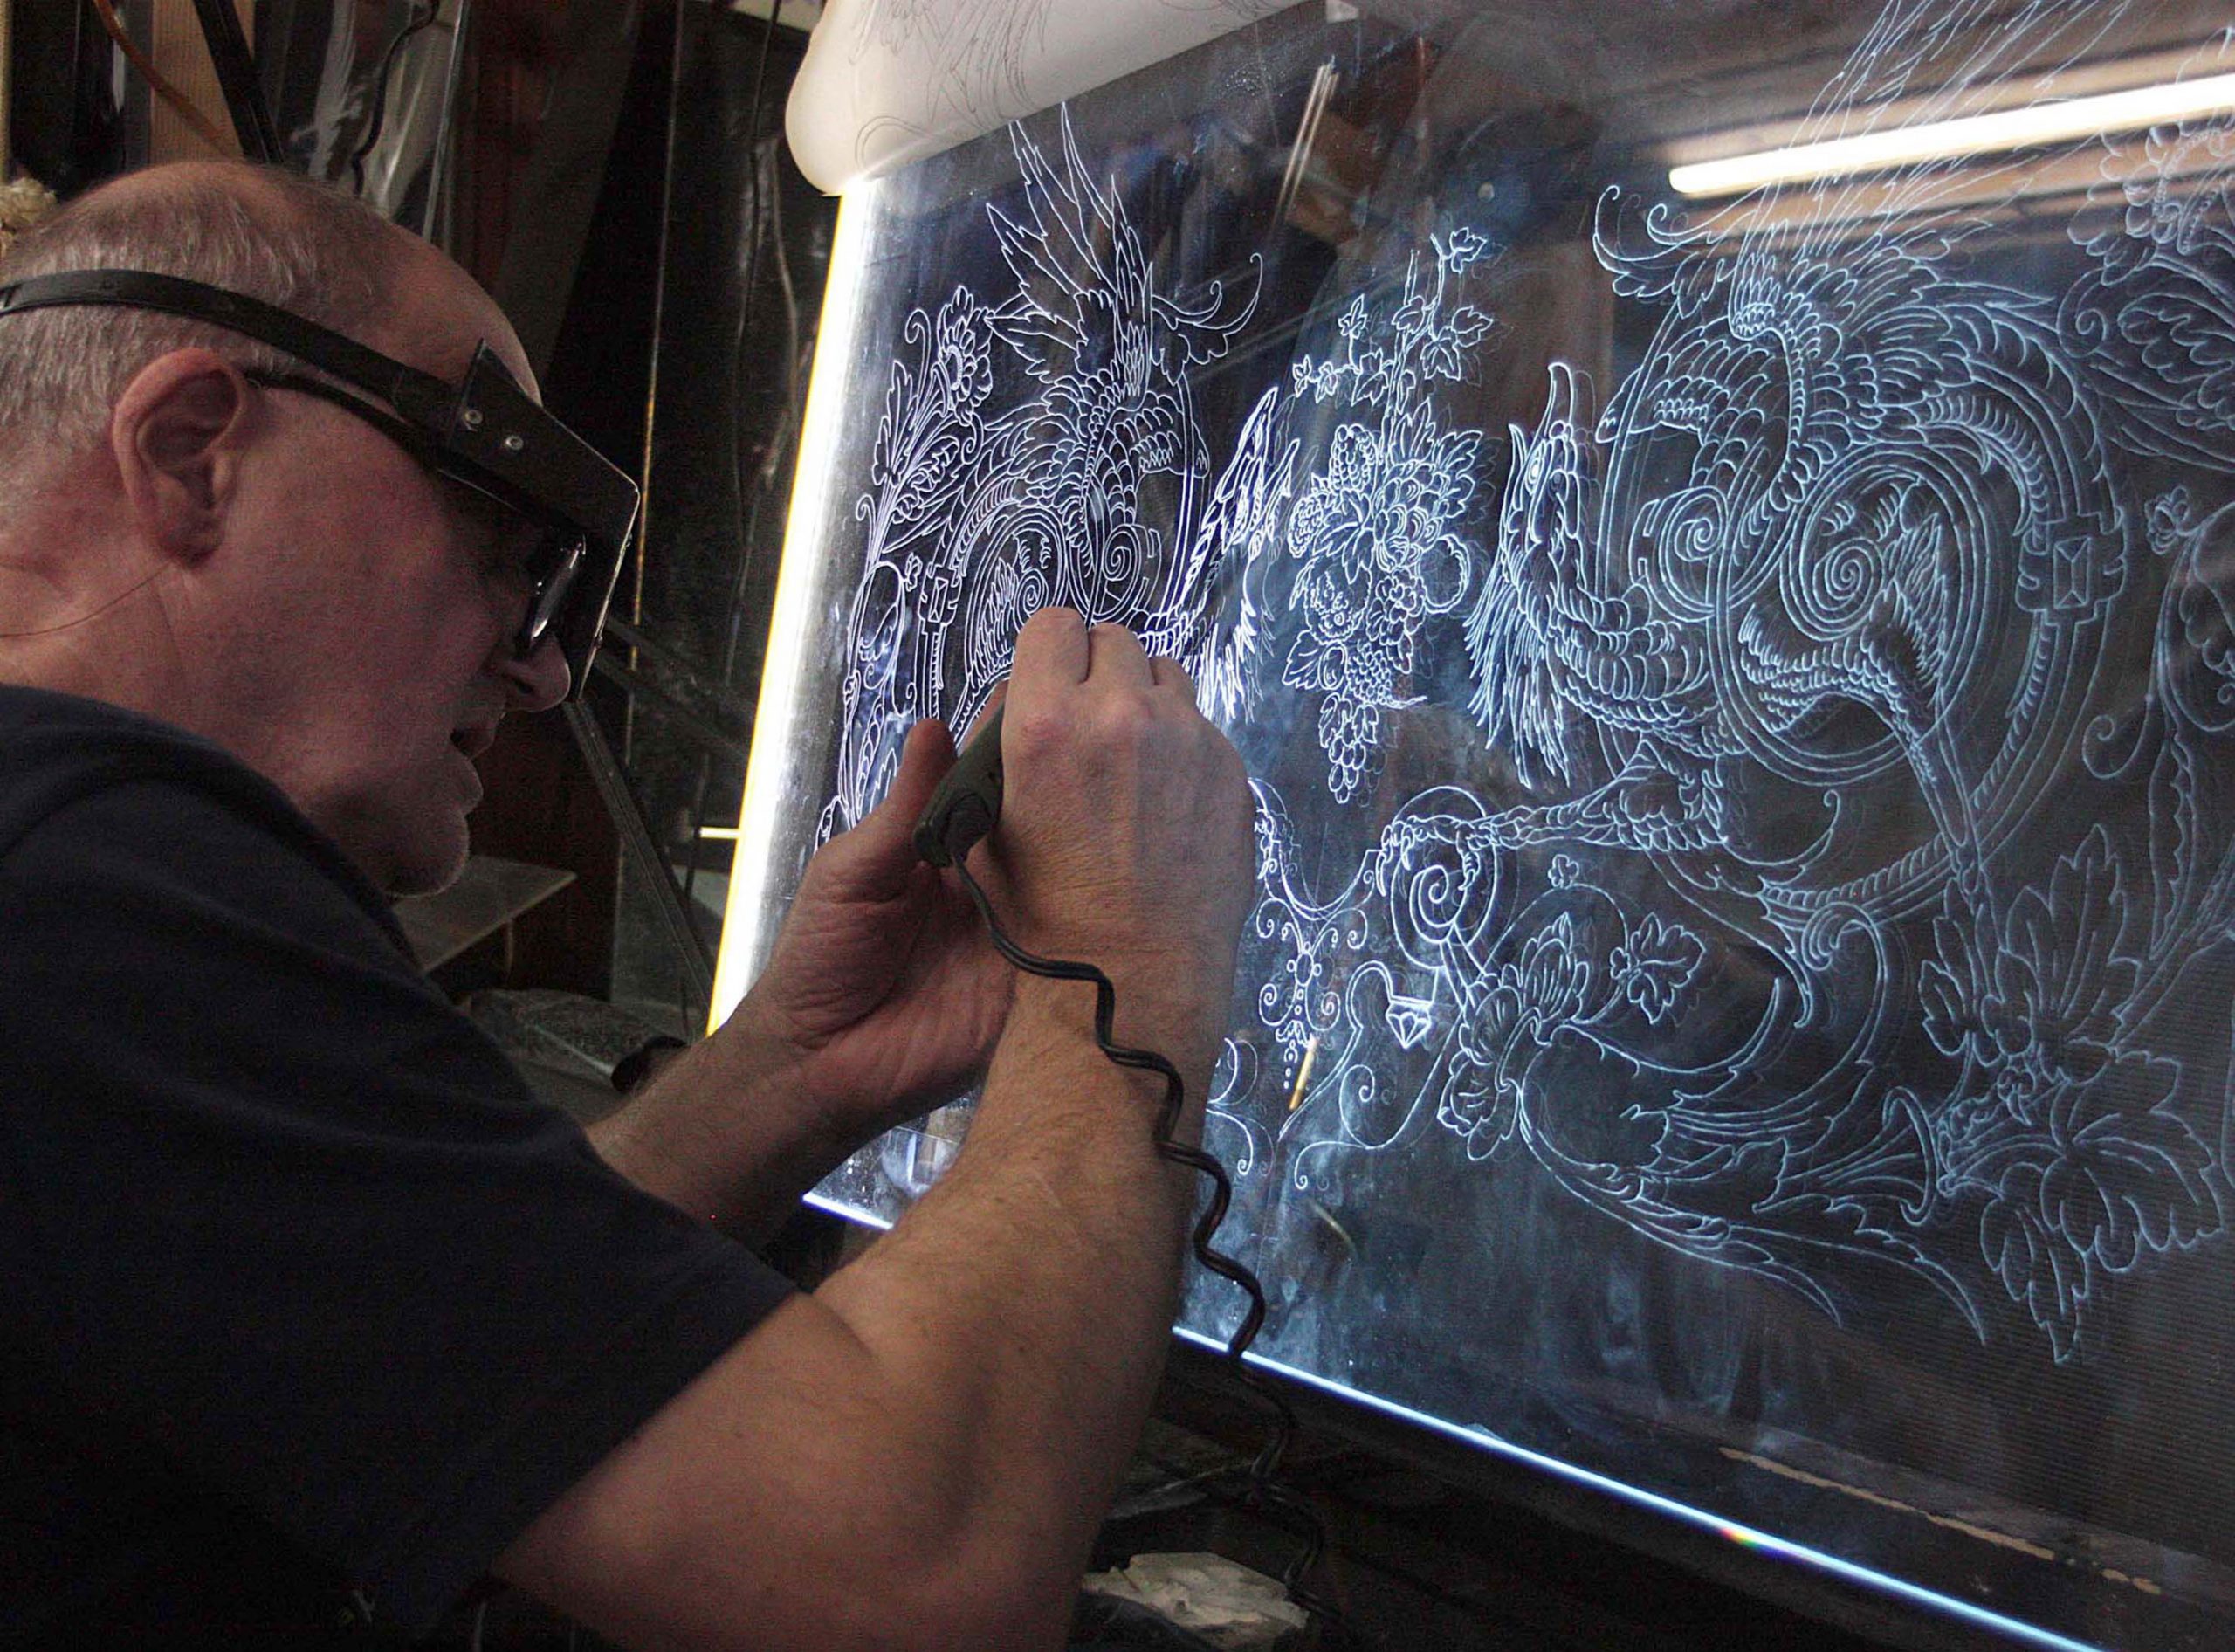
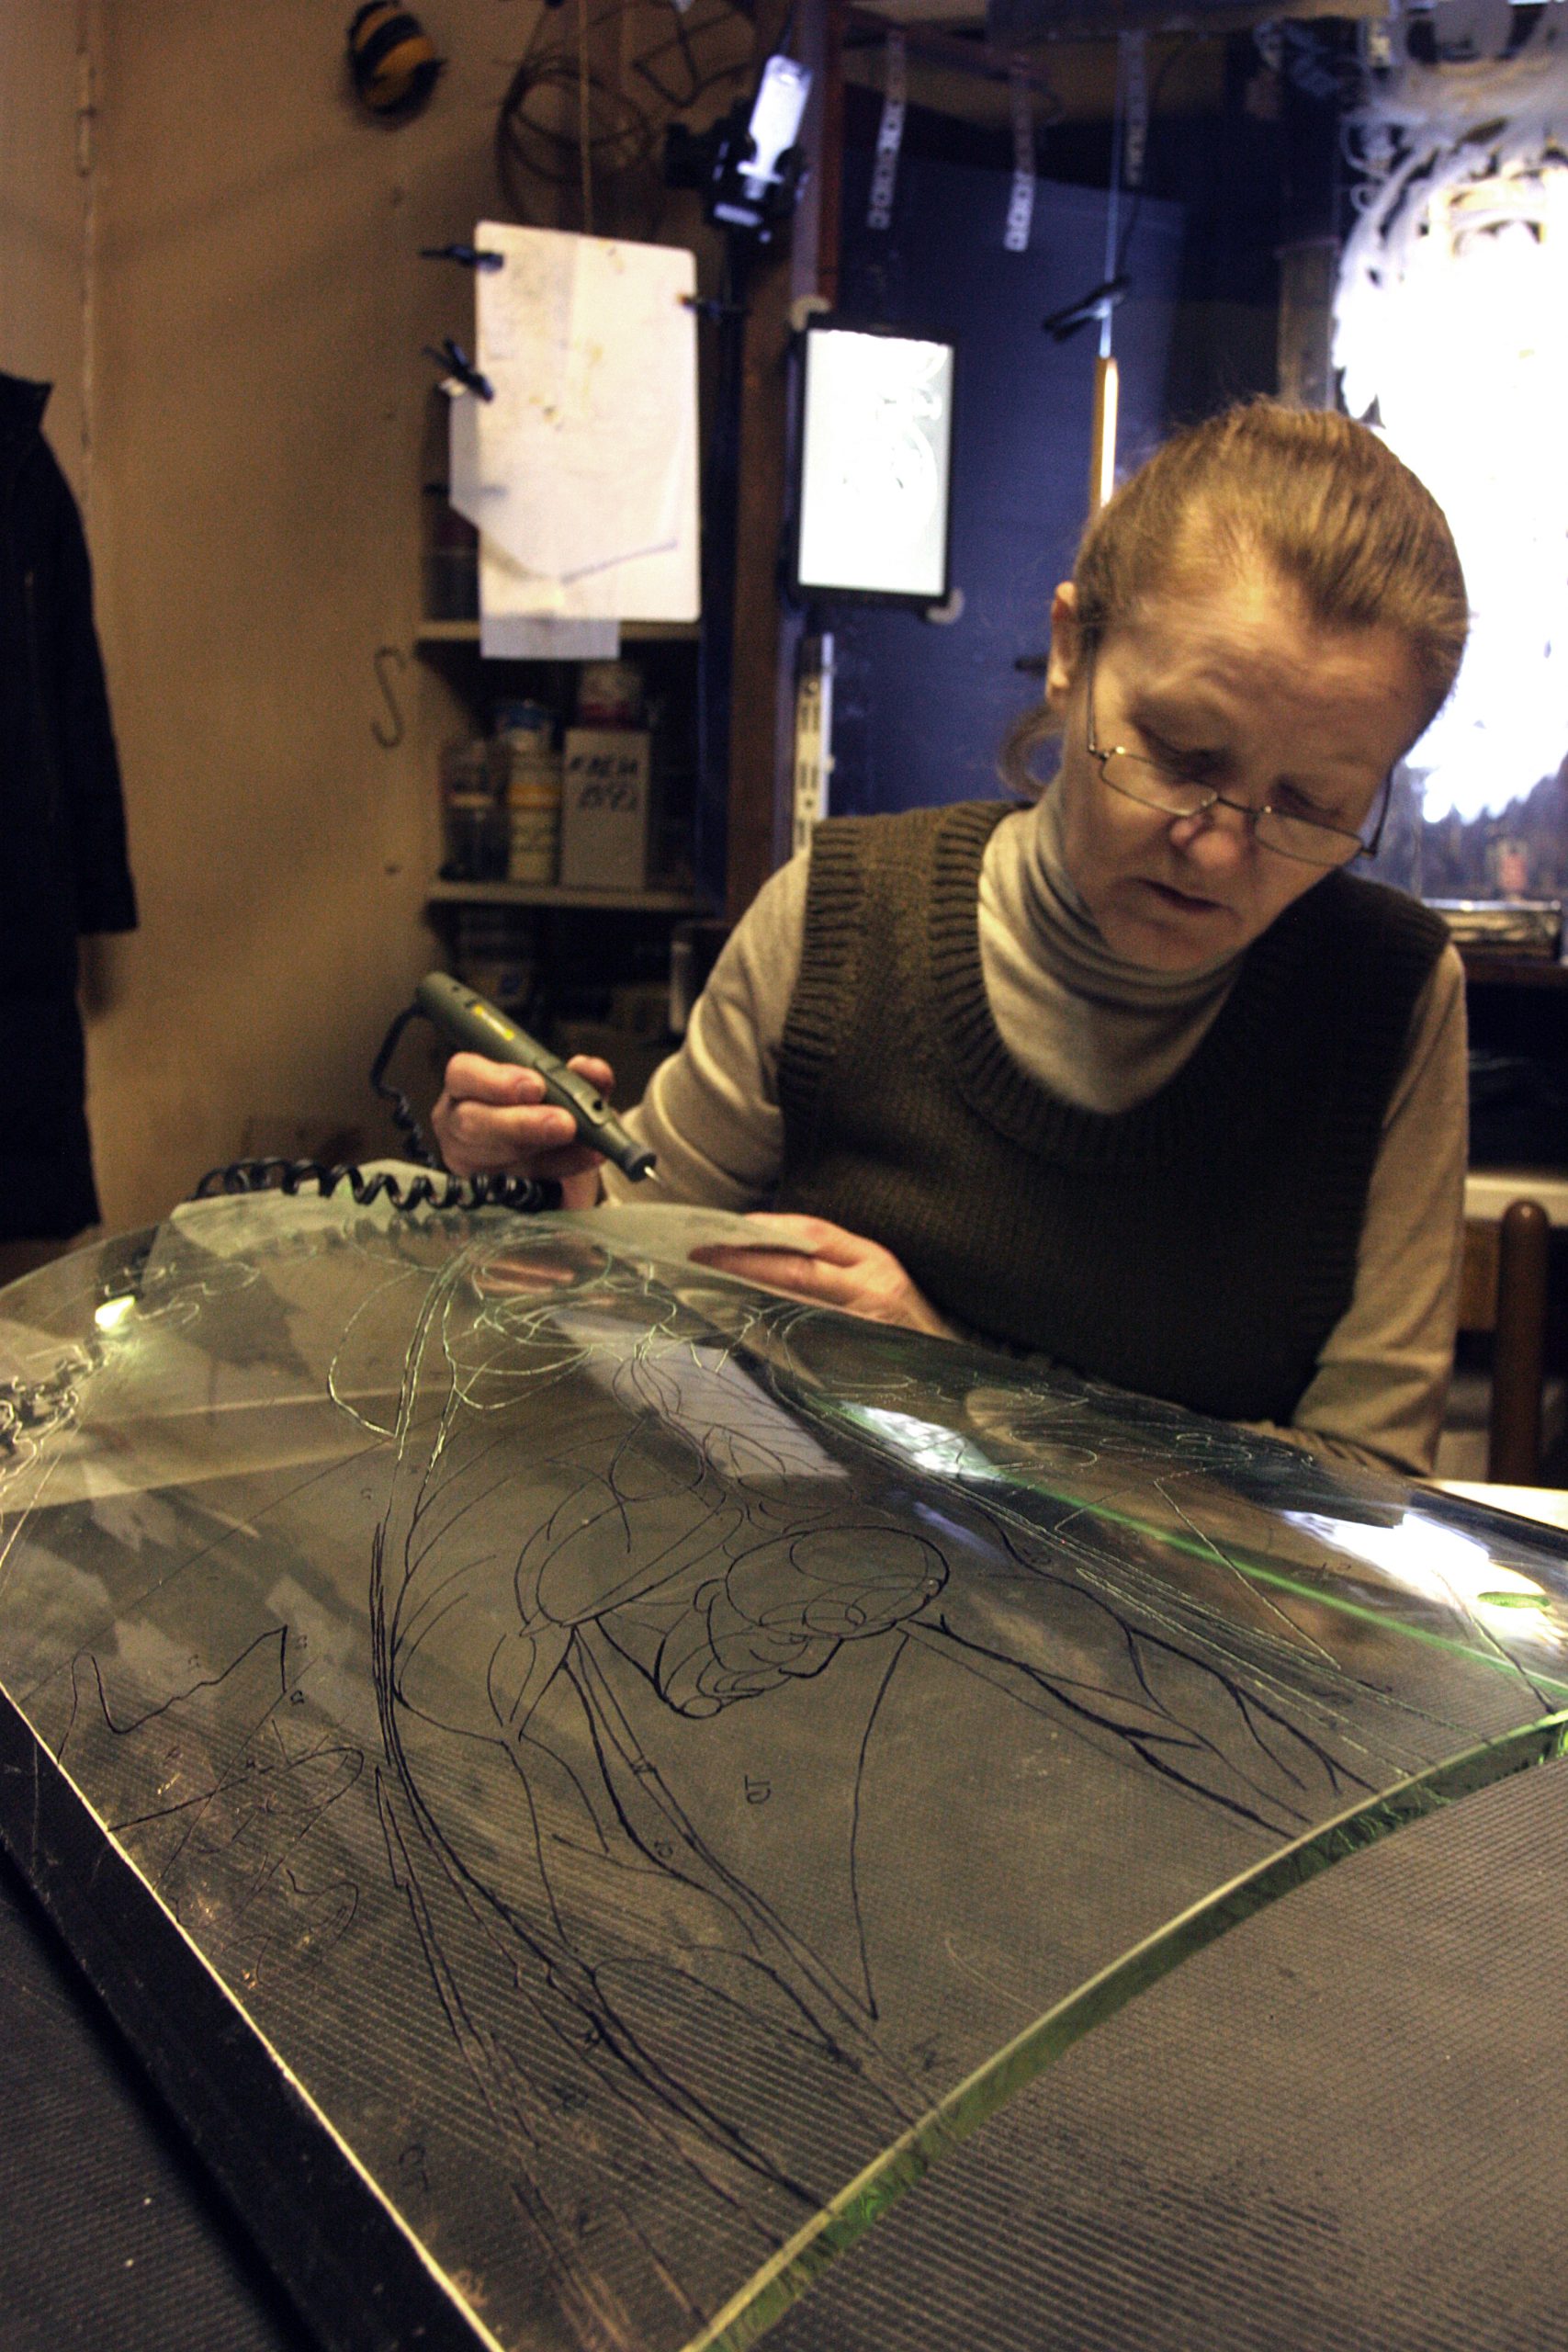
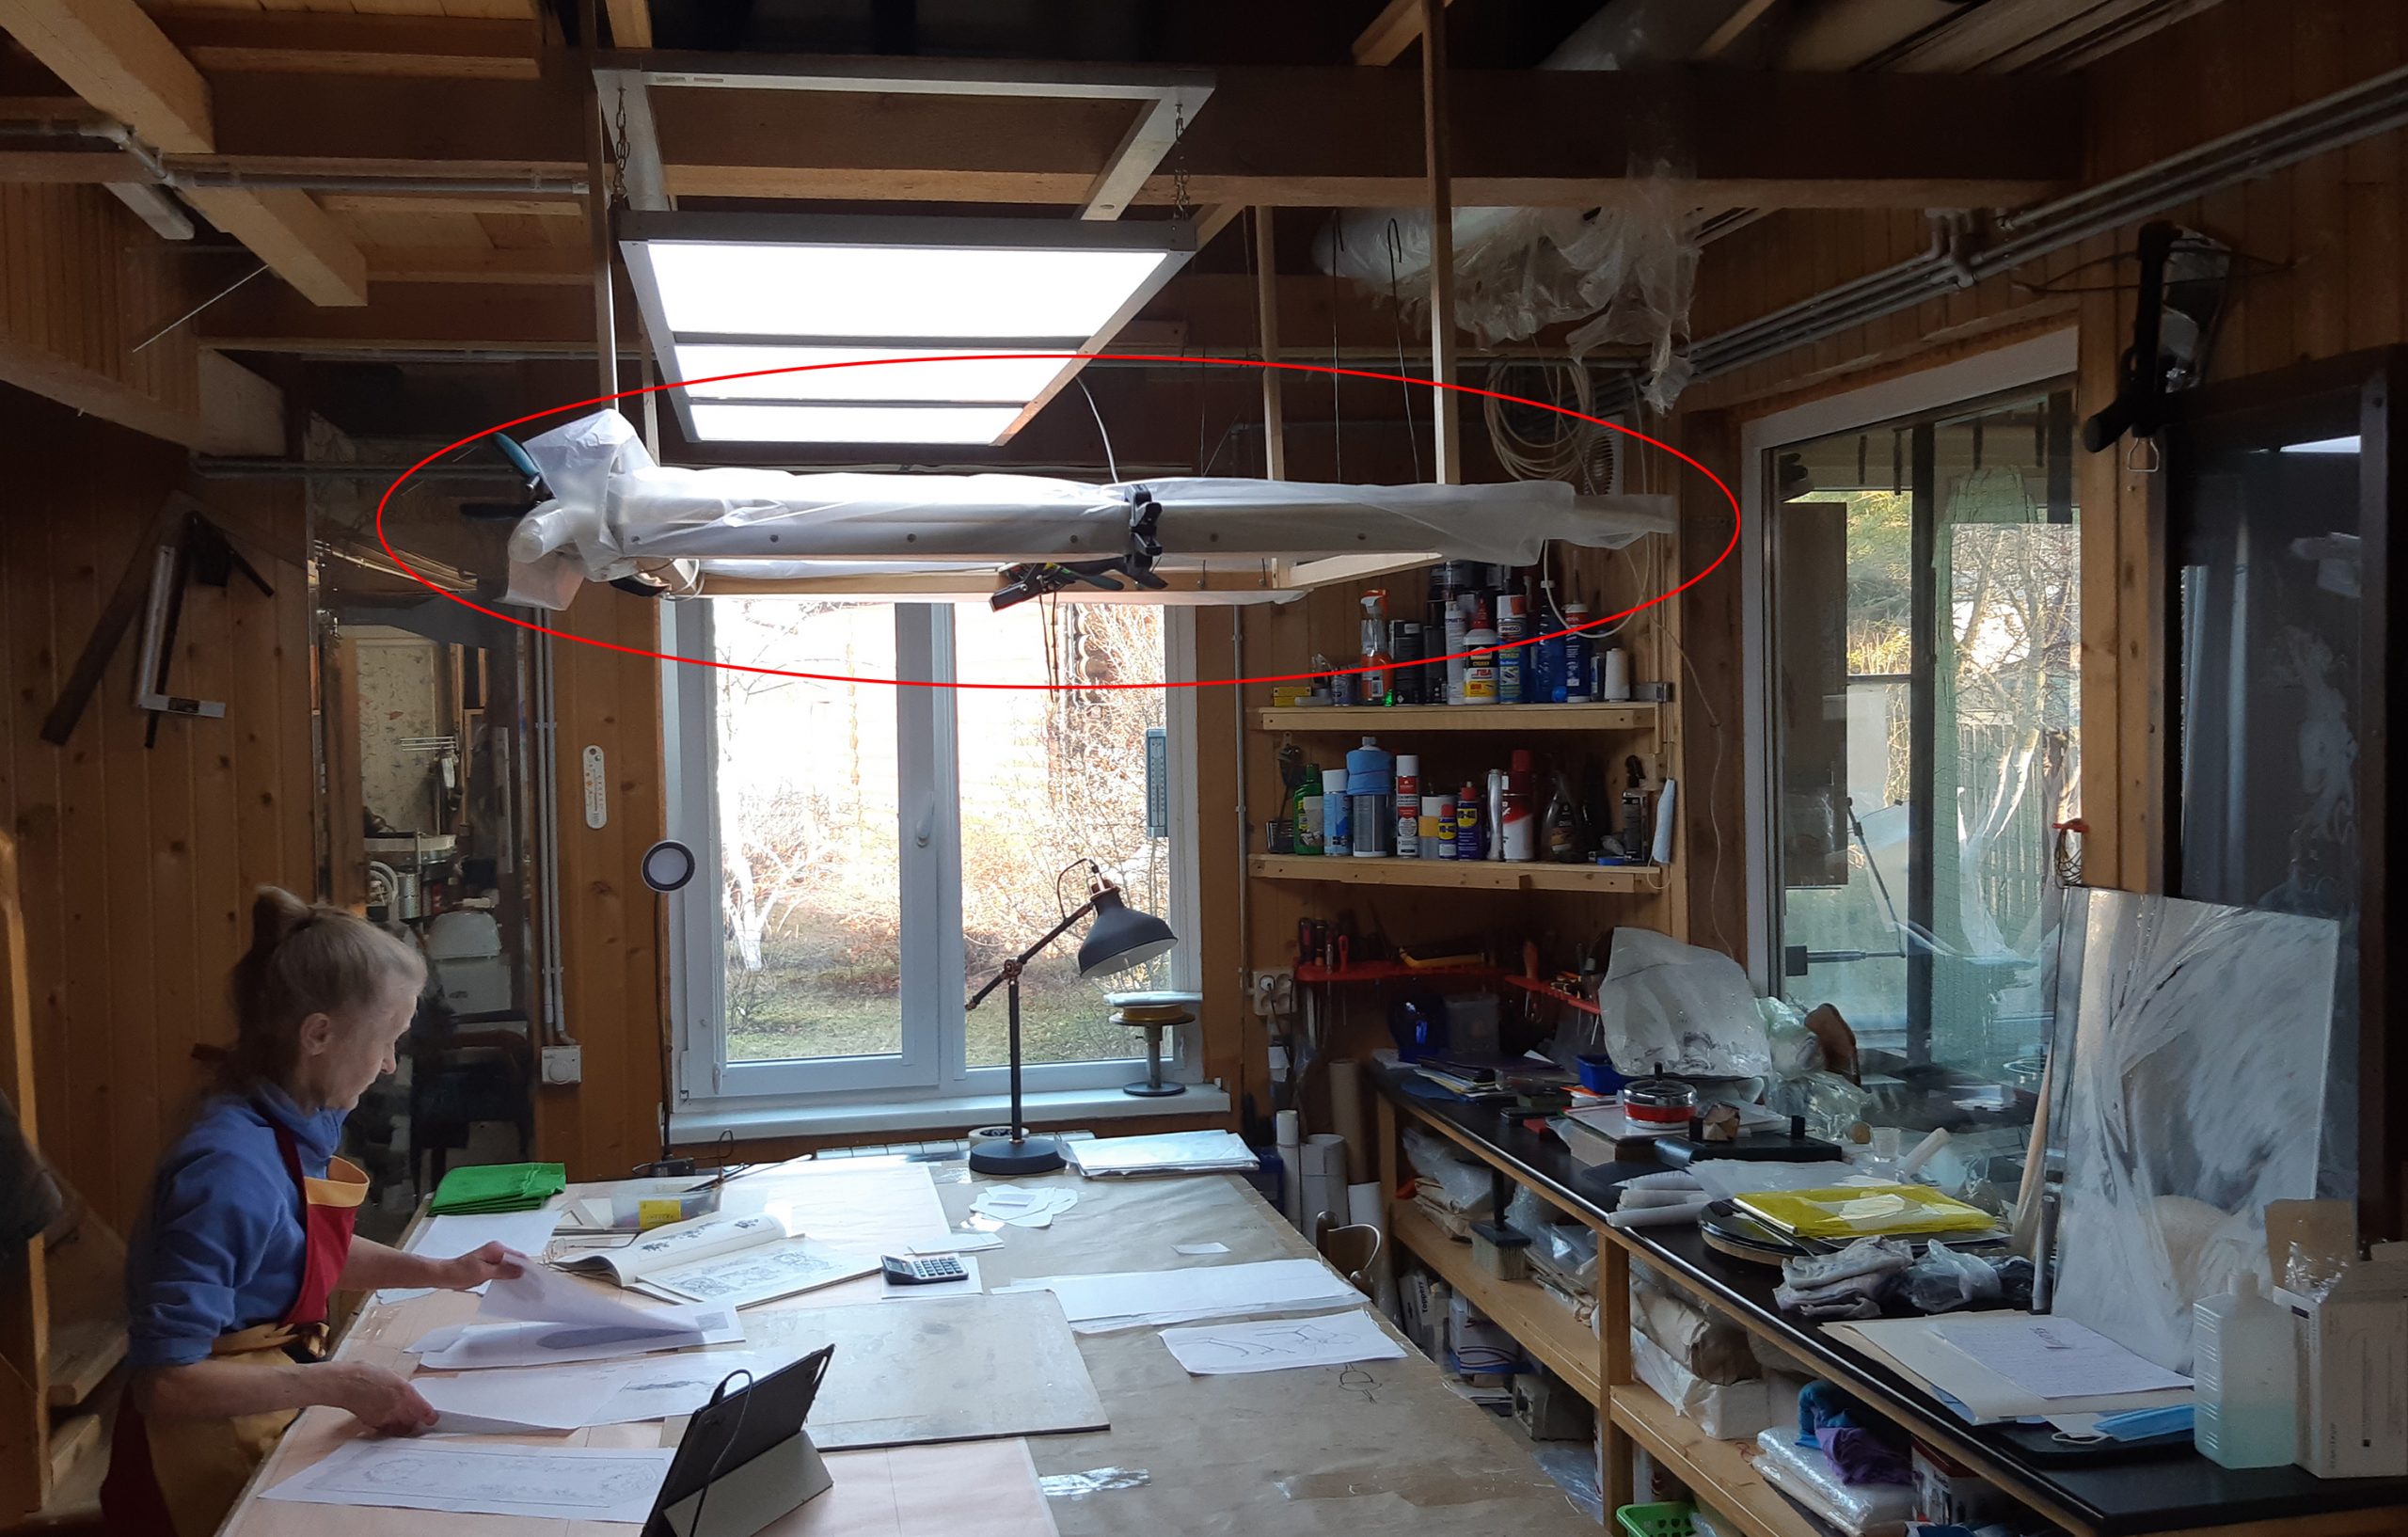
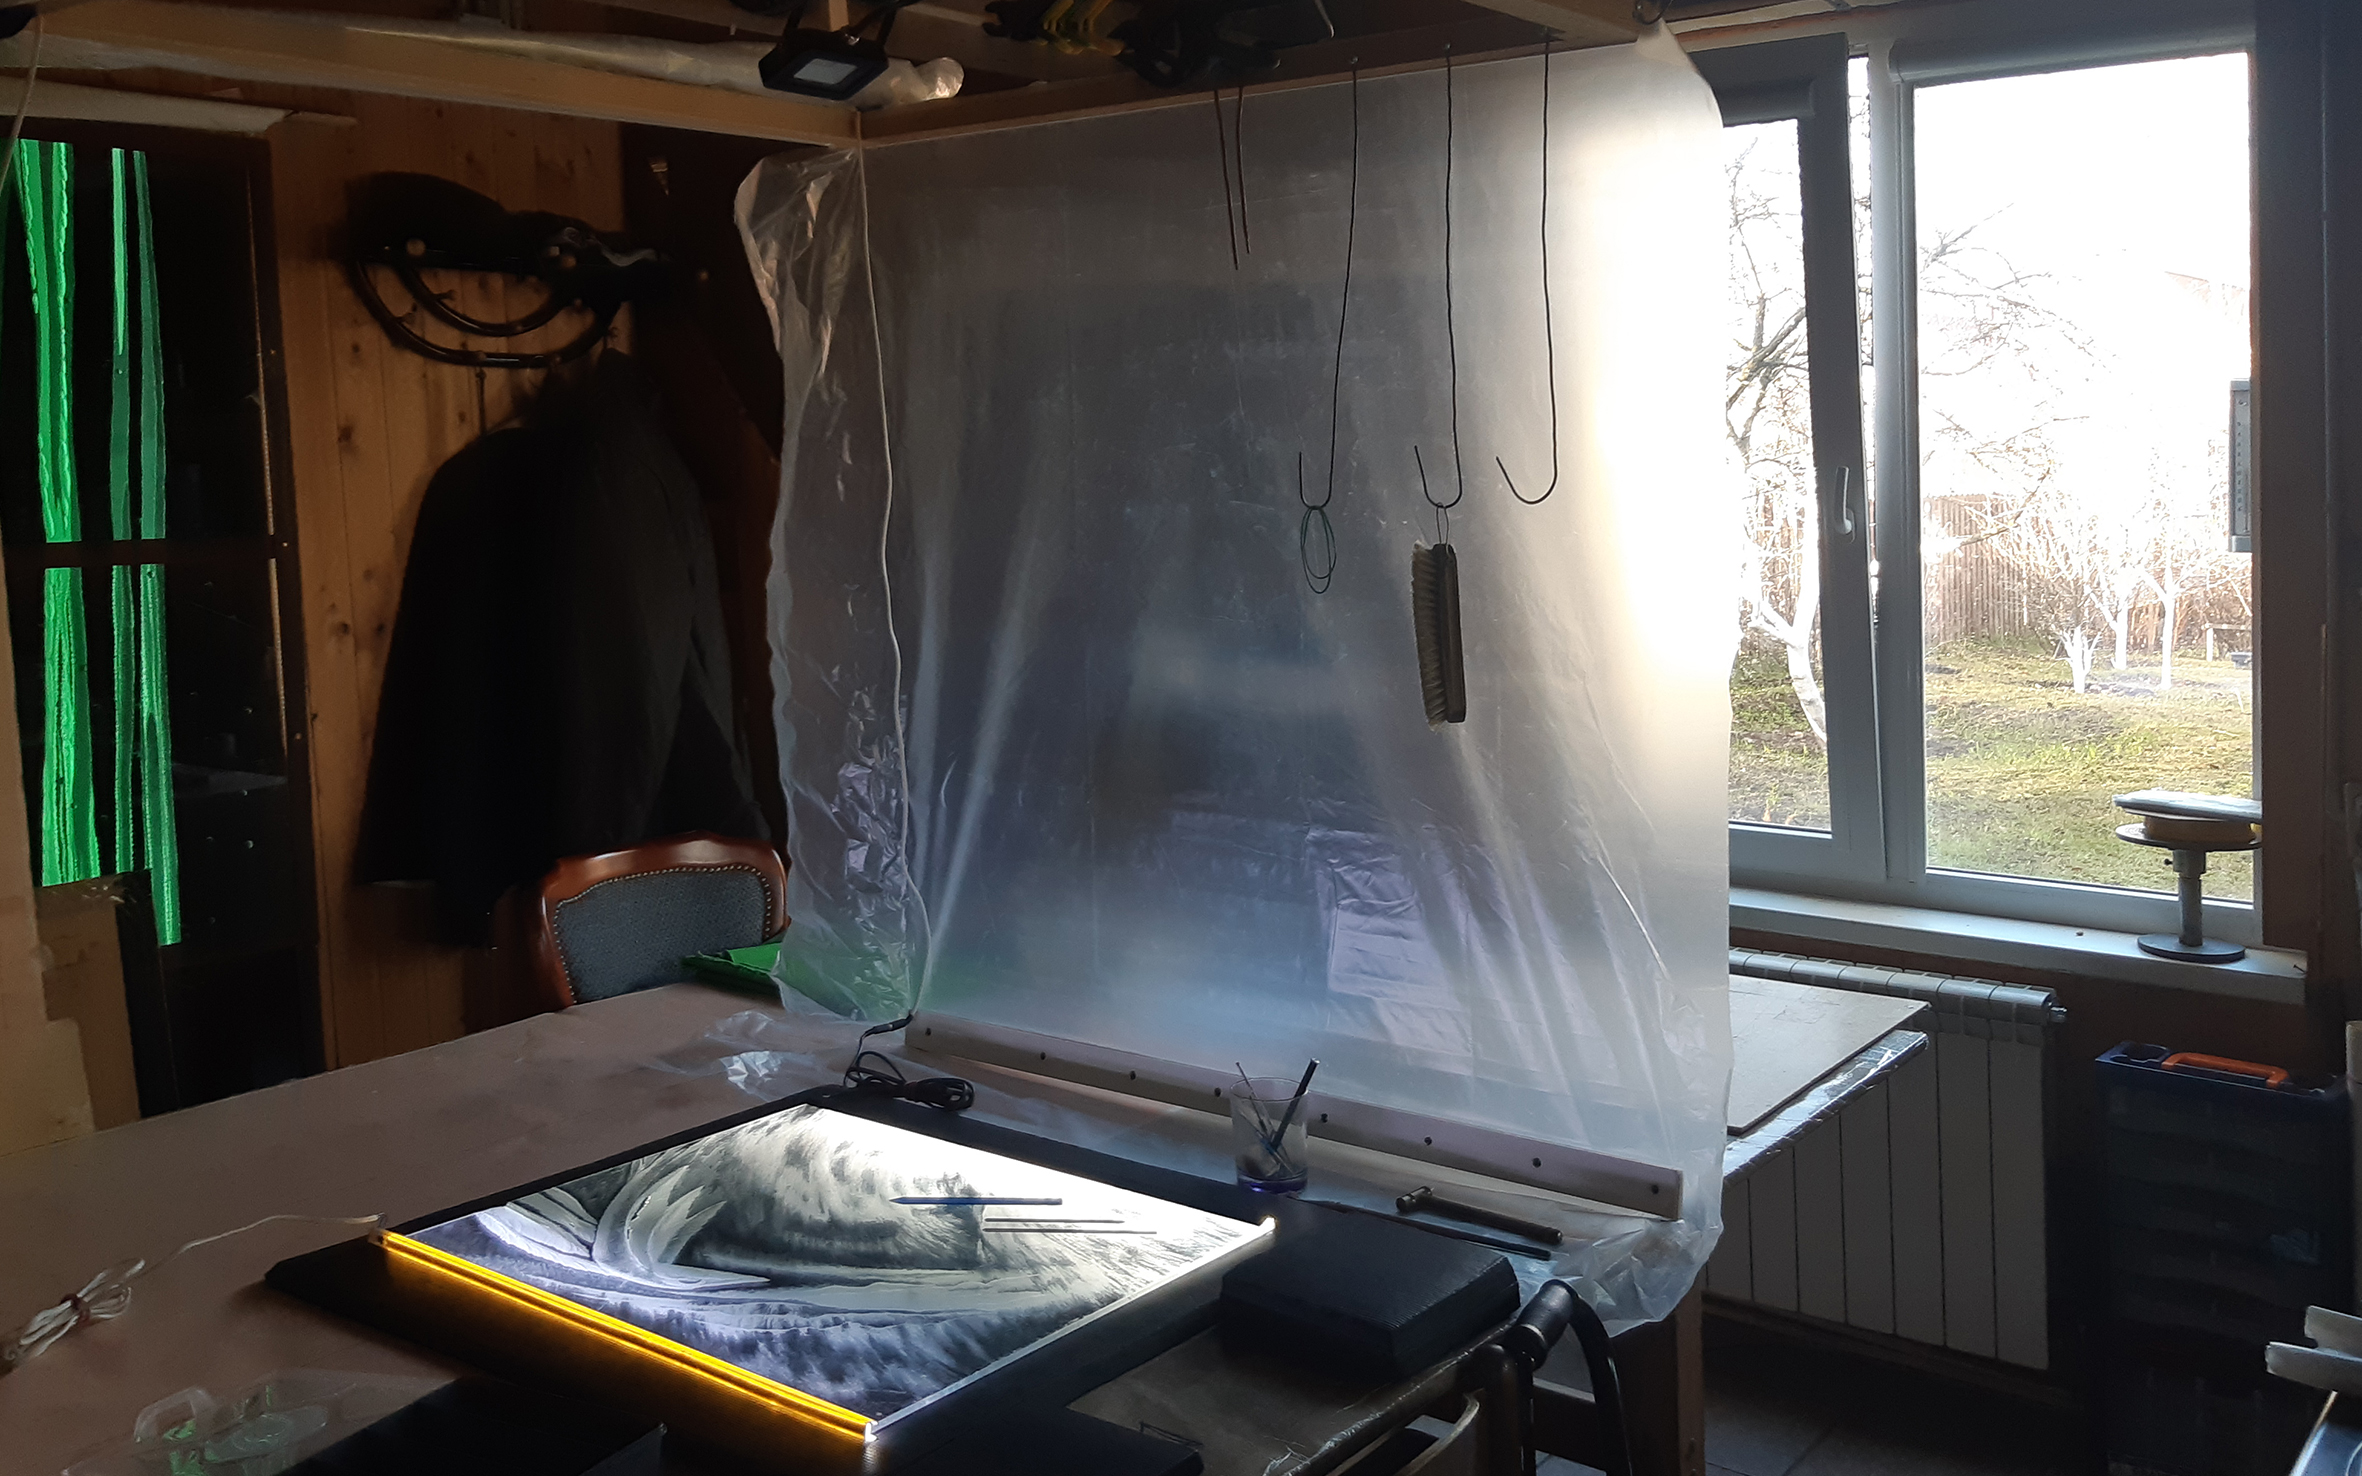
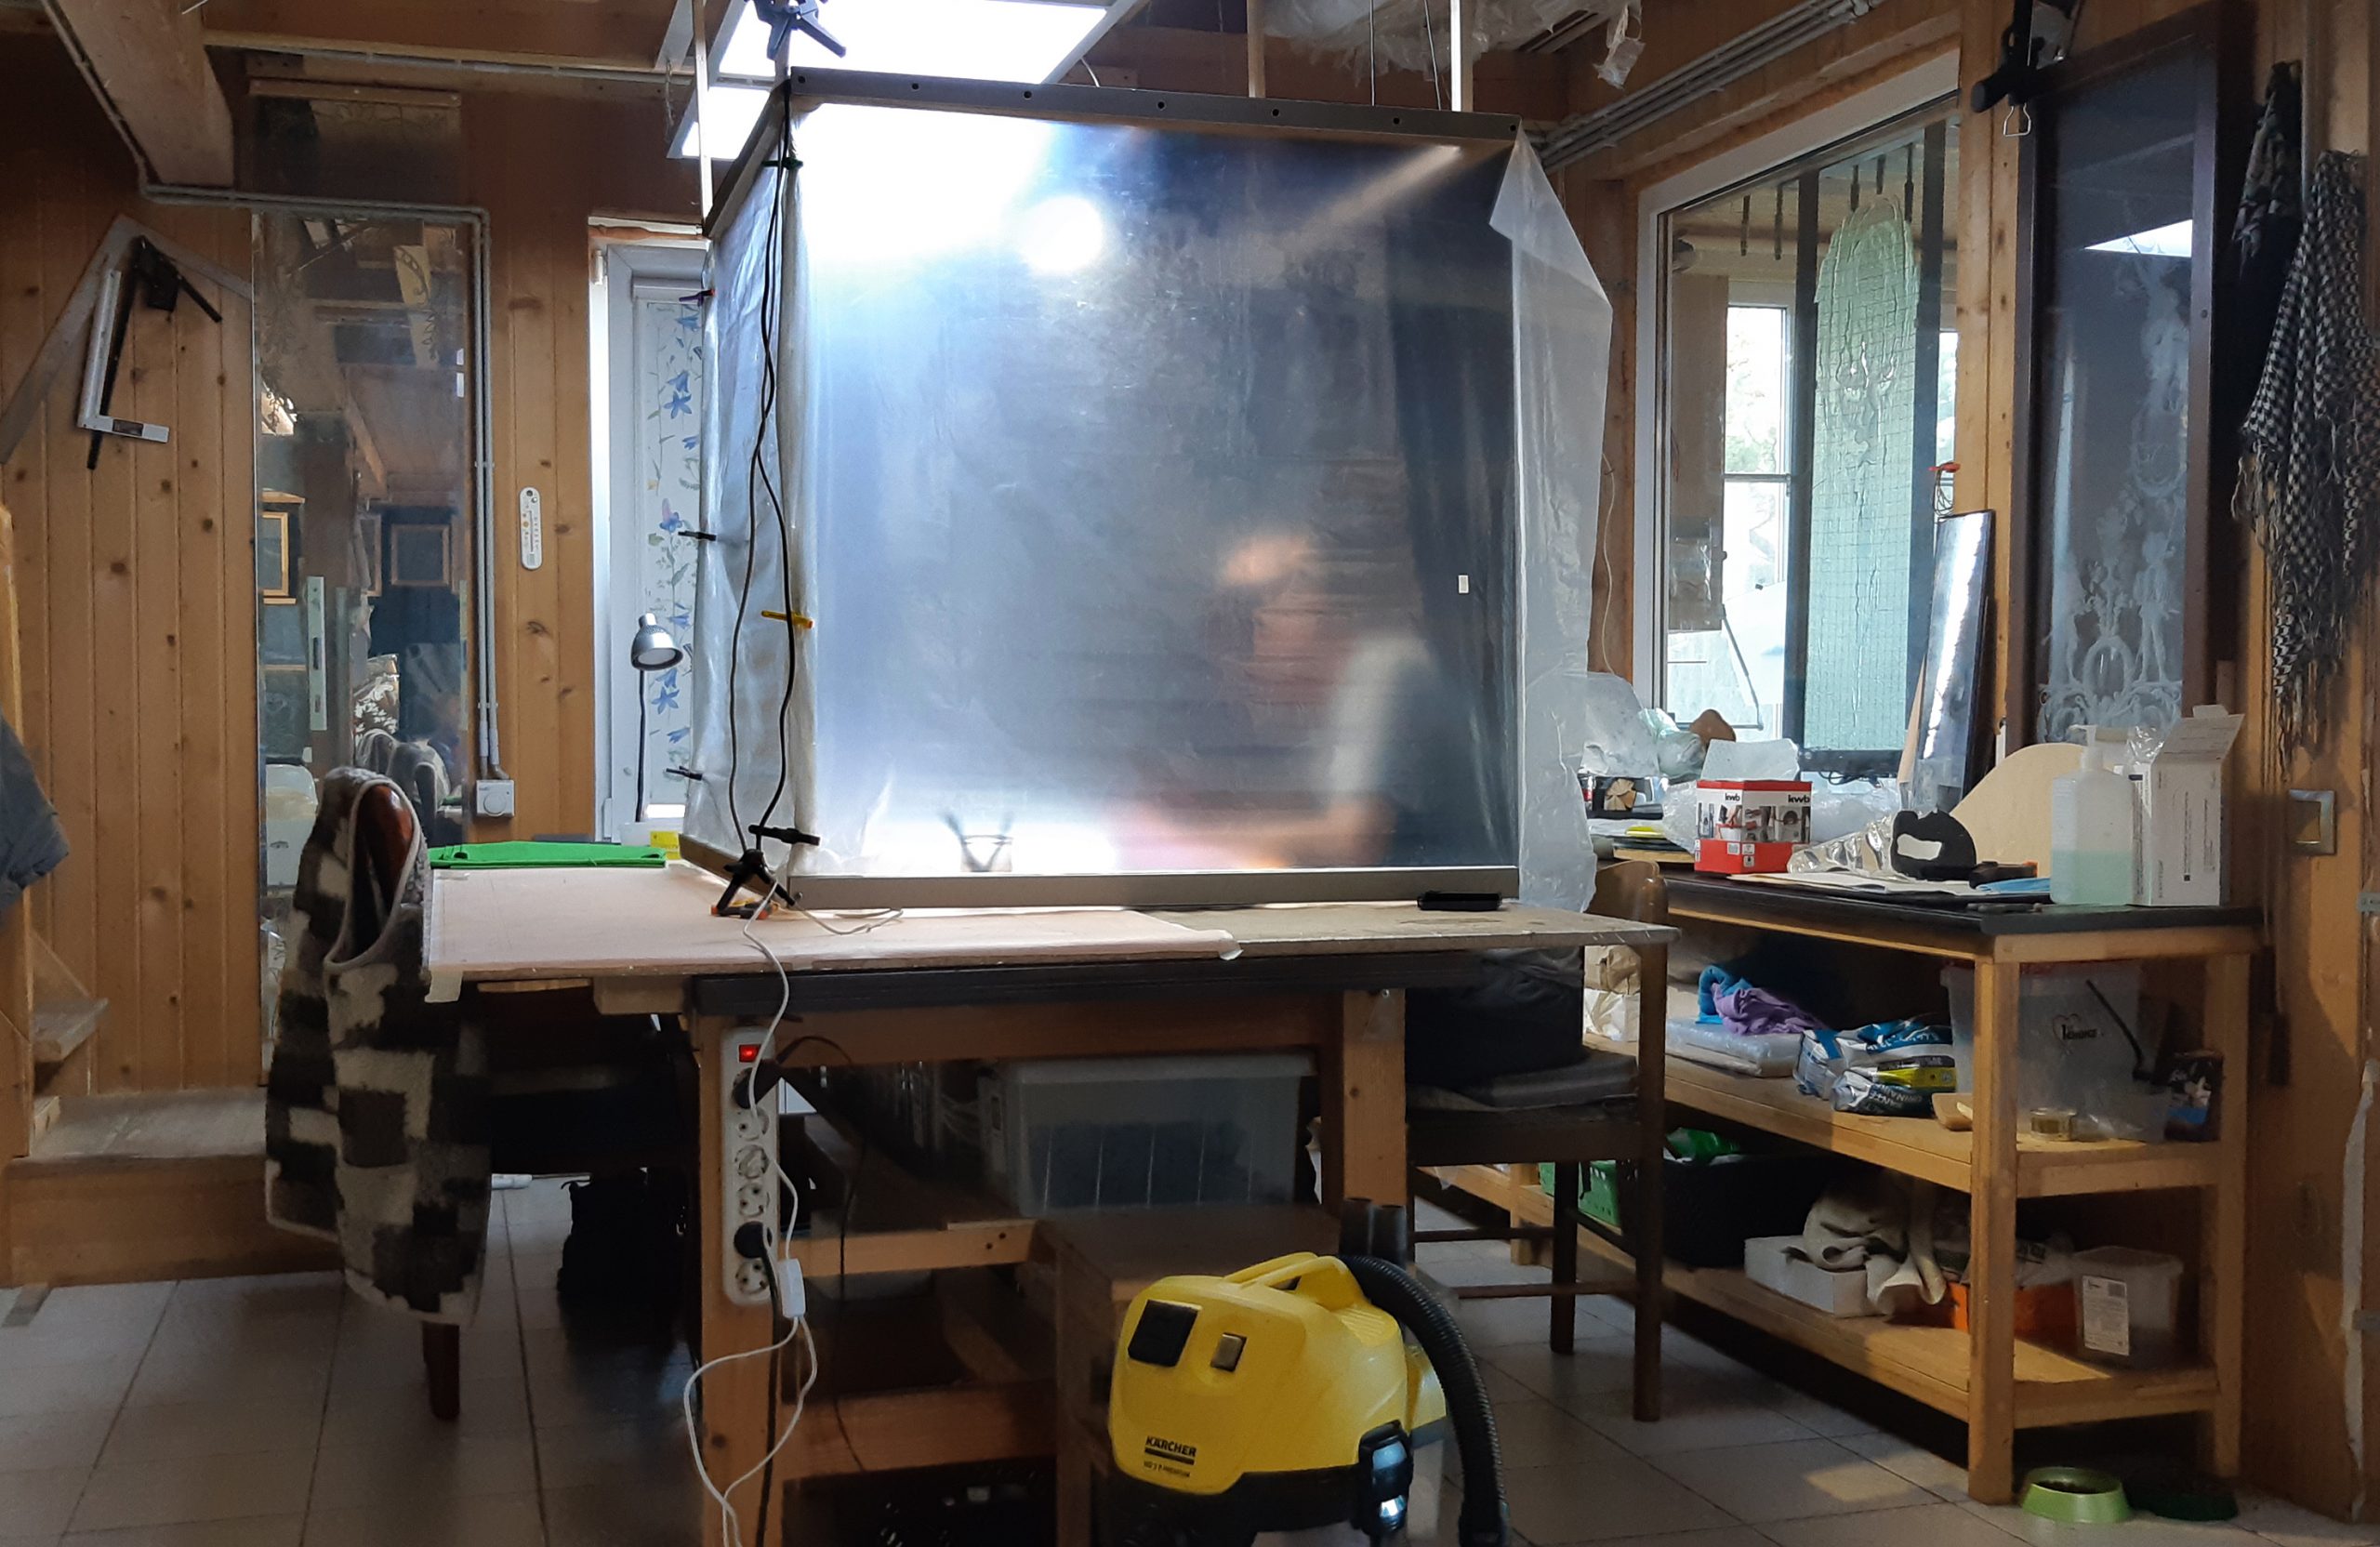
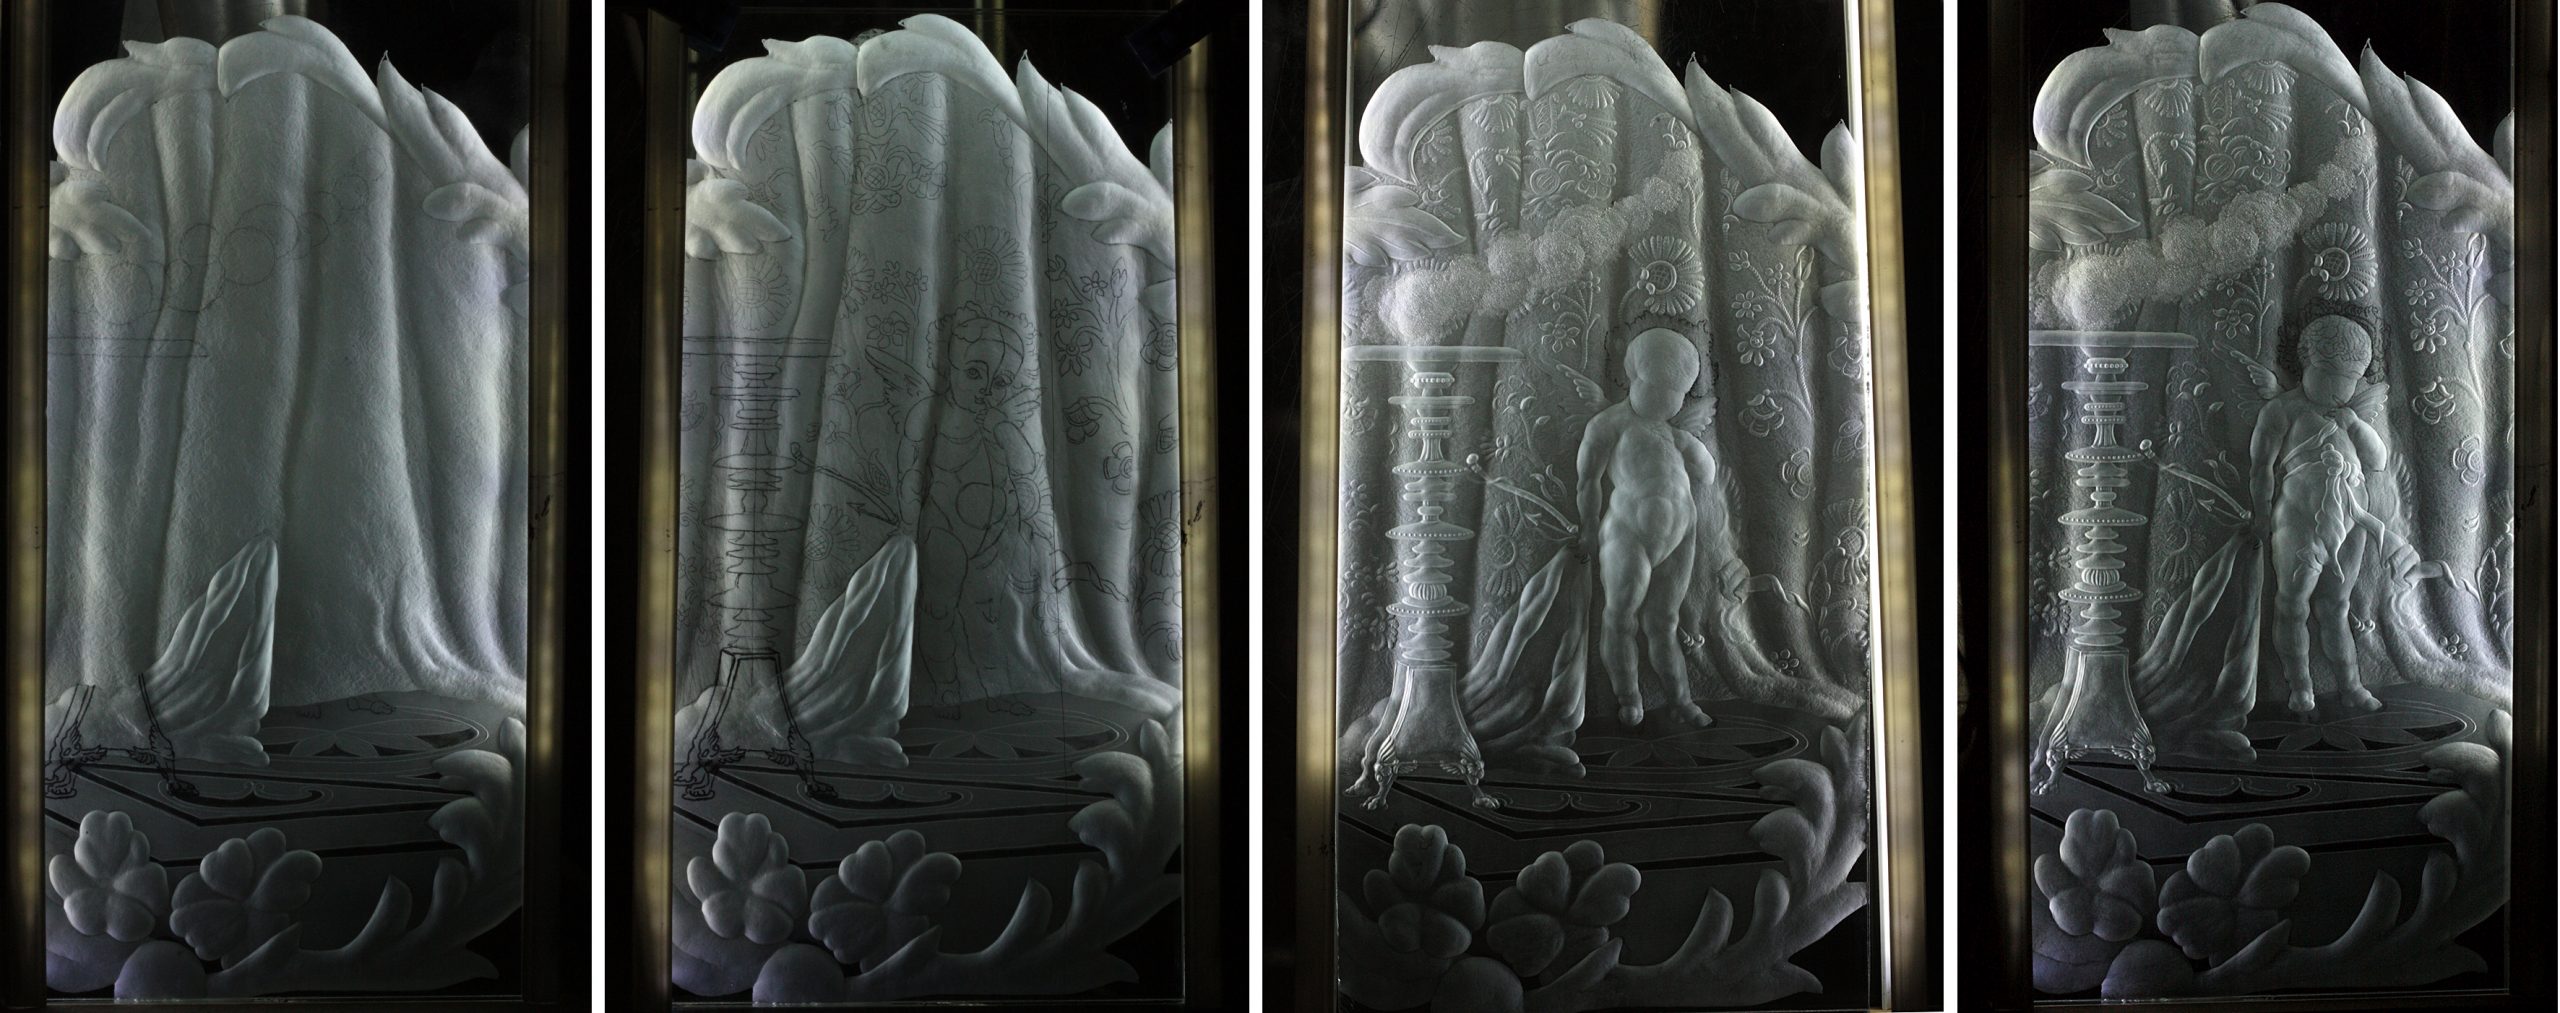
12) System of main and additional abrasive wheels for engraving.
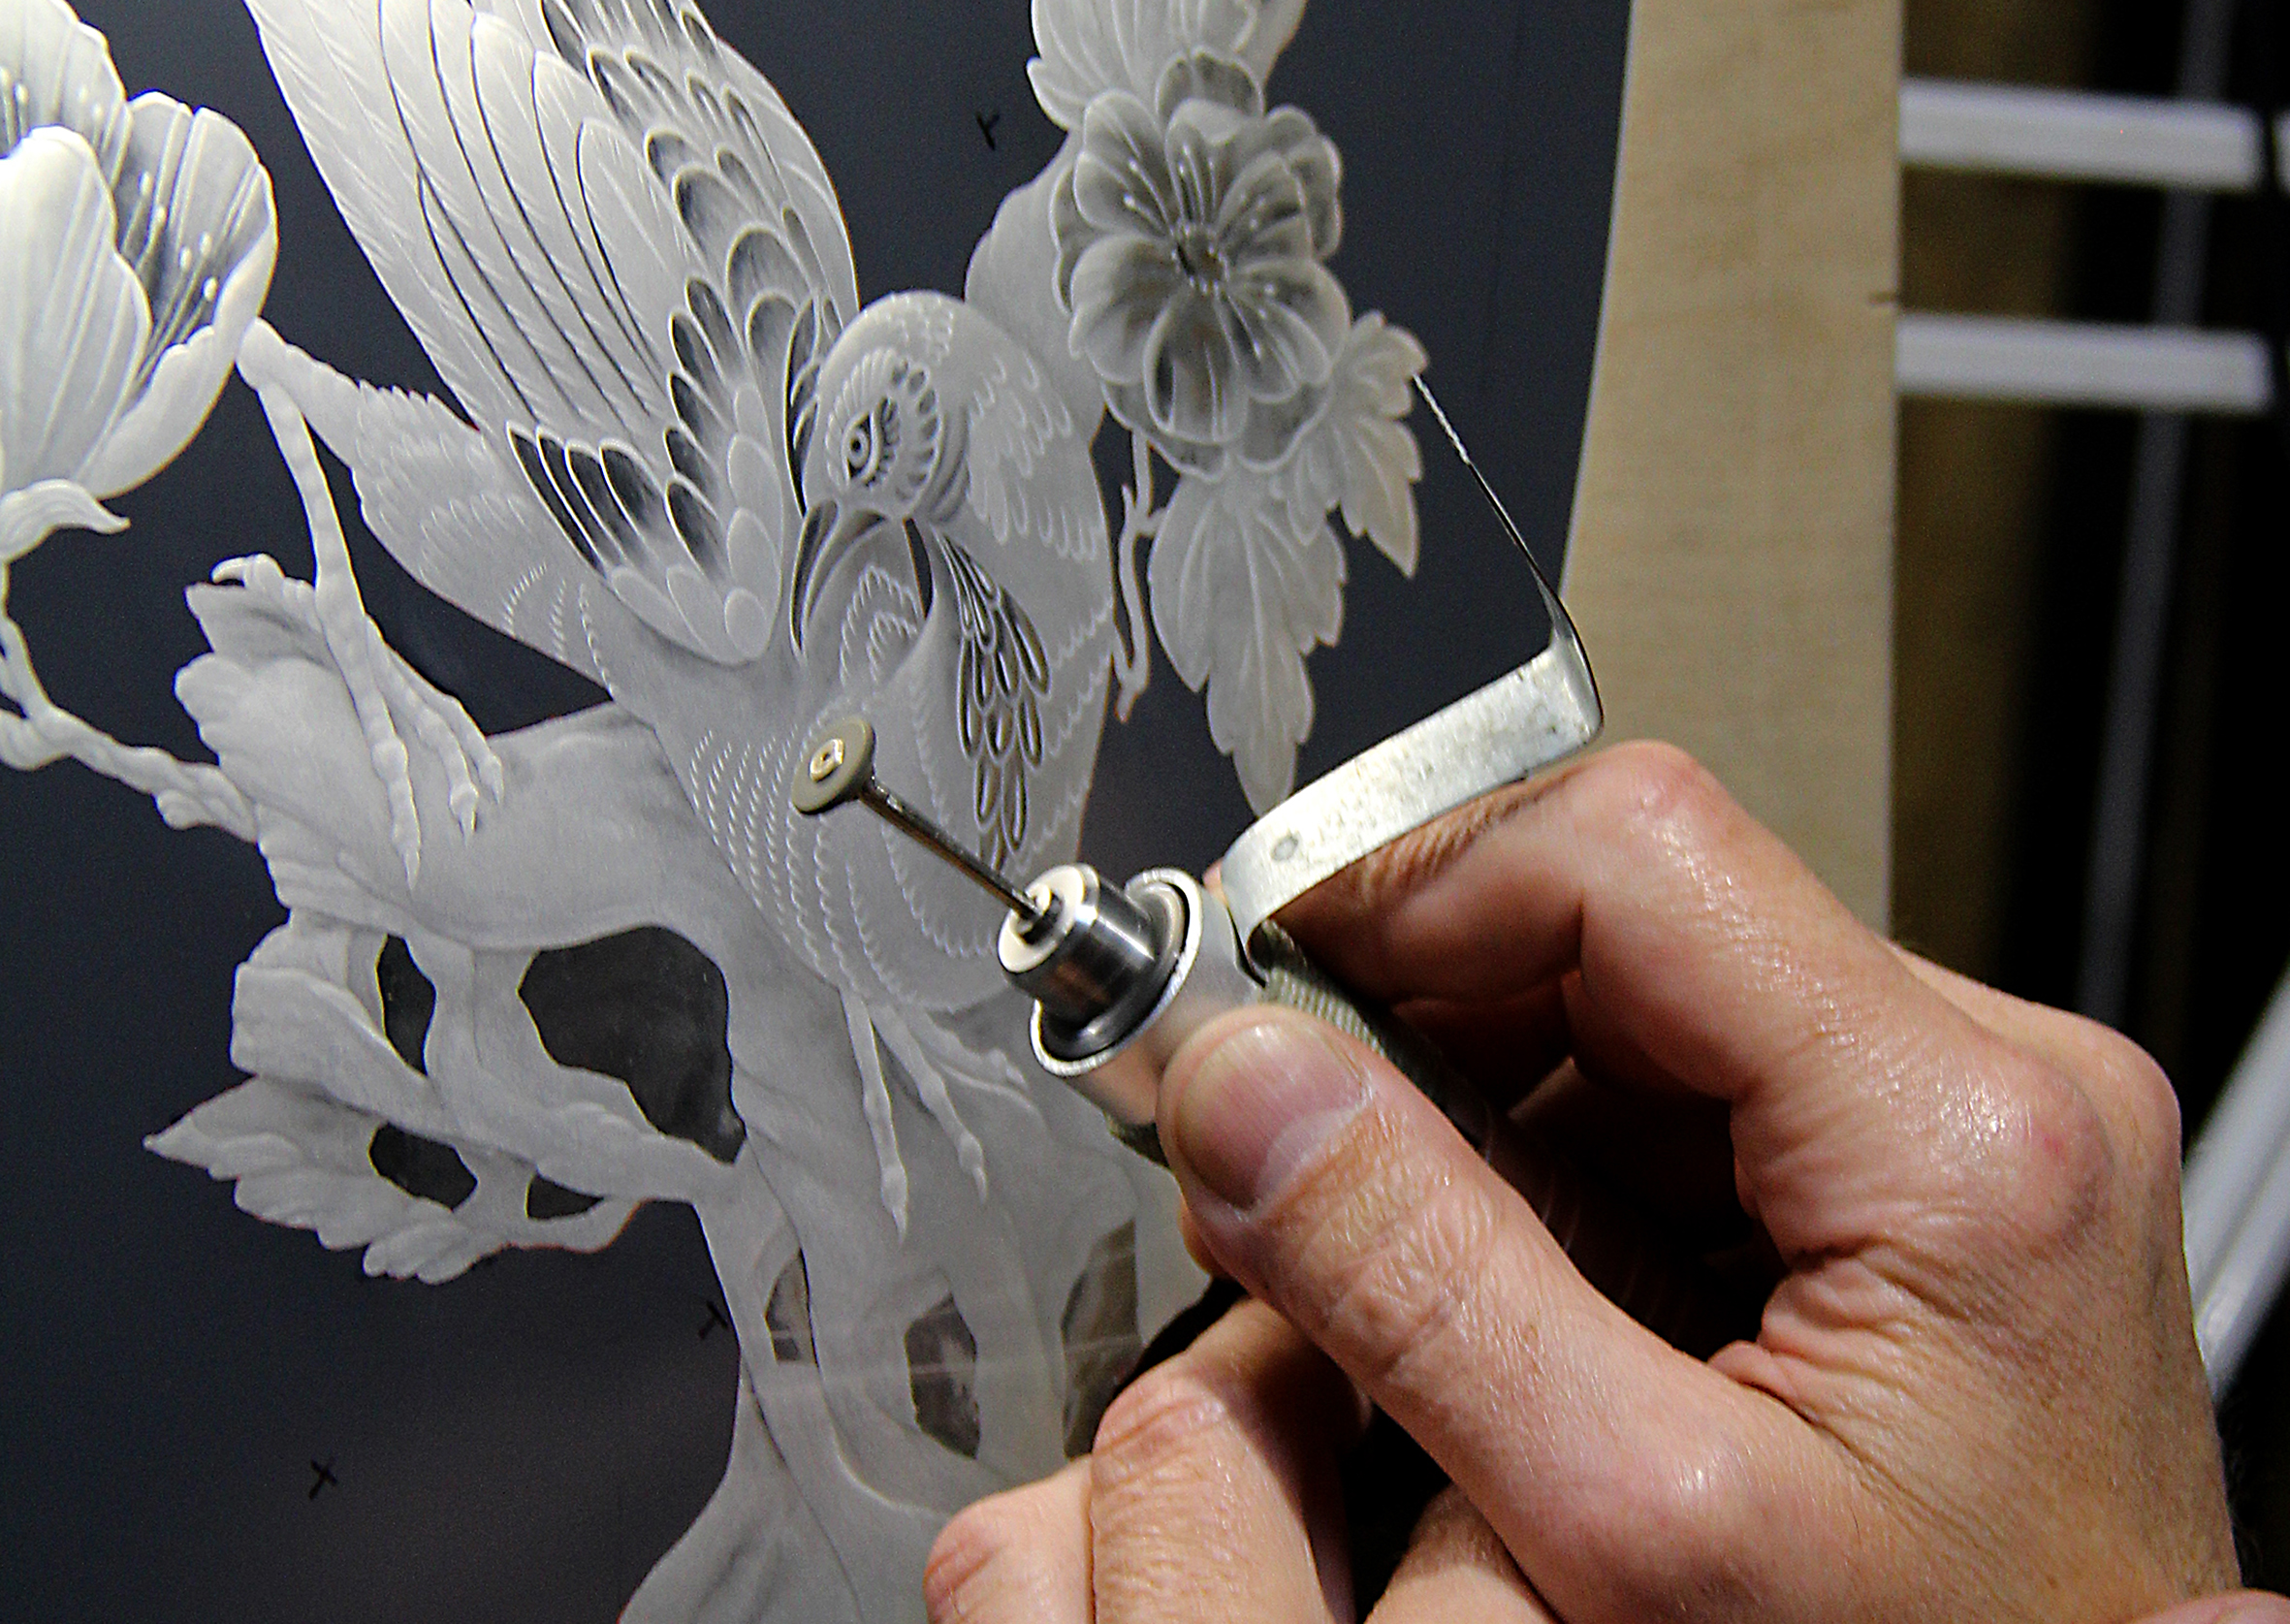
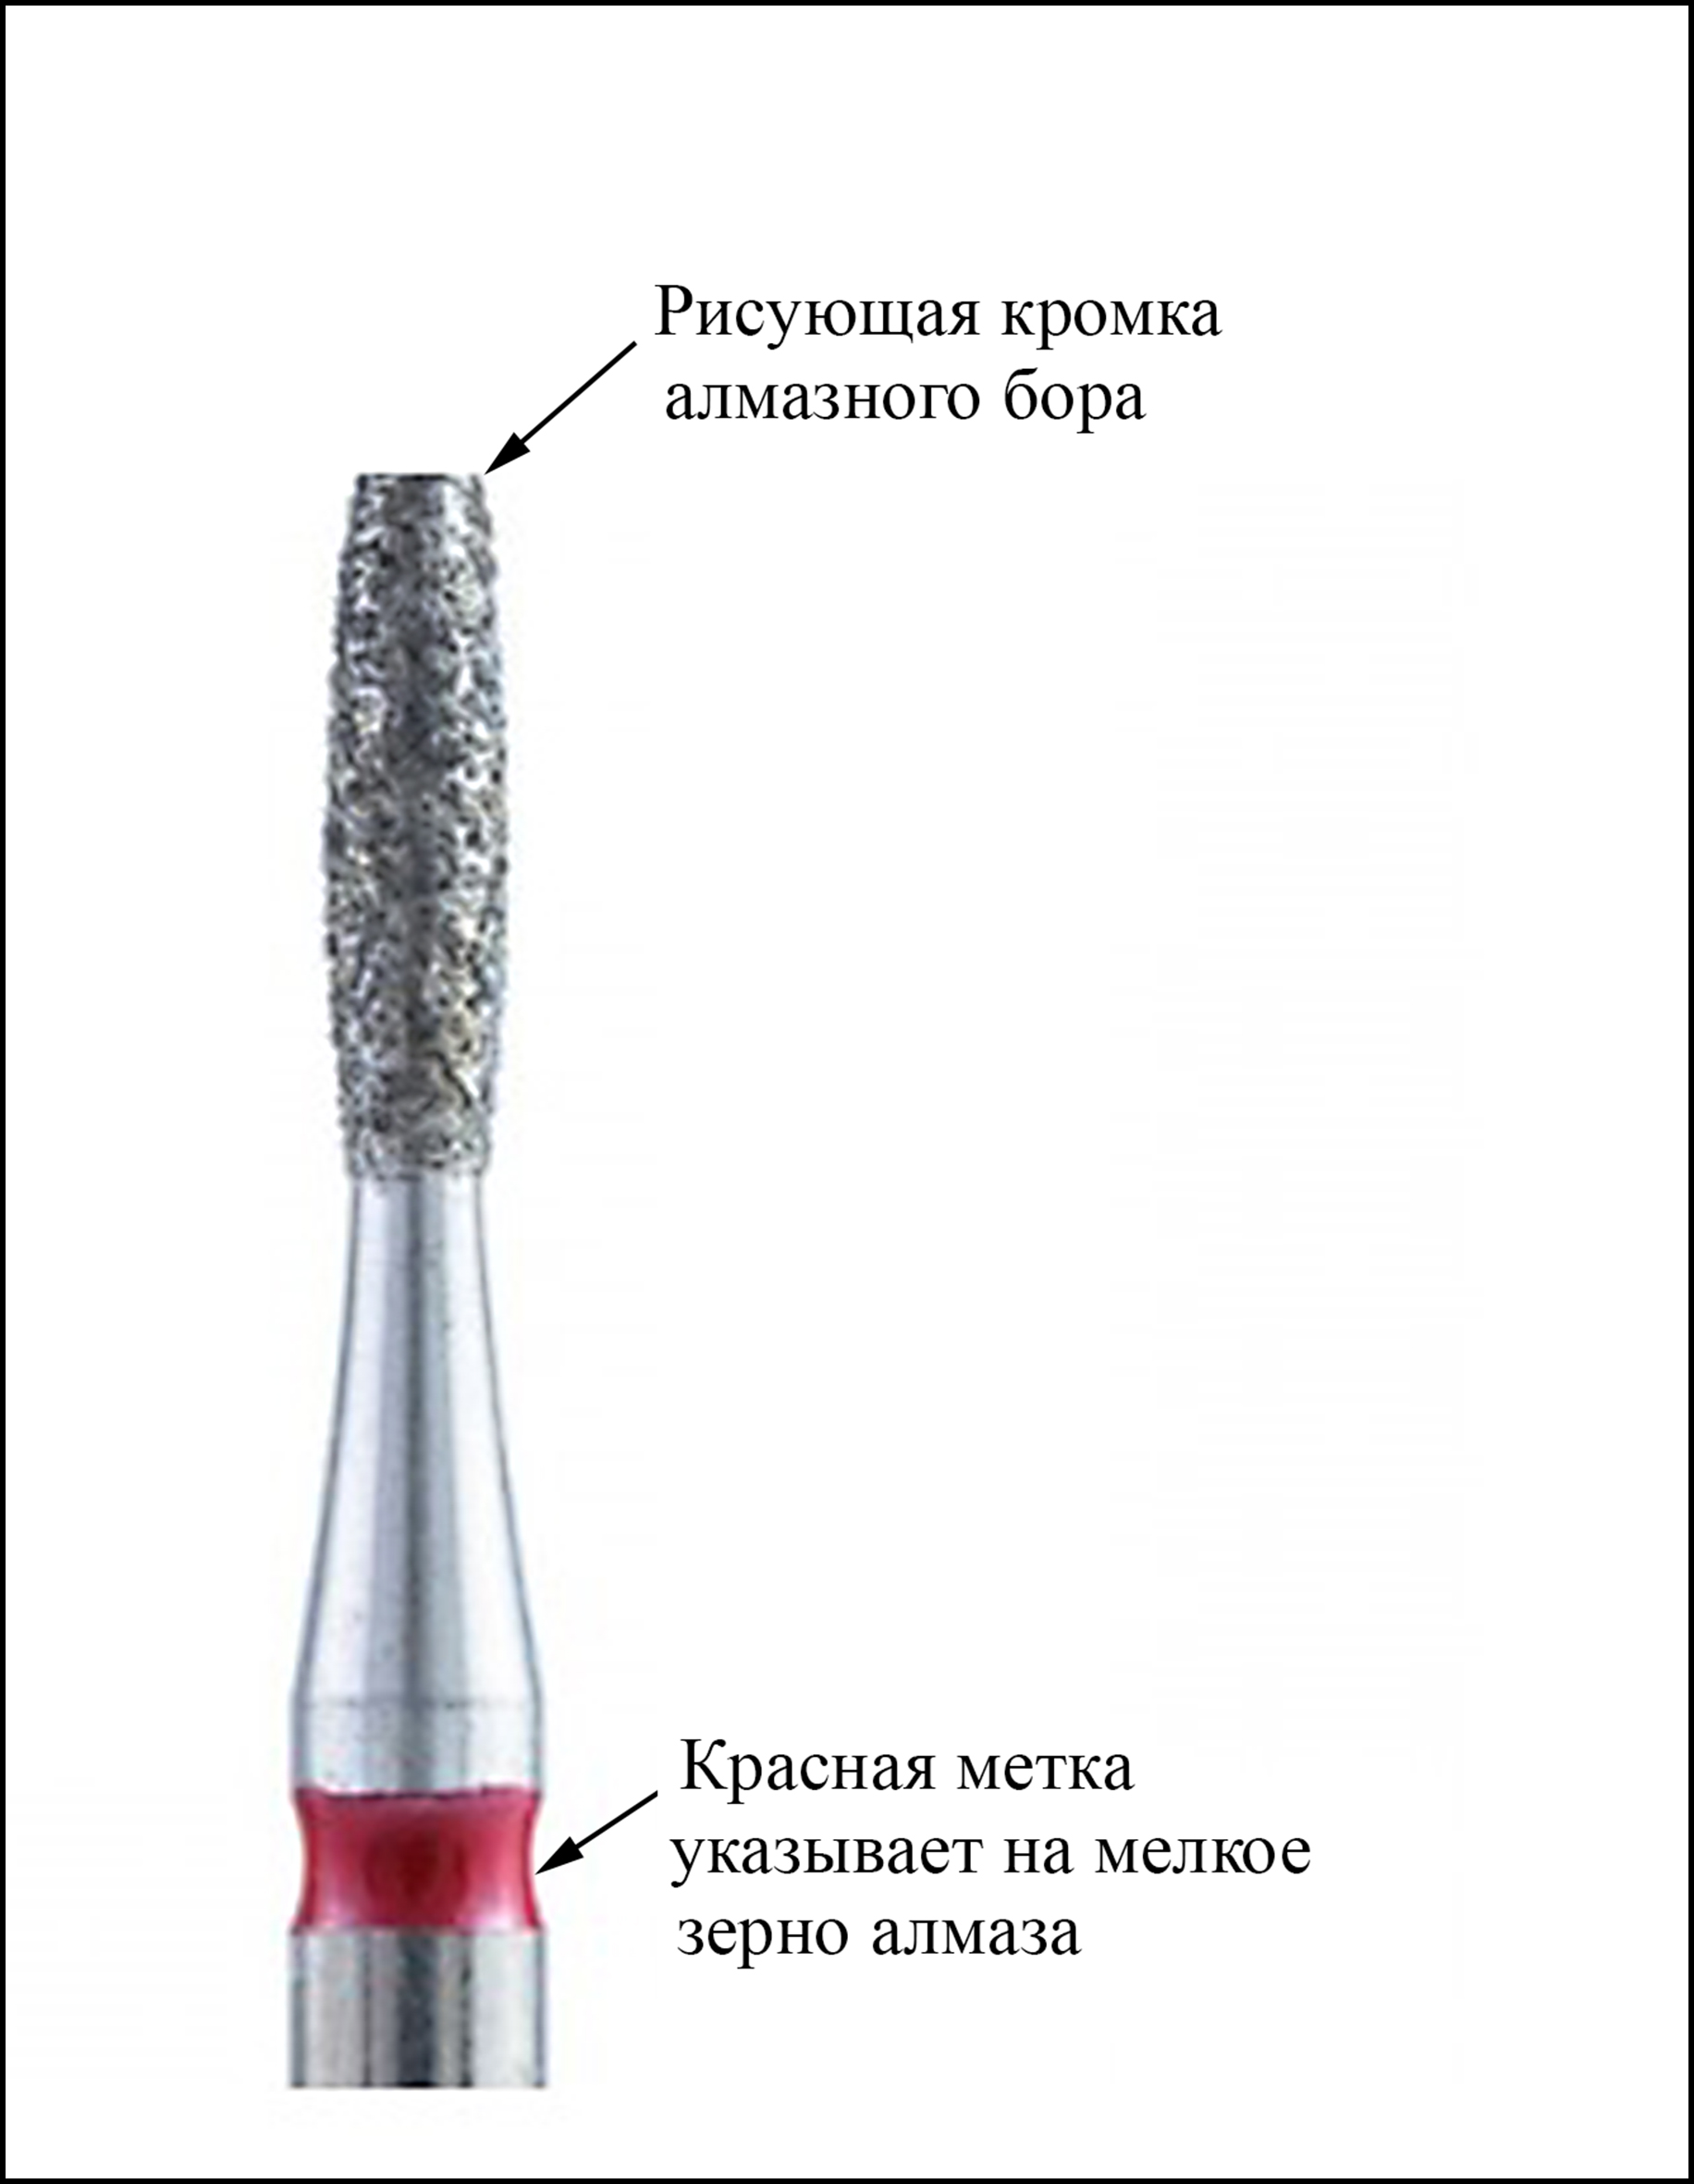
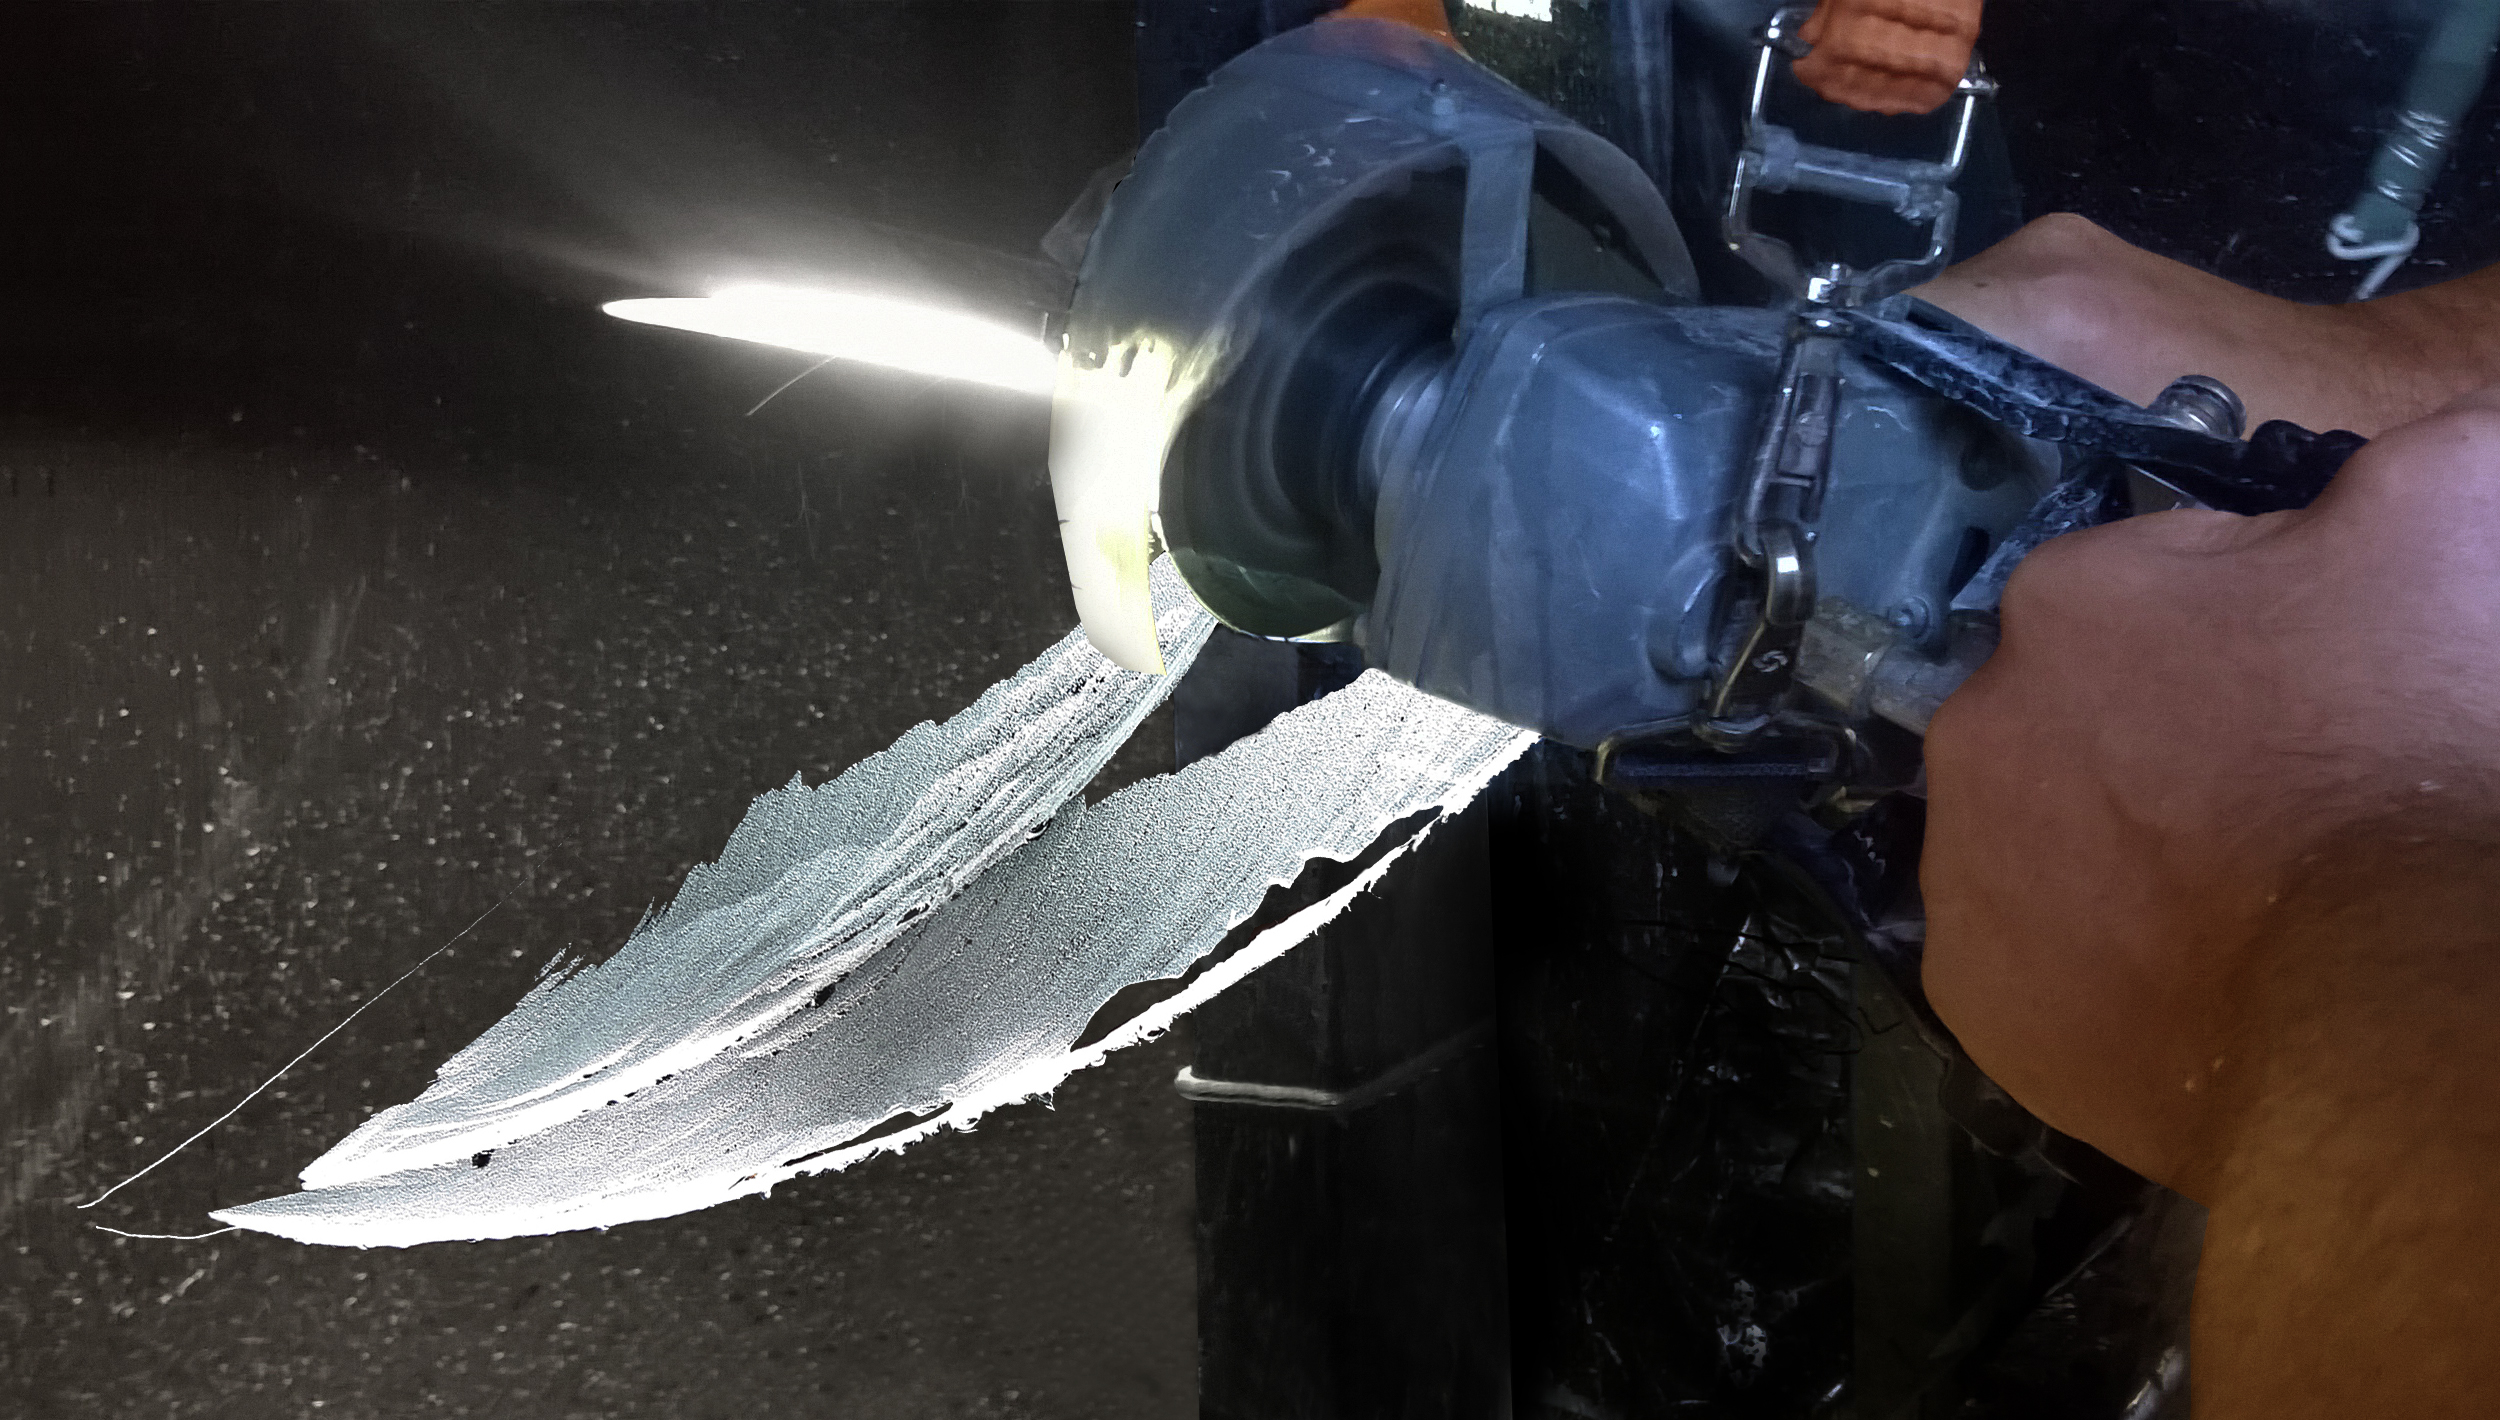
I use in most cases 2 types of diamond grains. It should be noted that in Russia the classification standards differ from European and American ones. In Russia, the Standard is GOST. In Europe, the standard is FEPA.
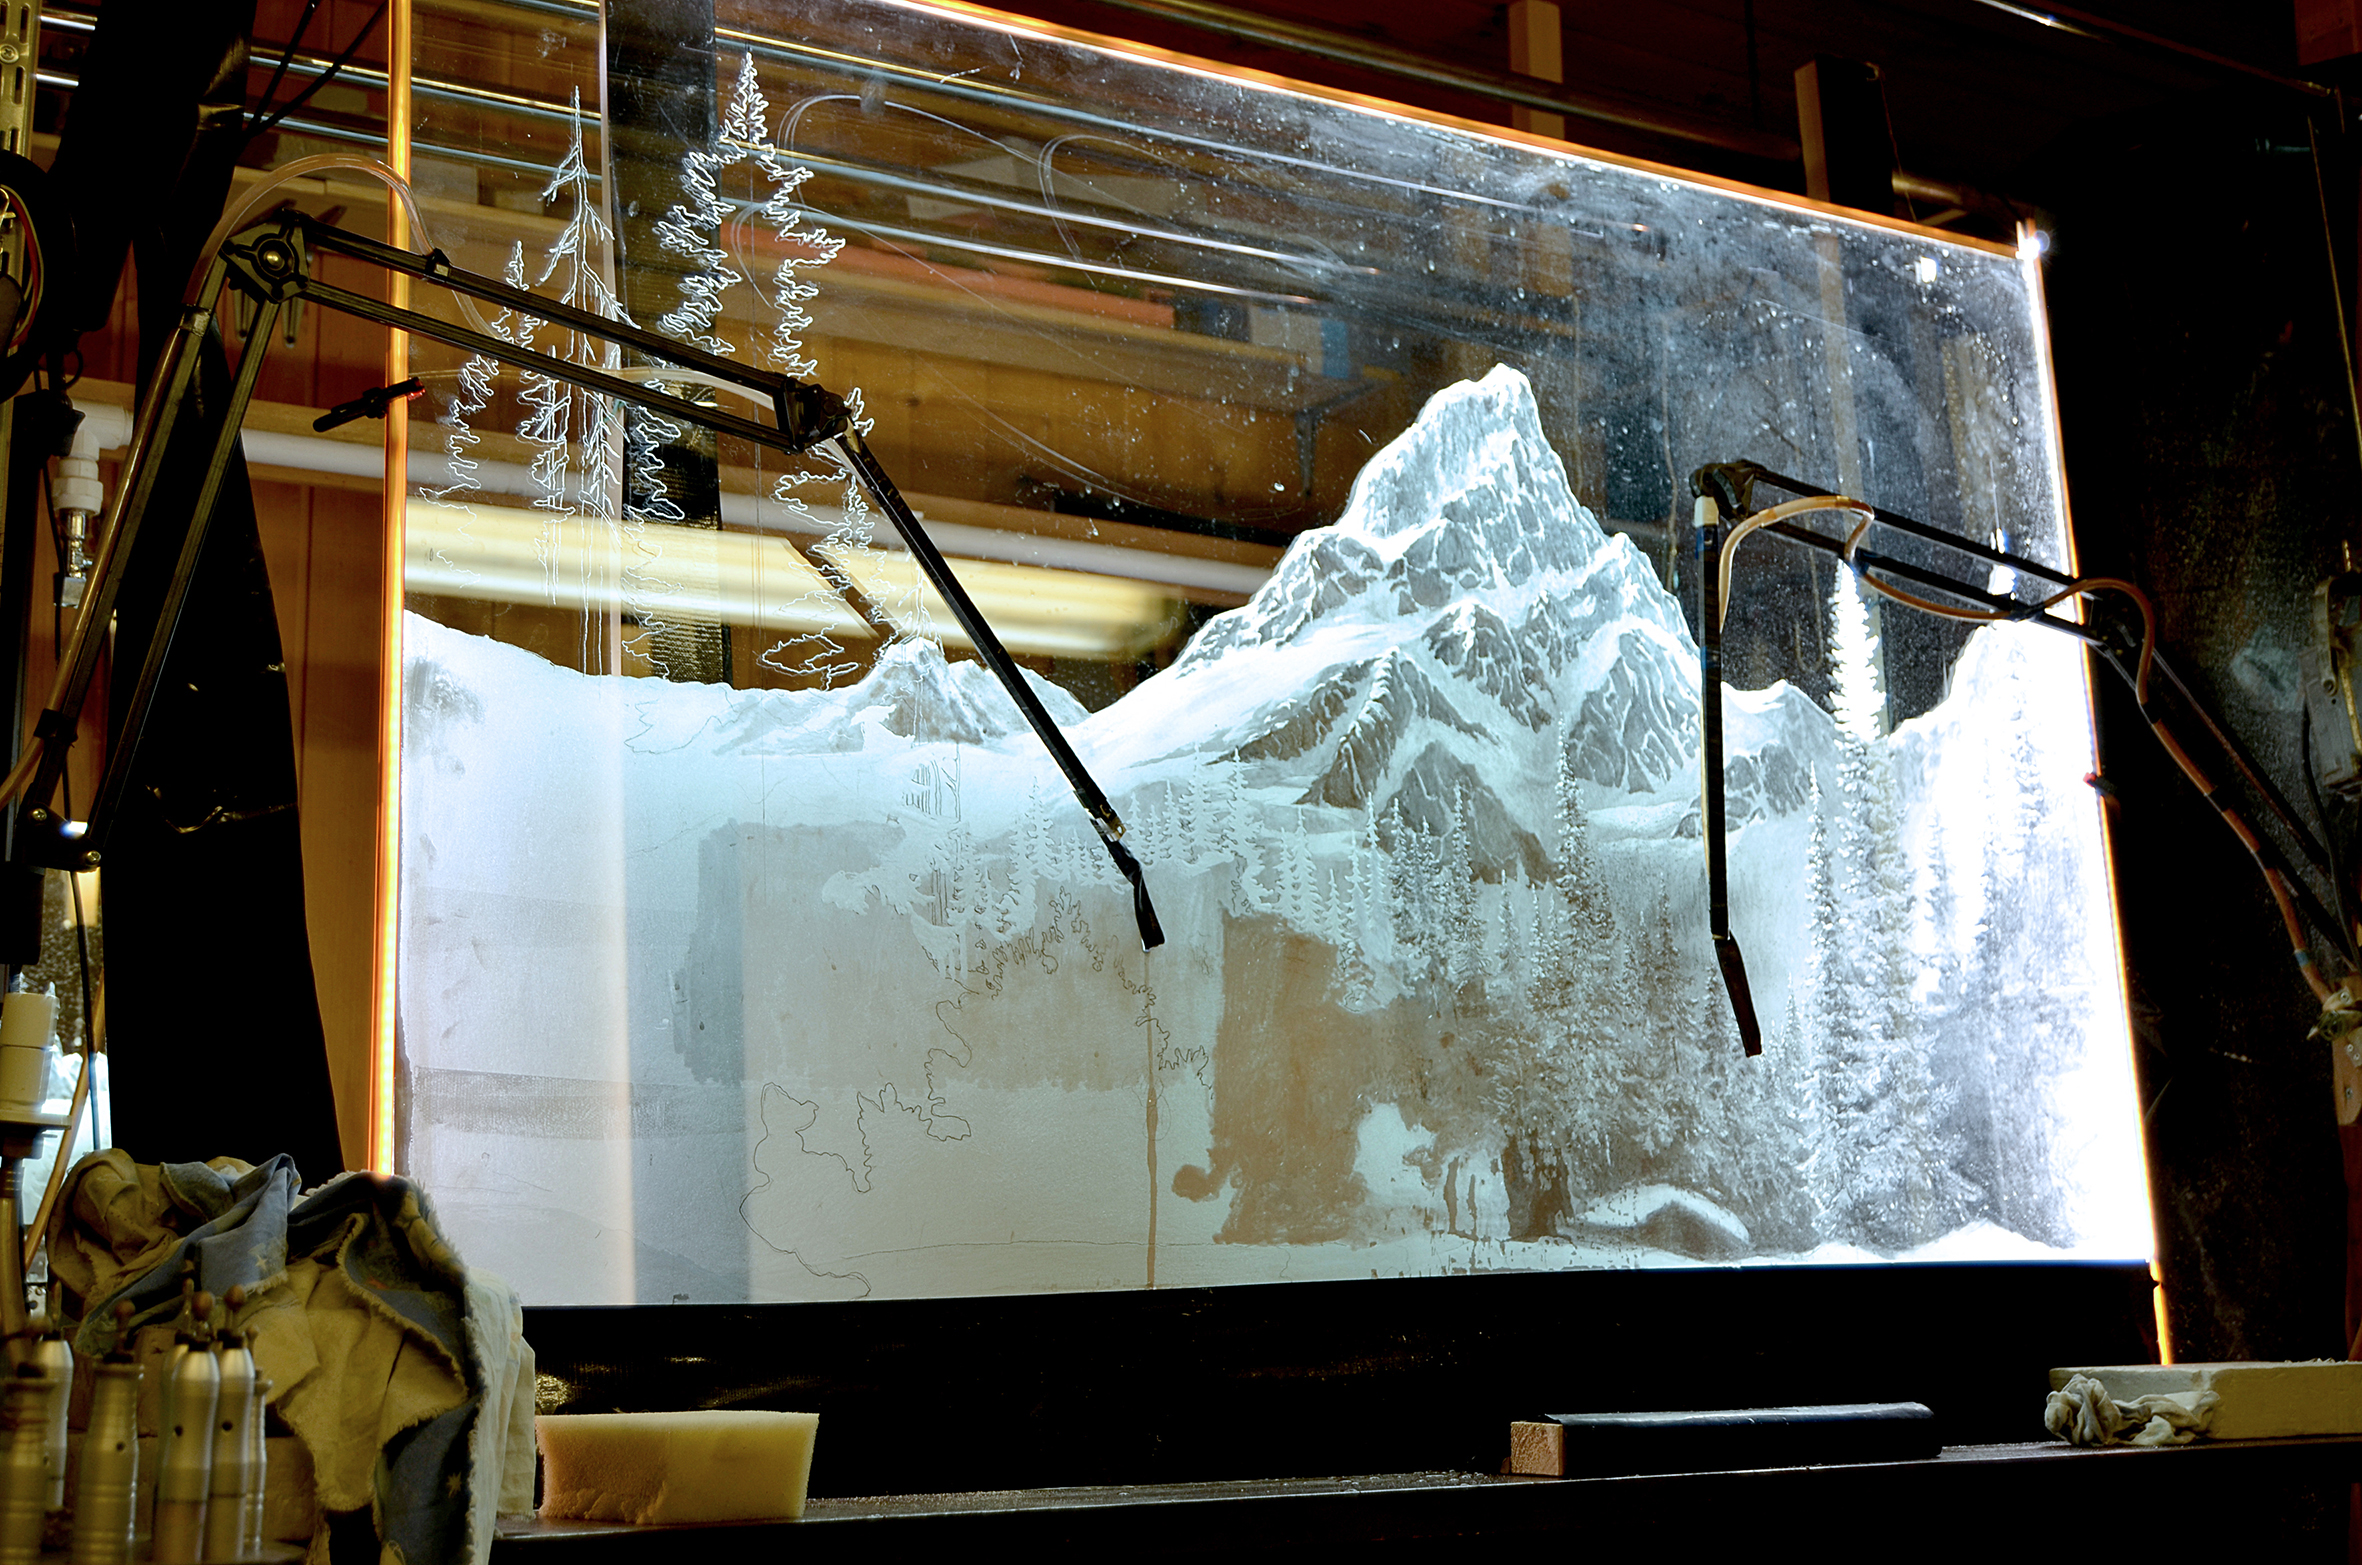
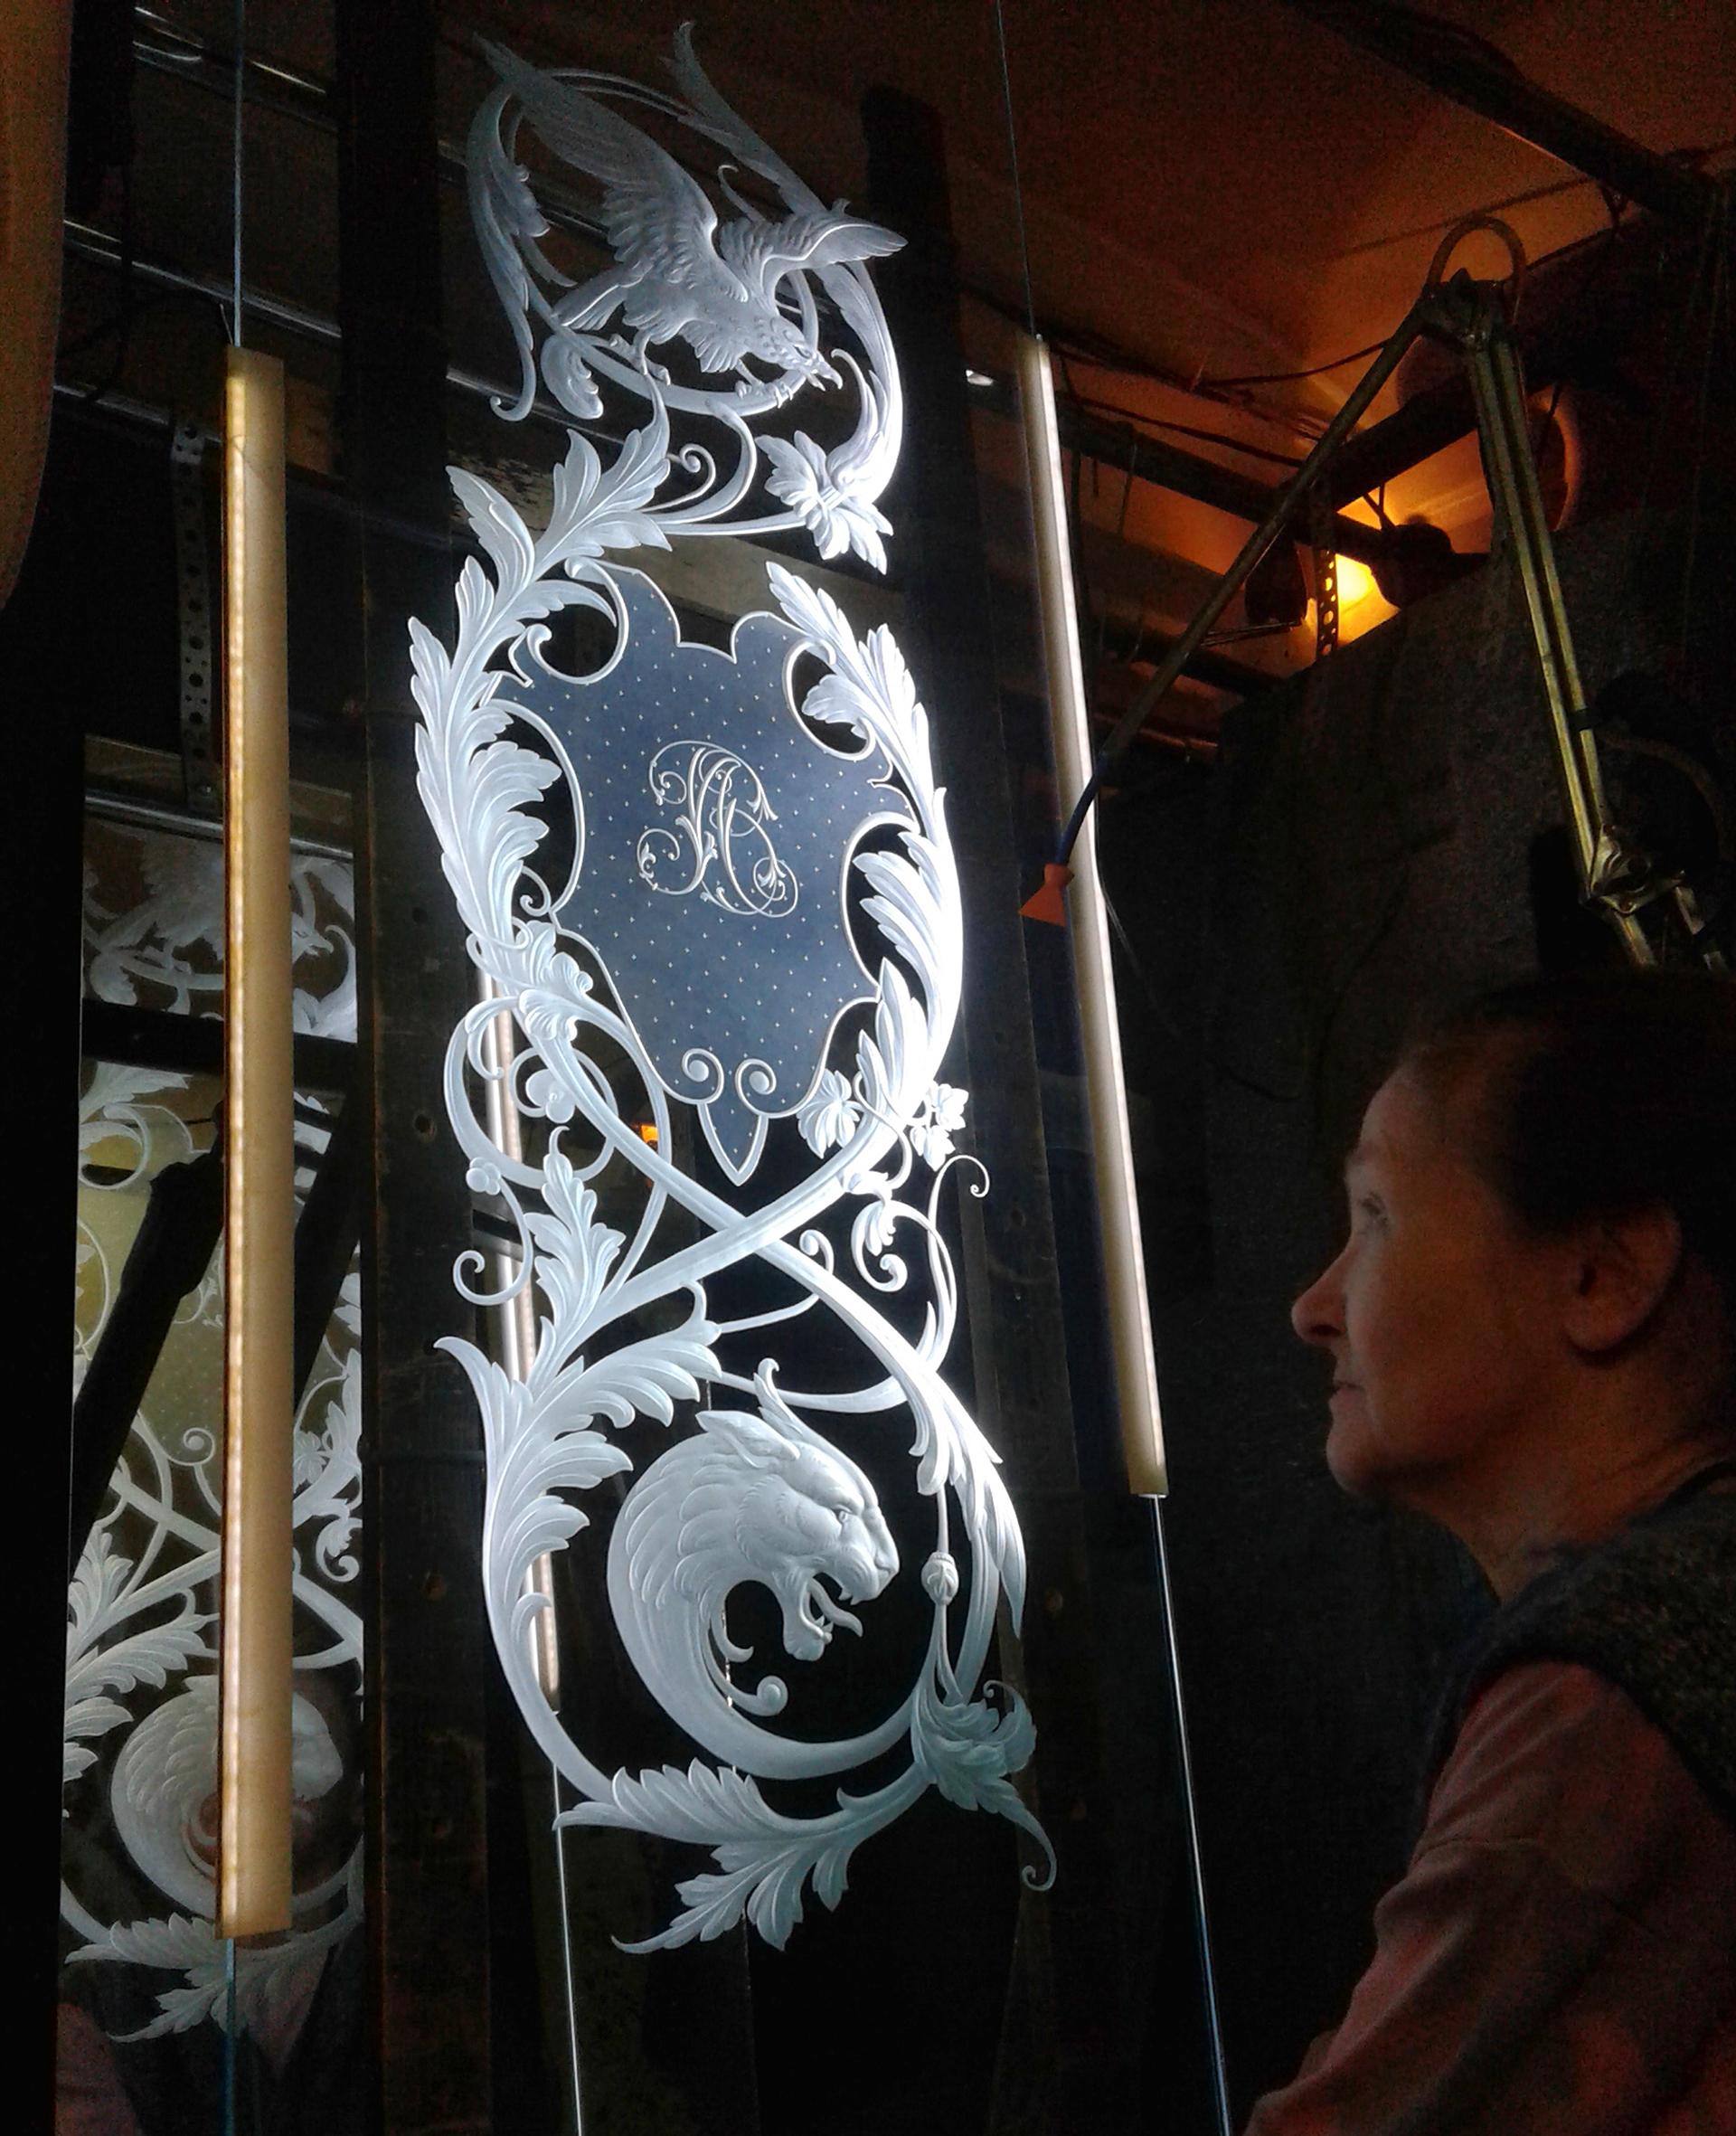
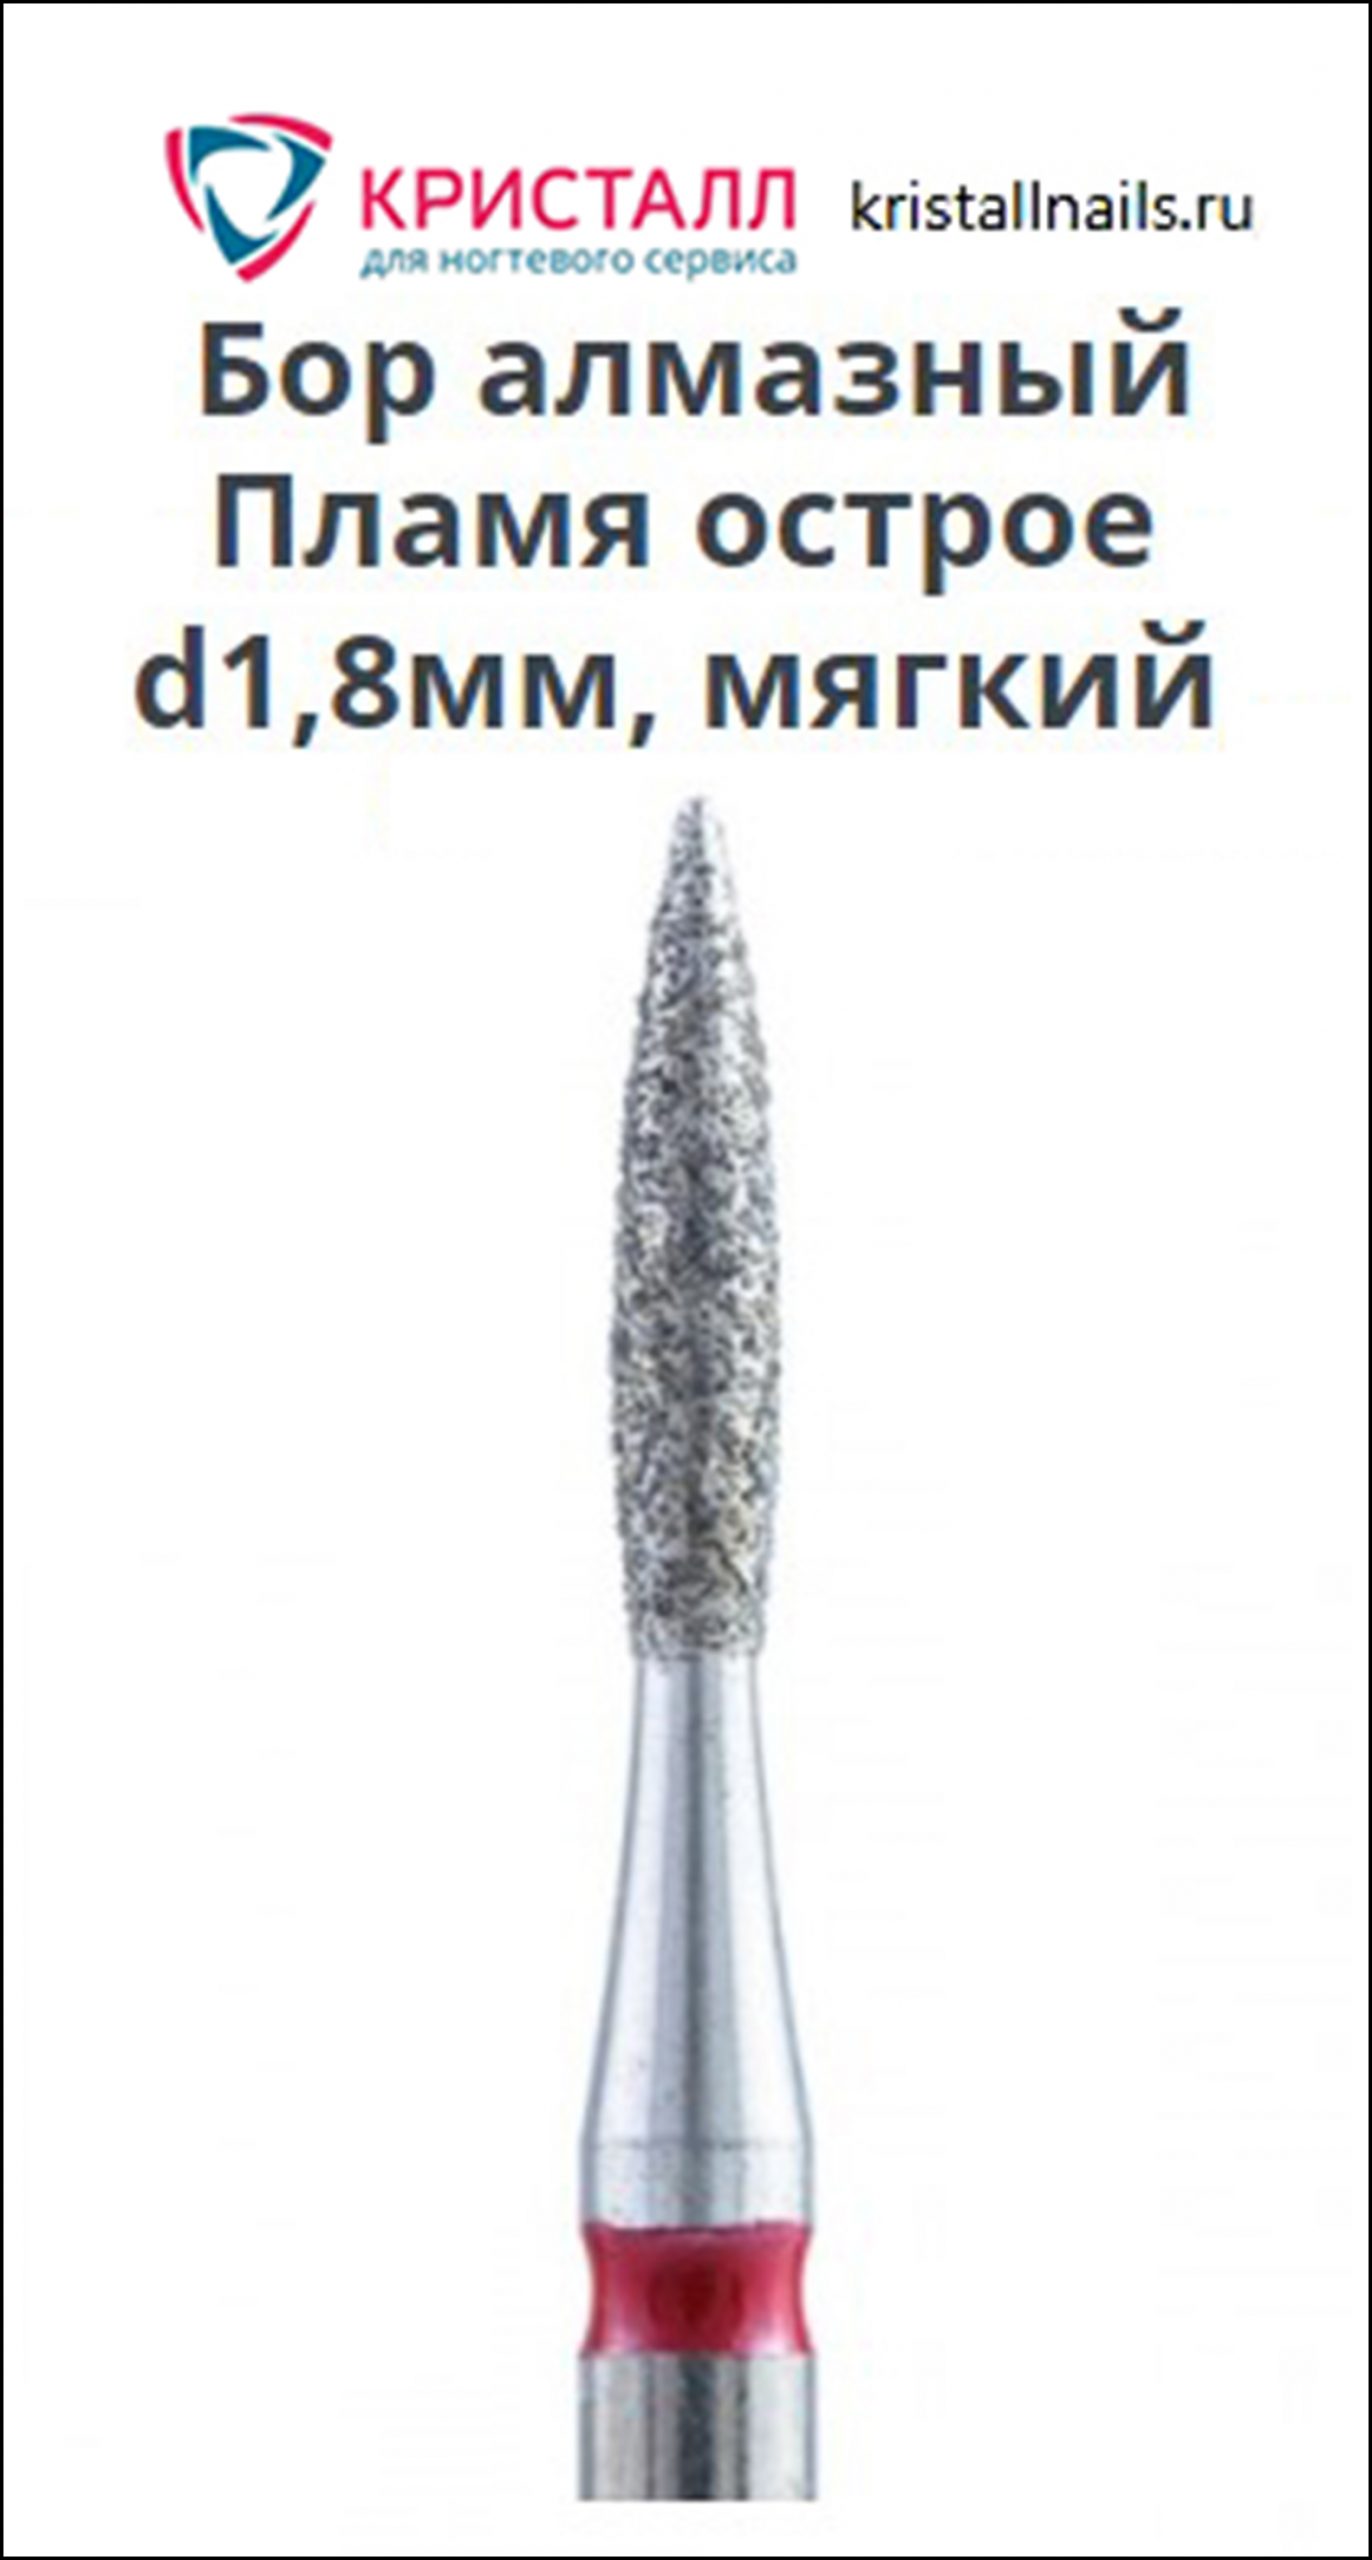
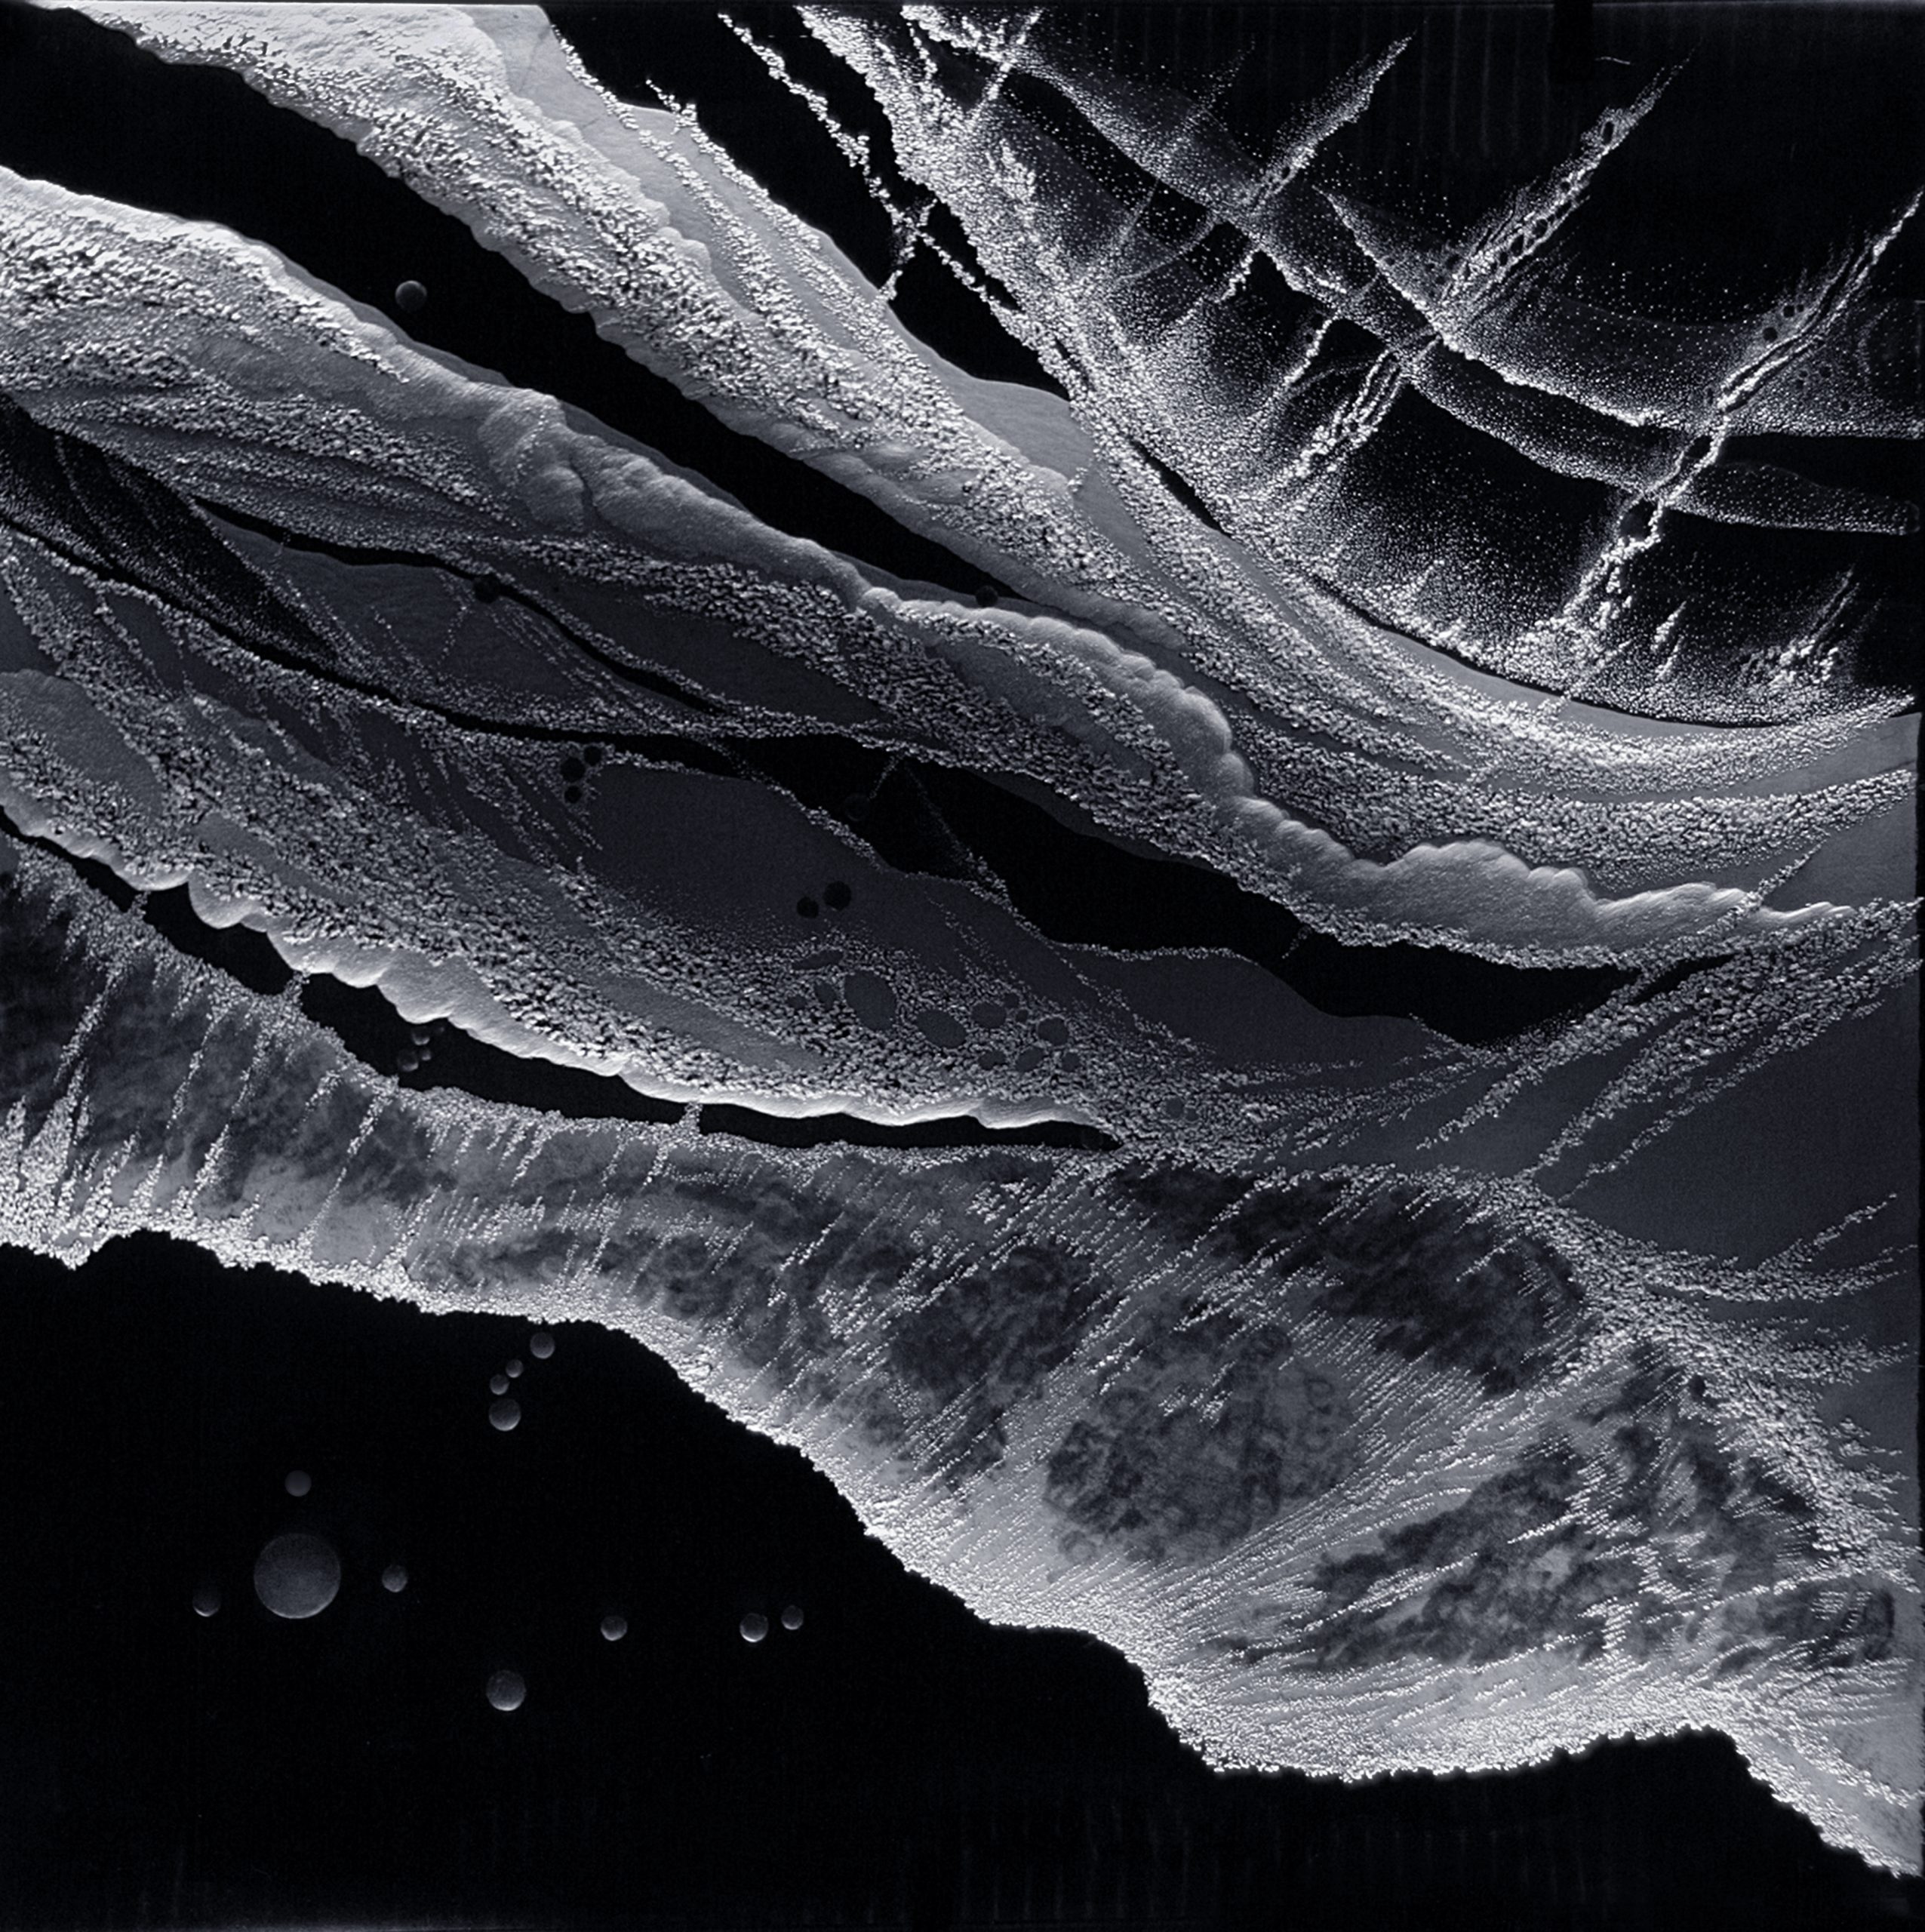
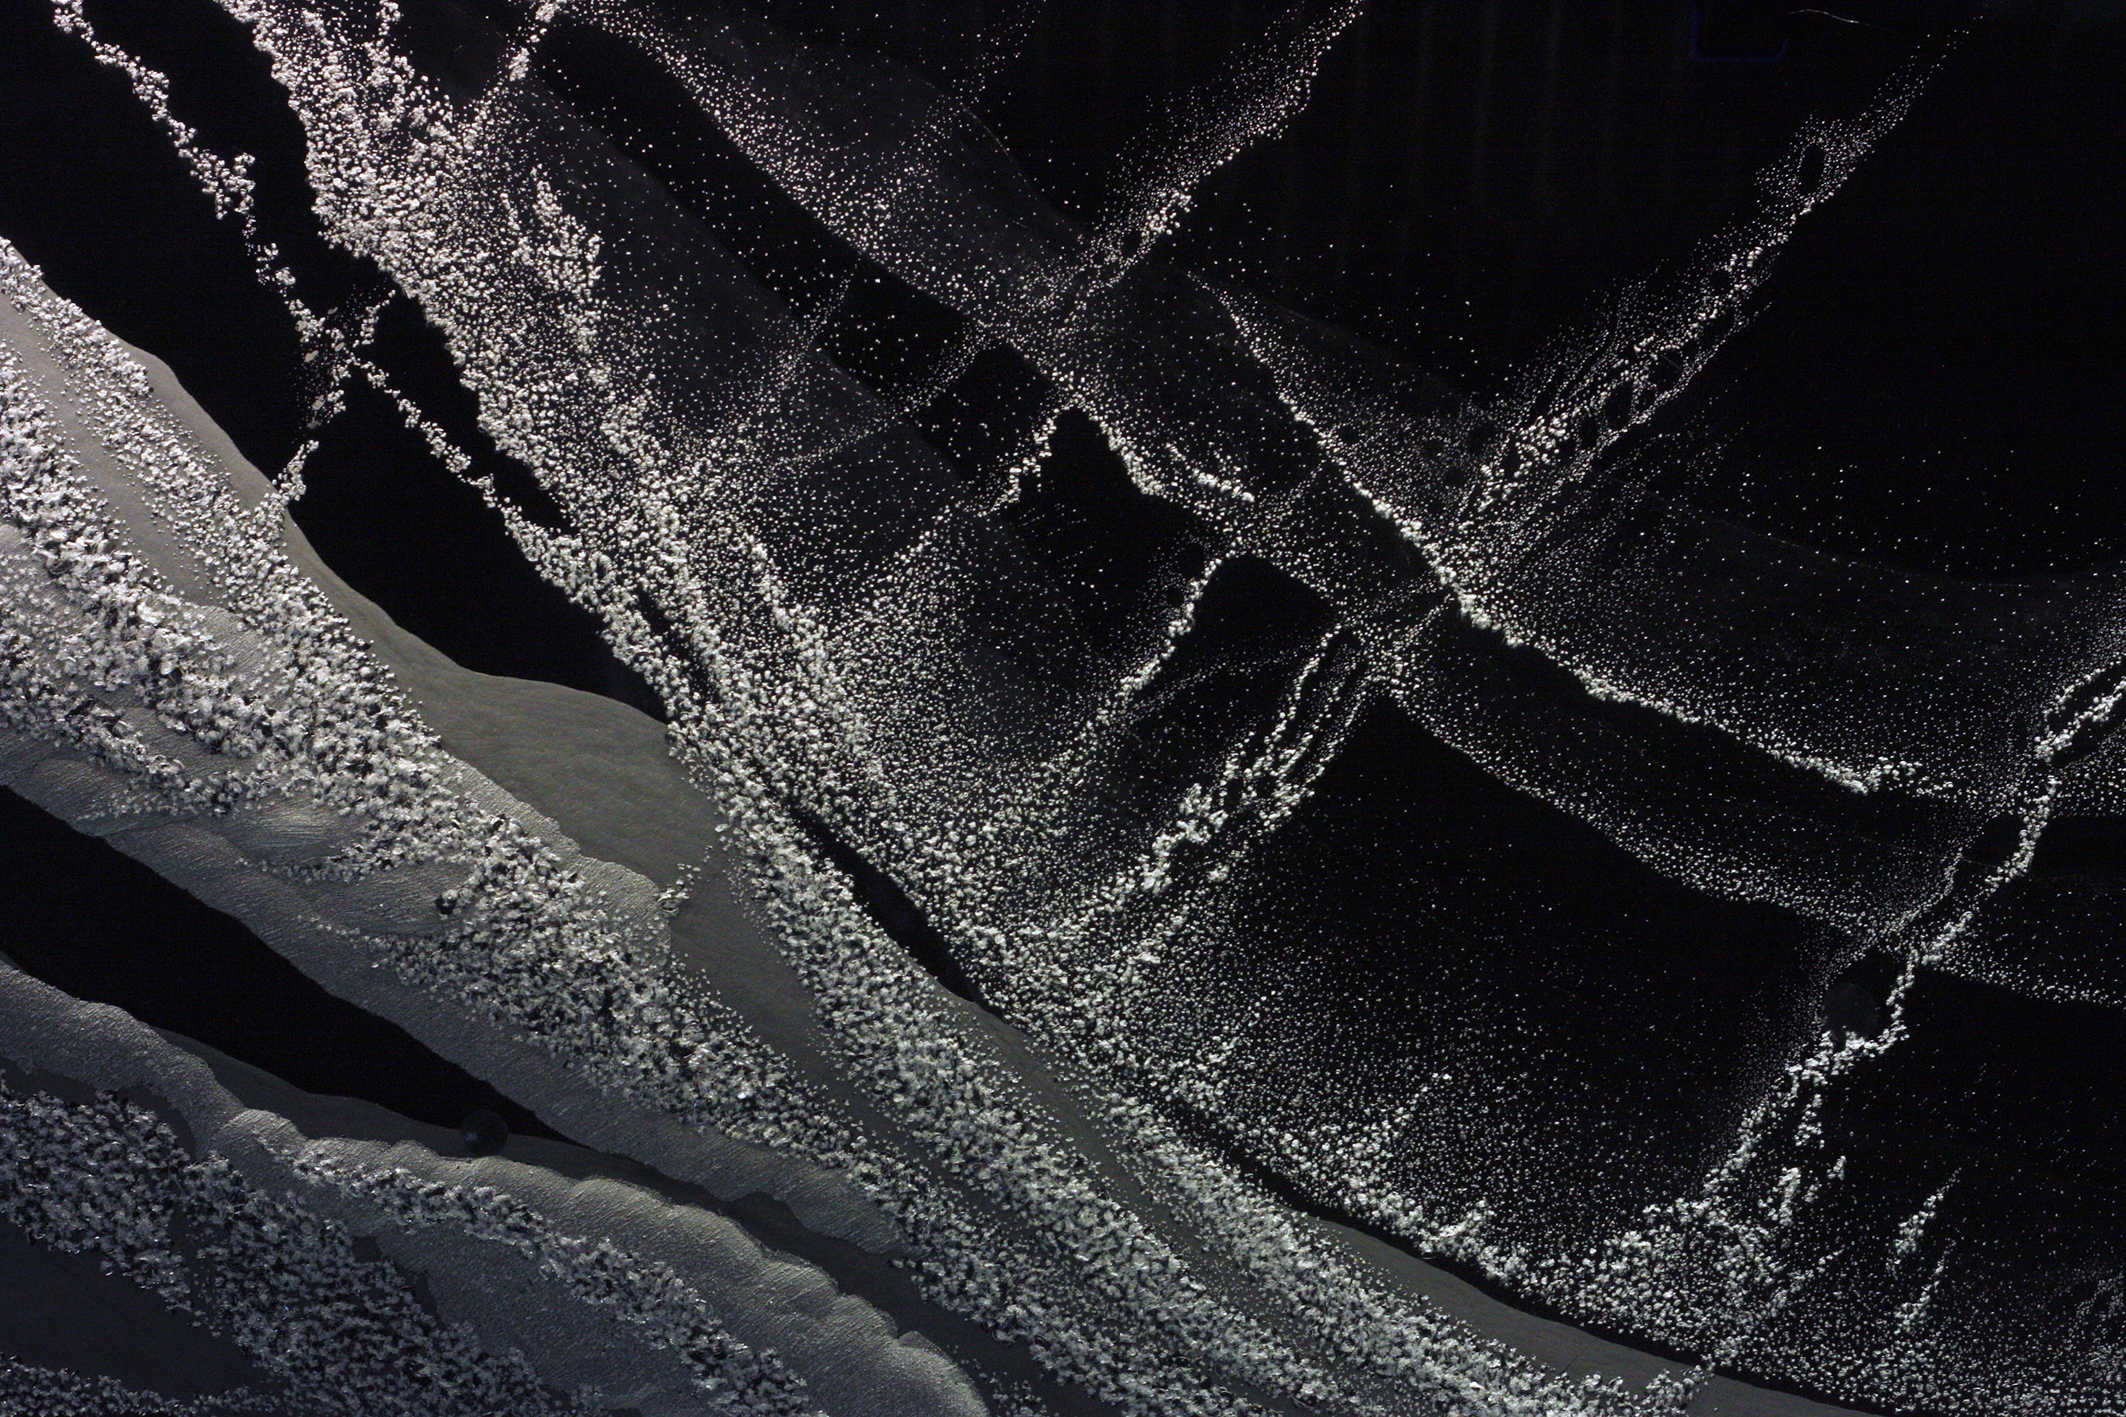
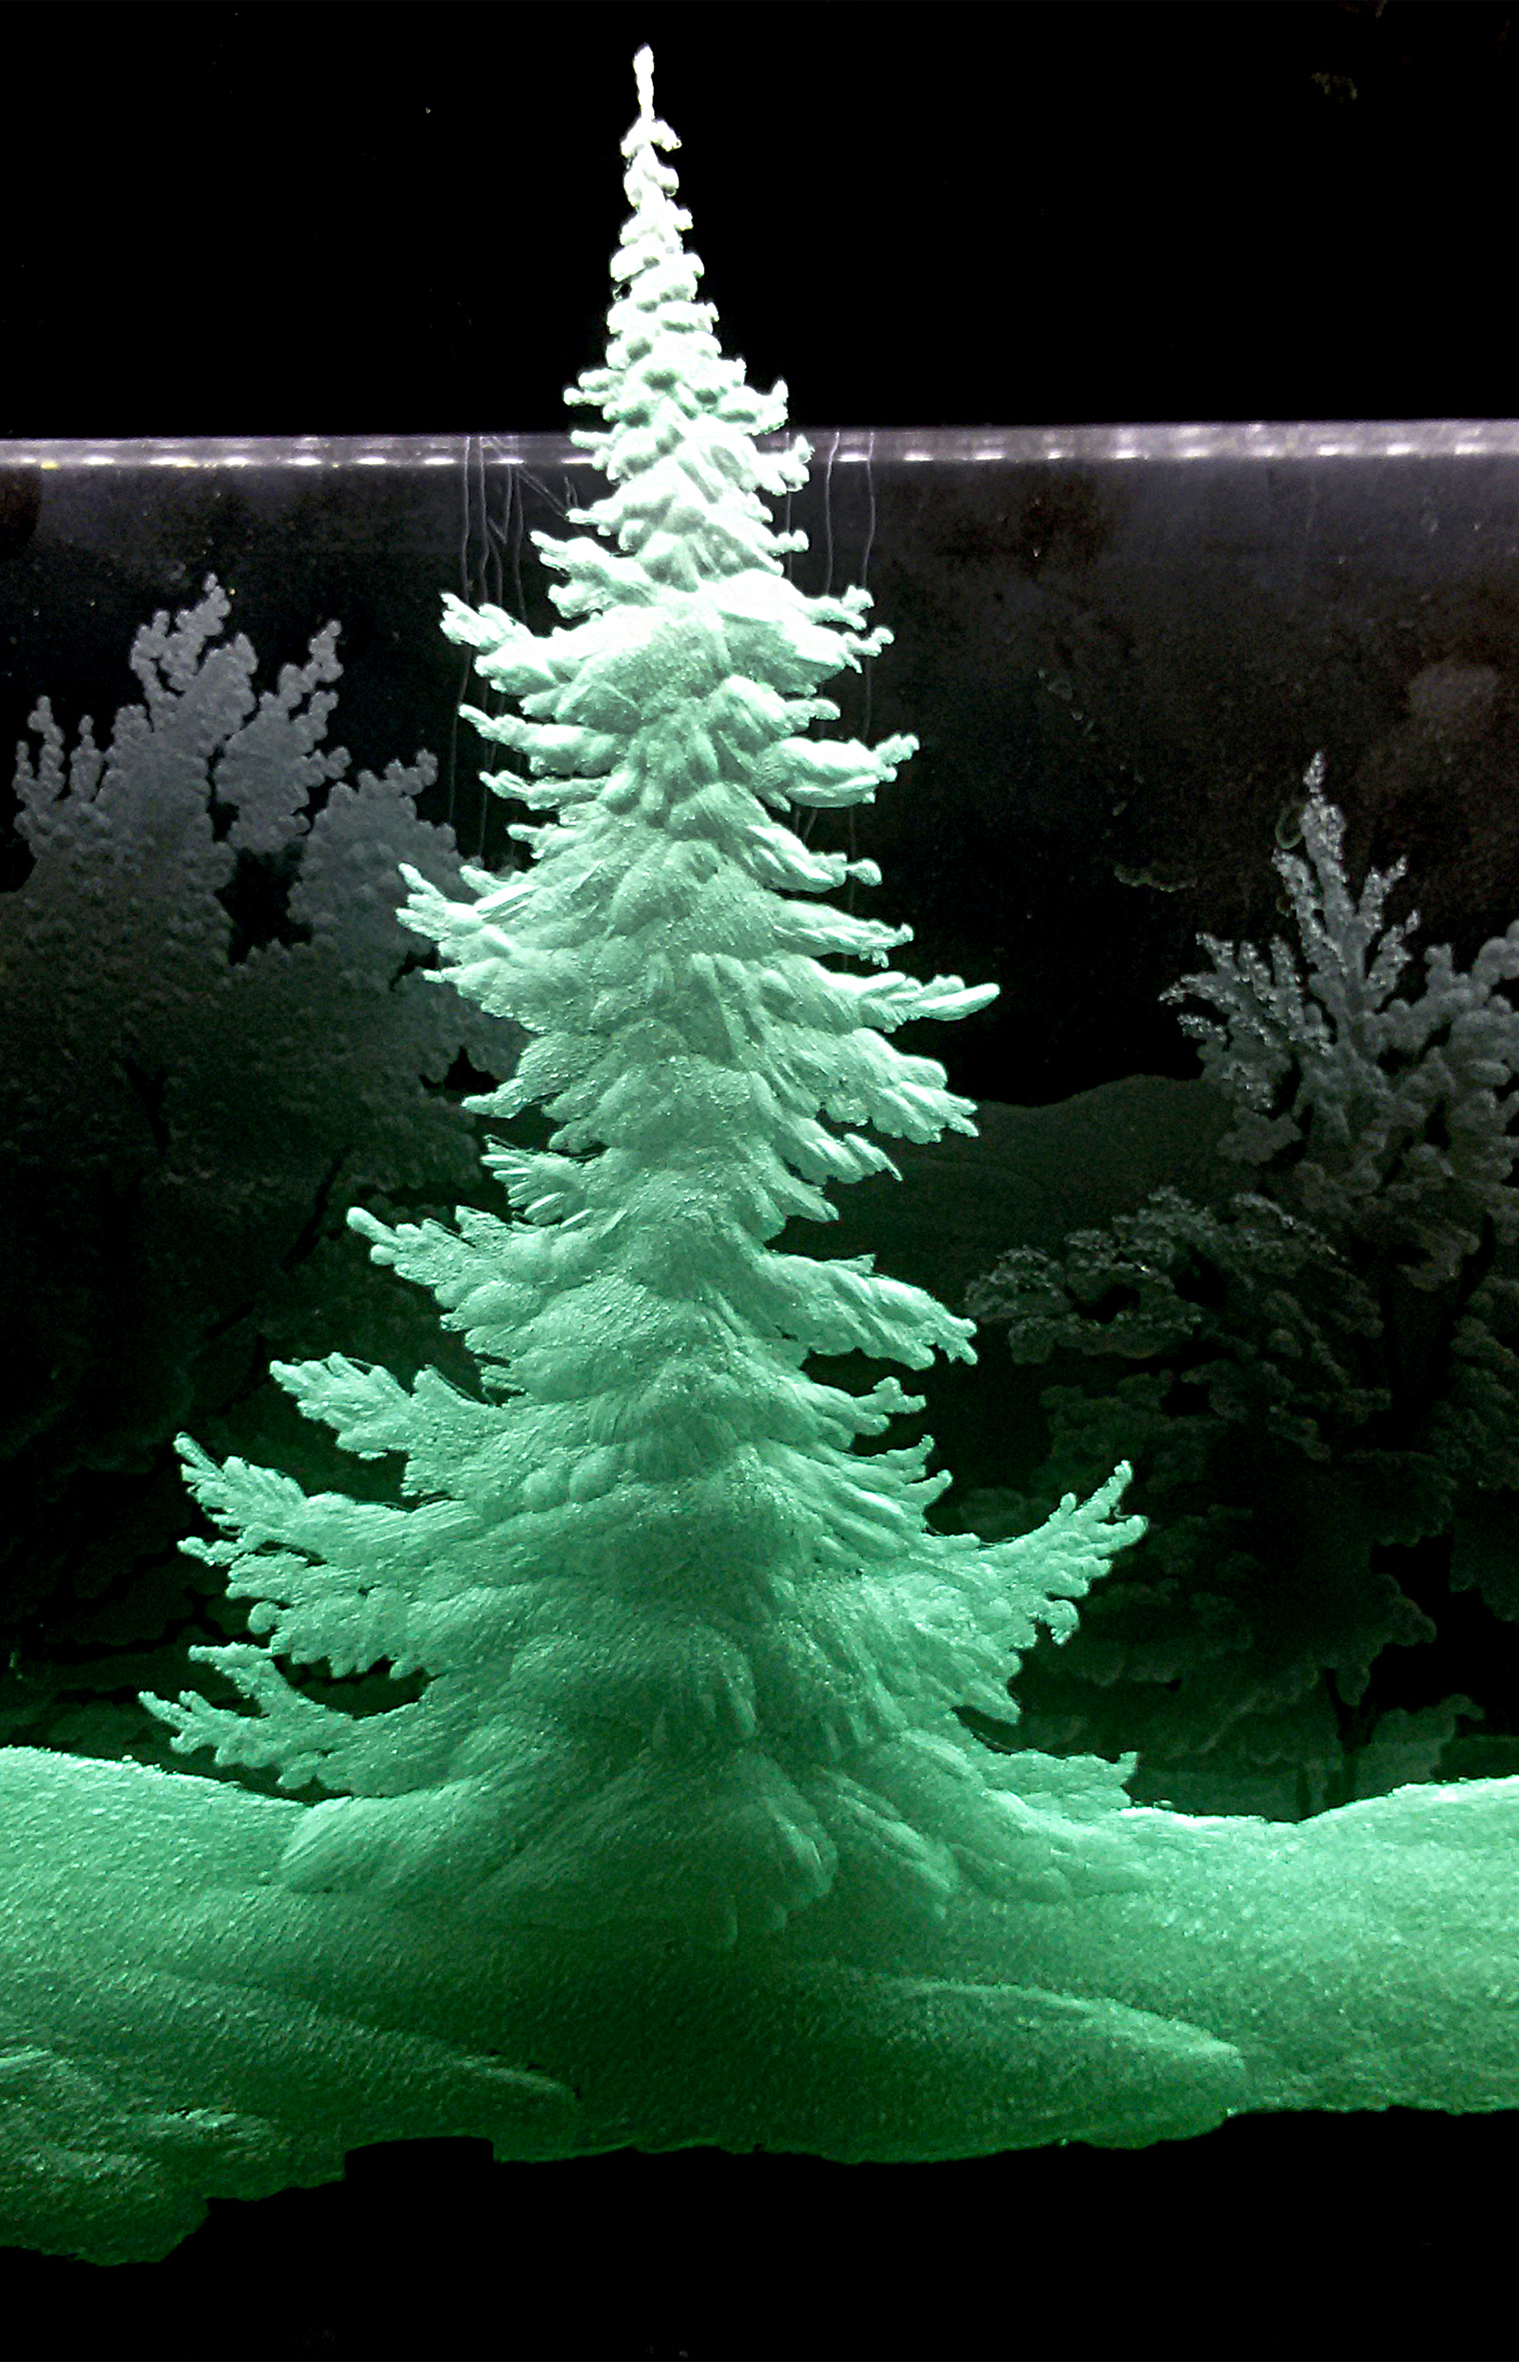
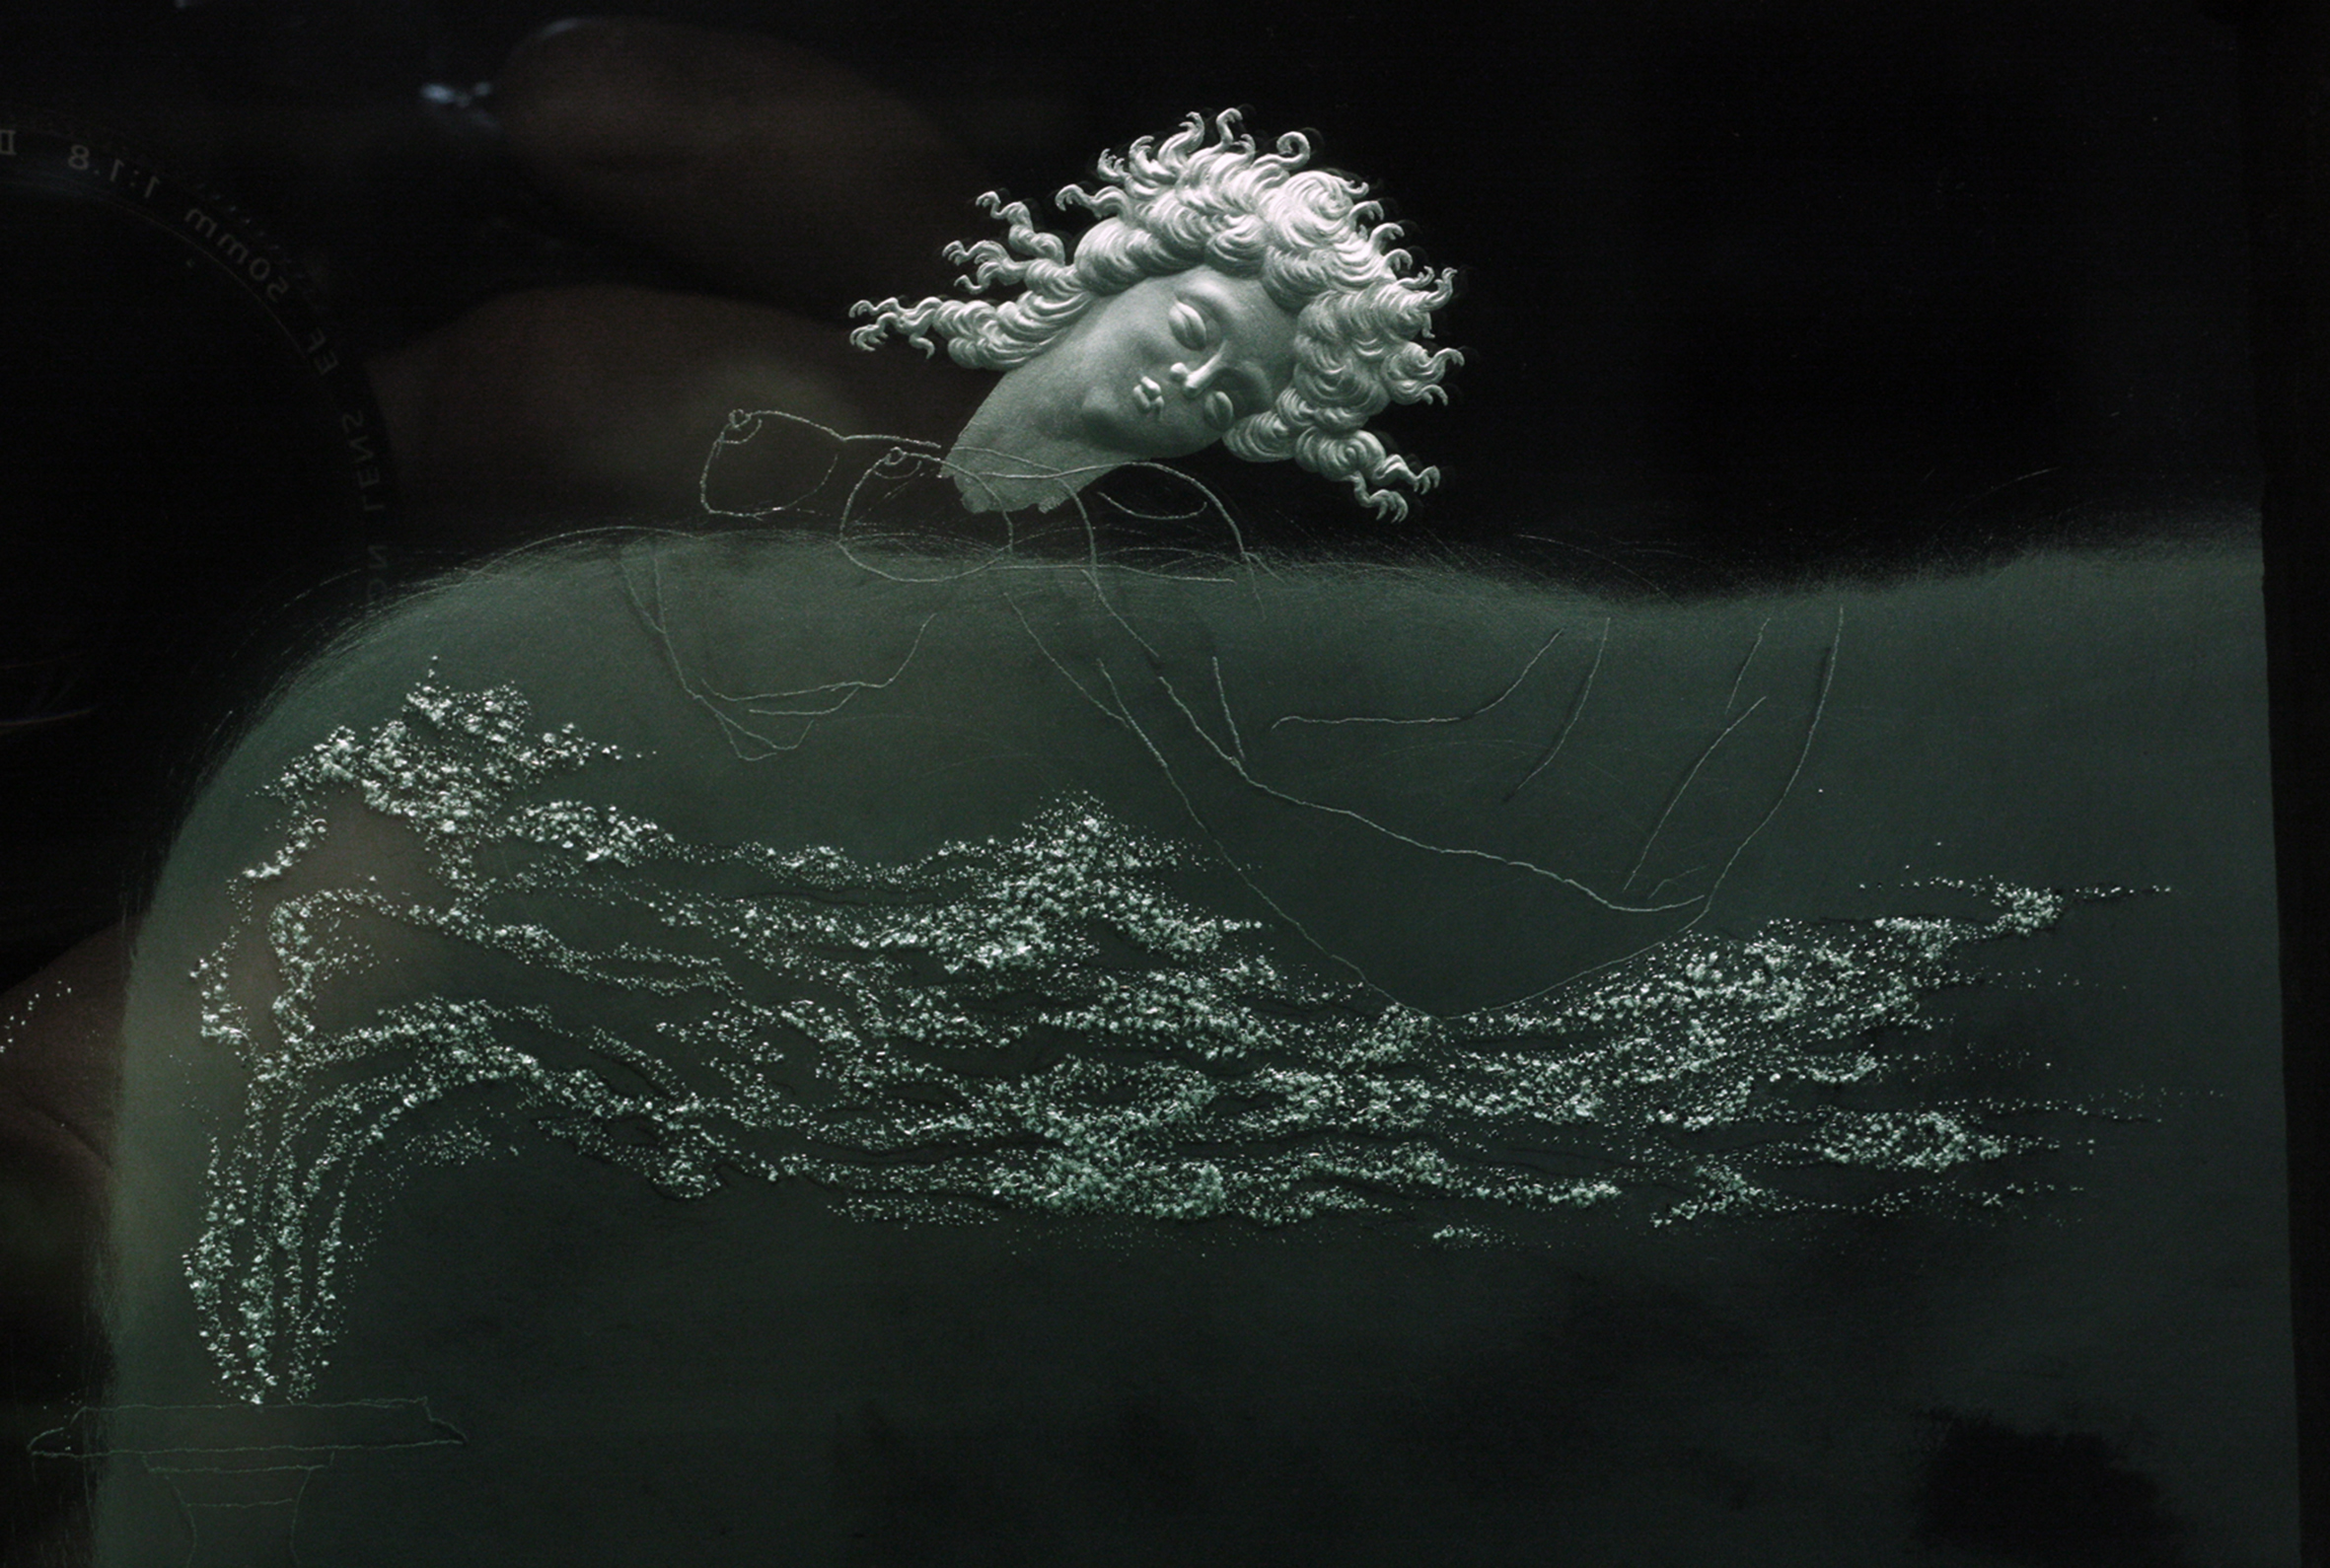
Grain М 315/250 microns – very large, visually visible on the surface of the circle, corresponds to the European classification F 50/60. Such a tool, literally gnawing at the glass, allows you to quickly select the desired volume, create the desired relief of the picture. The surface after applying such circles is very rough, sparkling in some cases is self-sufficient.
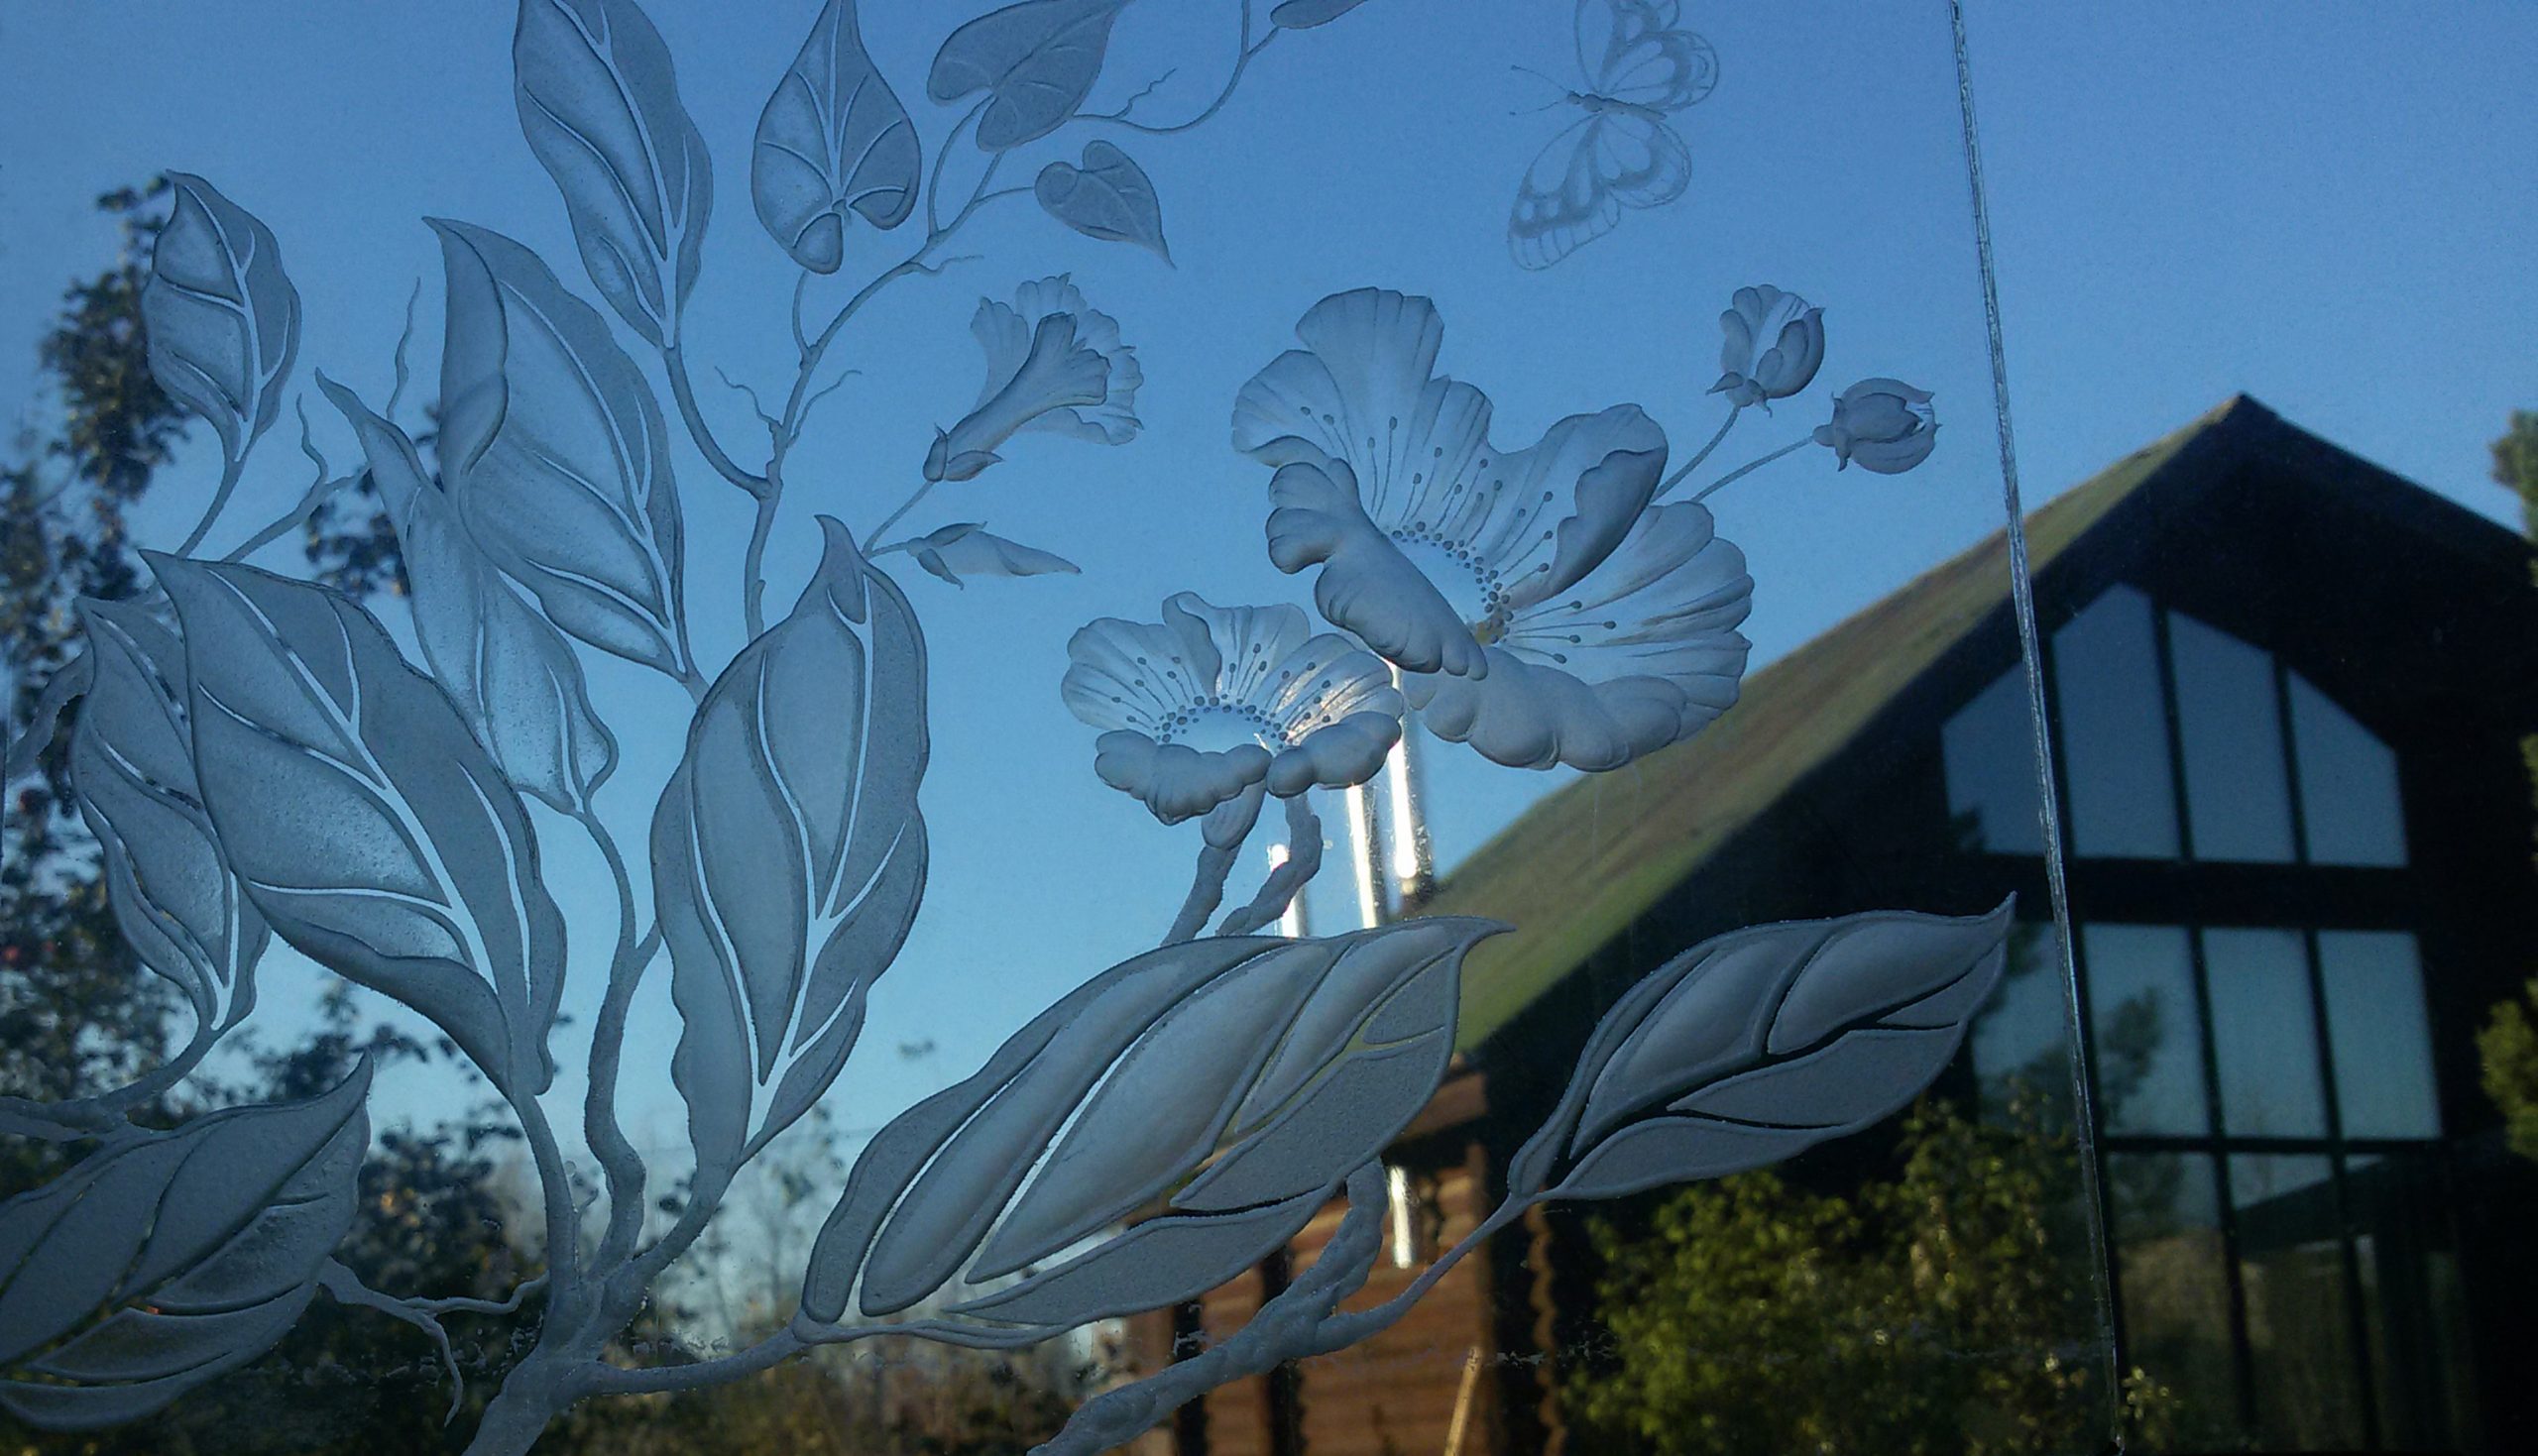
And grain M 63/50 microns is the main type of grain in diamond tools used in glass engraving, this corresponds to F 230/270 in Europe. If necessary, the volume quickly selected by a coarse disc has to be repeated with a disc (of the same diameter) with a 63/50 grain to change the surface texture.
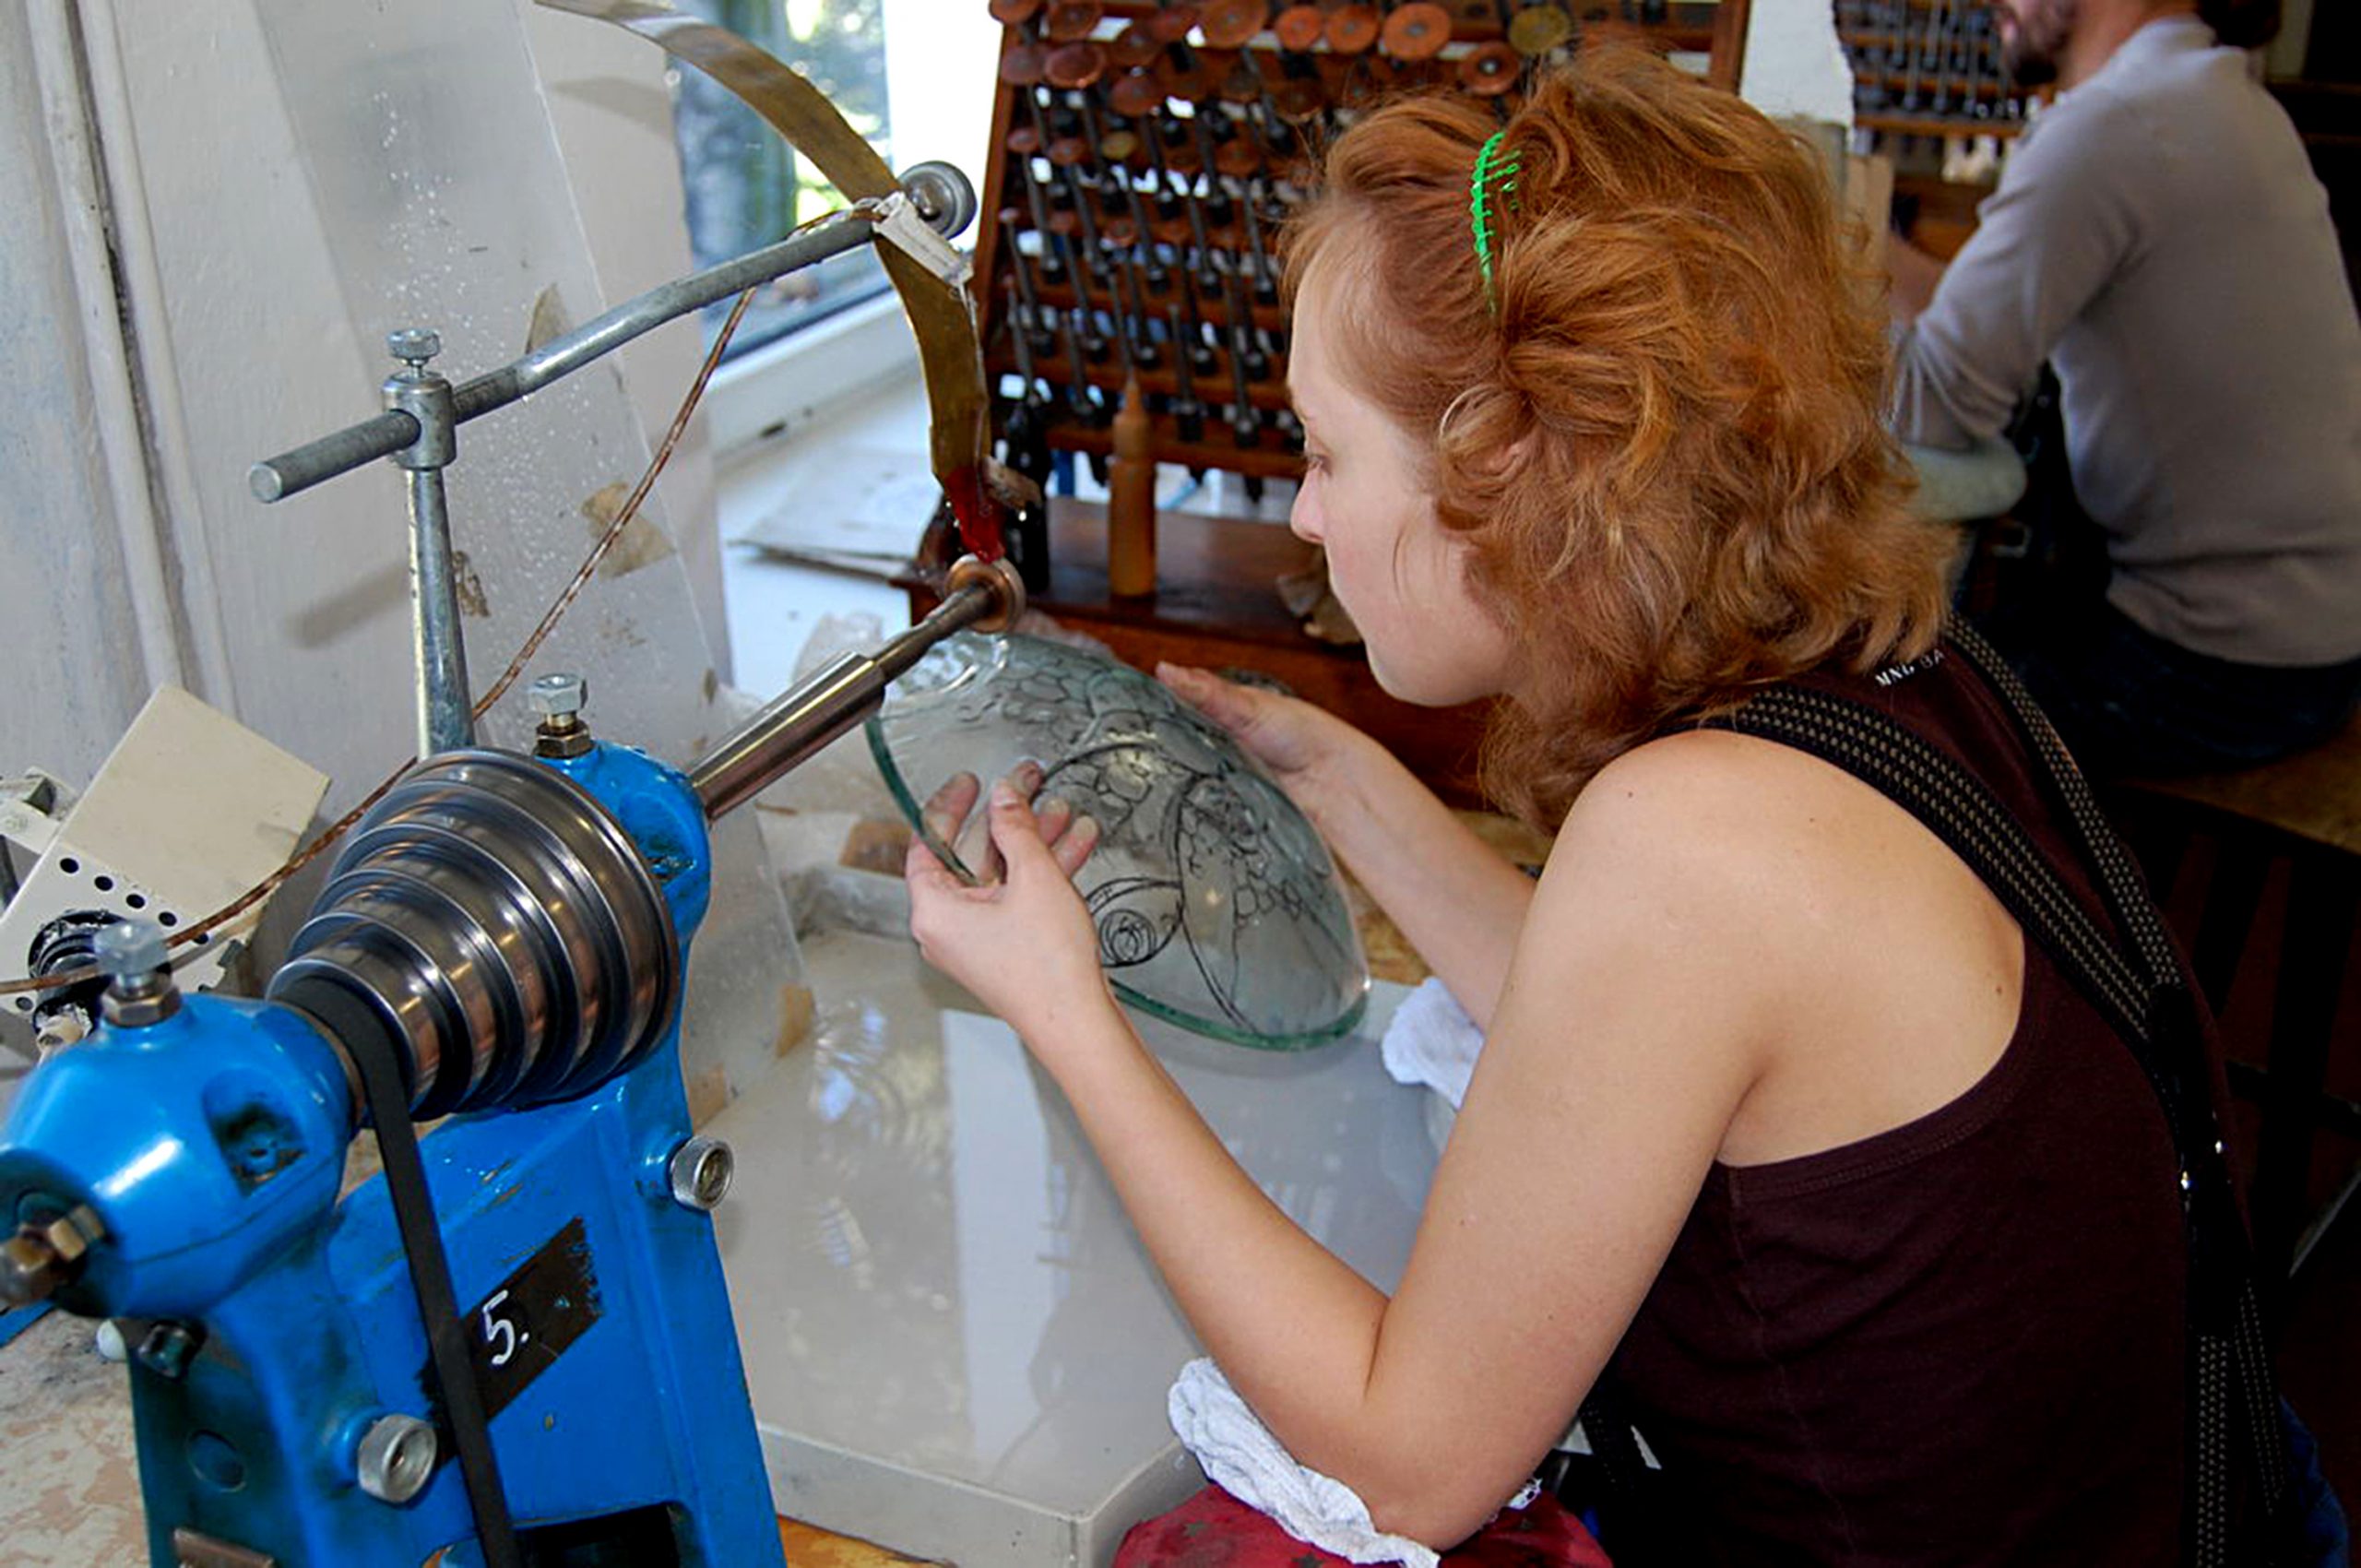
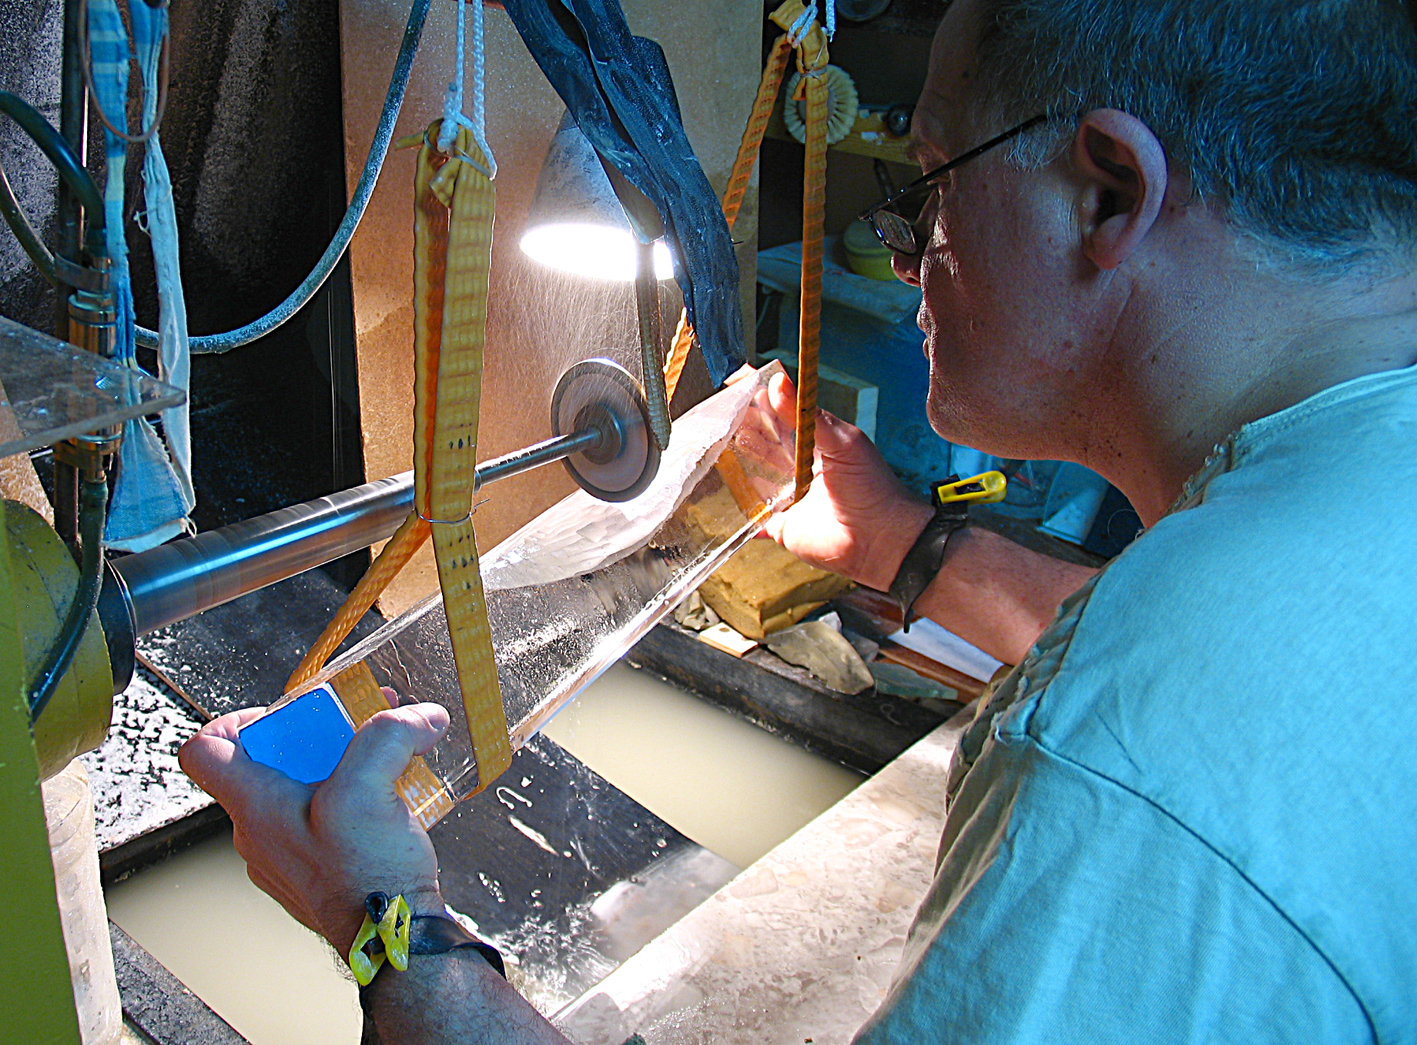
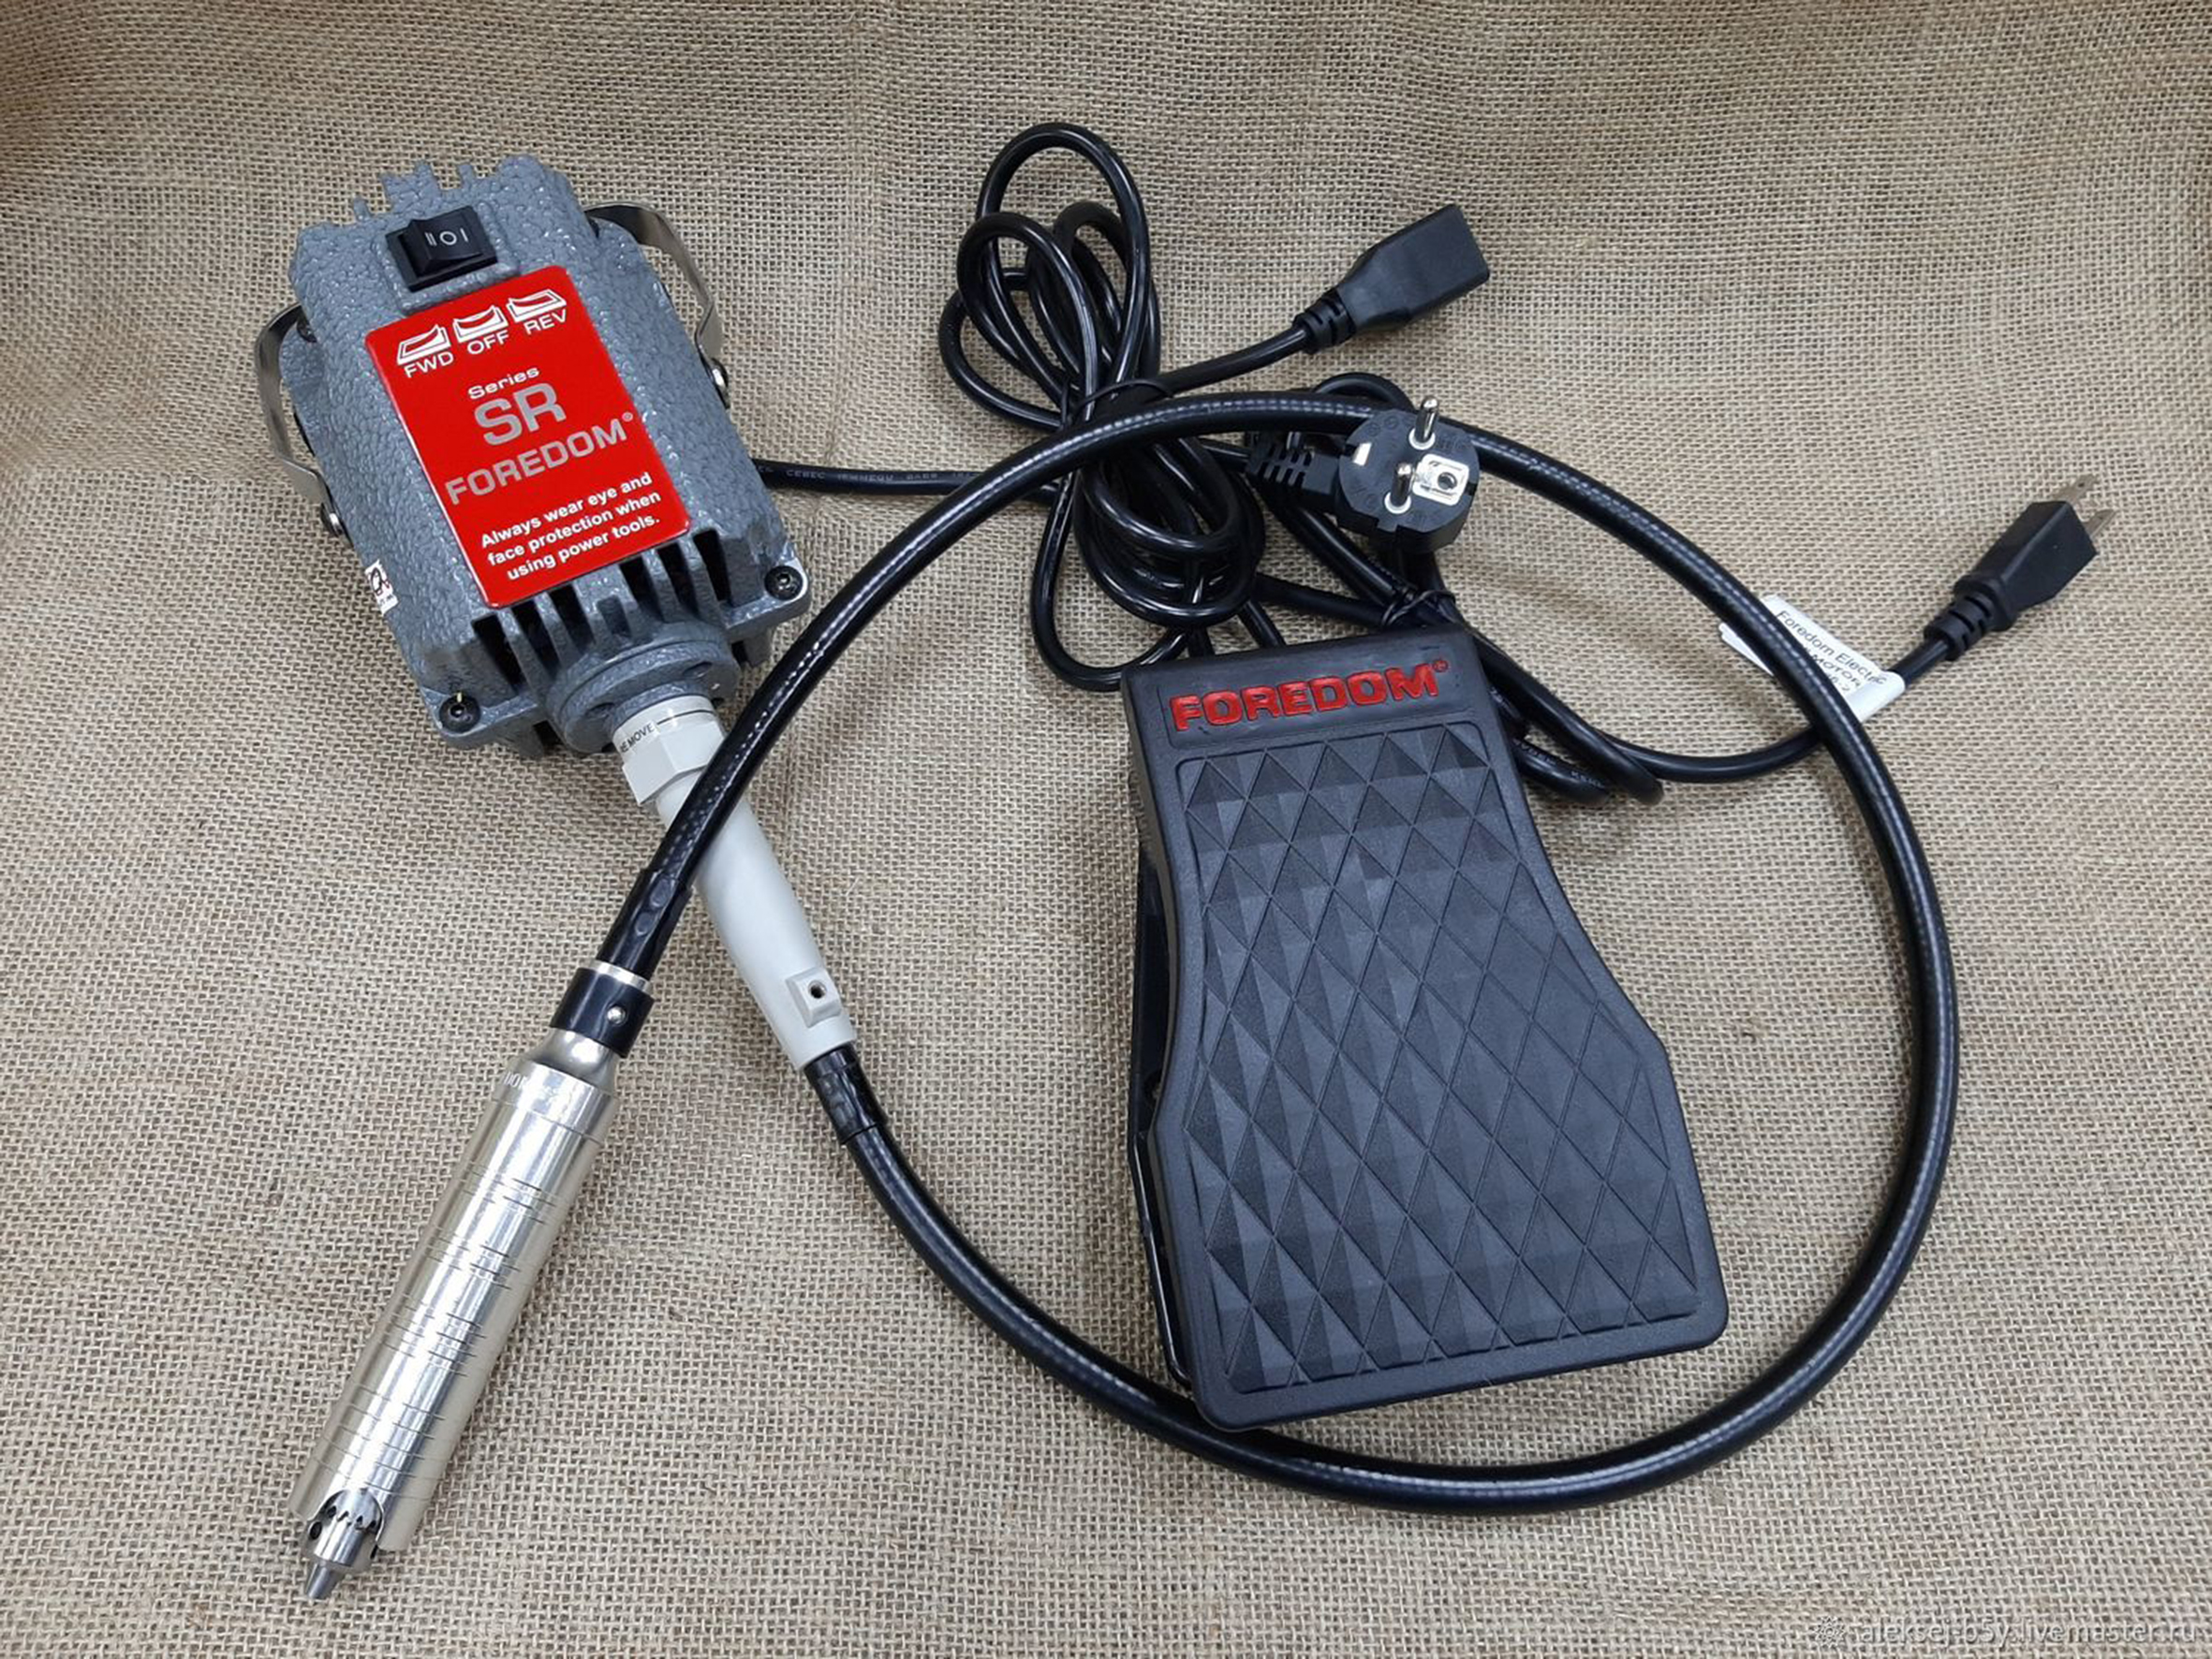
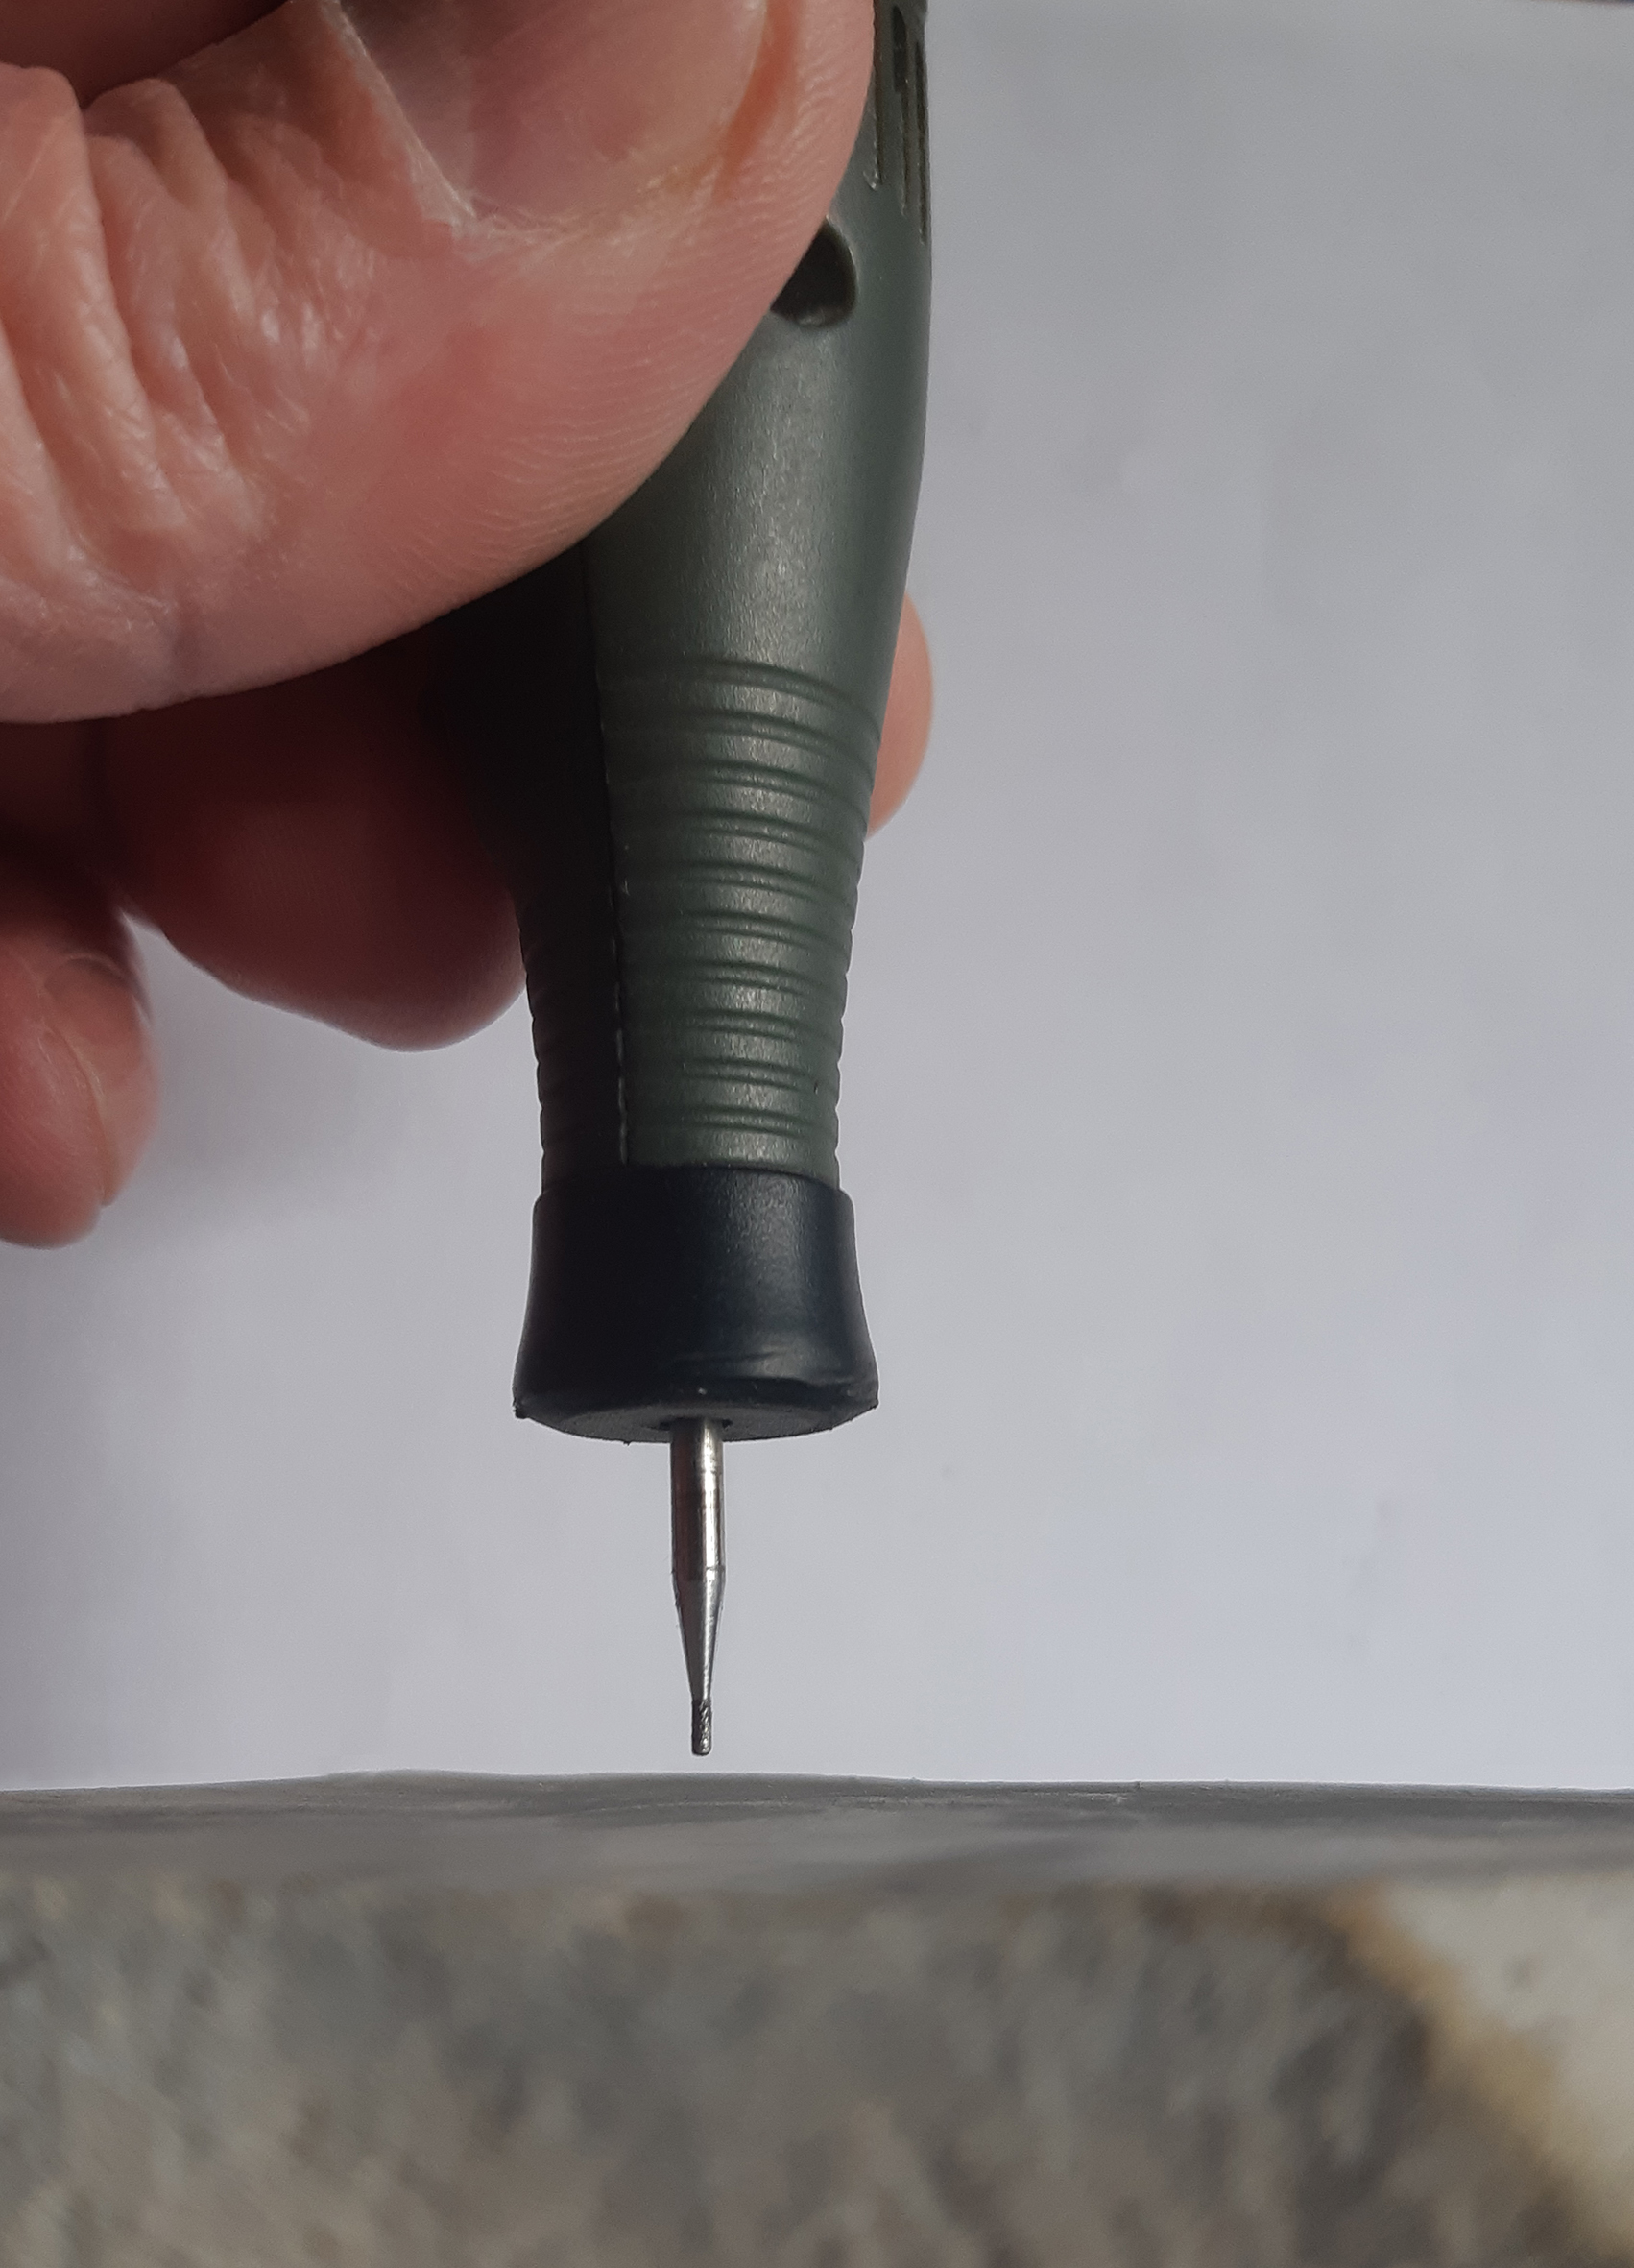
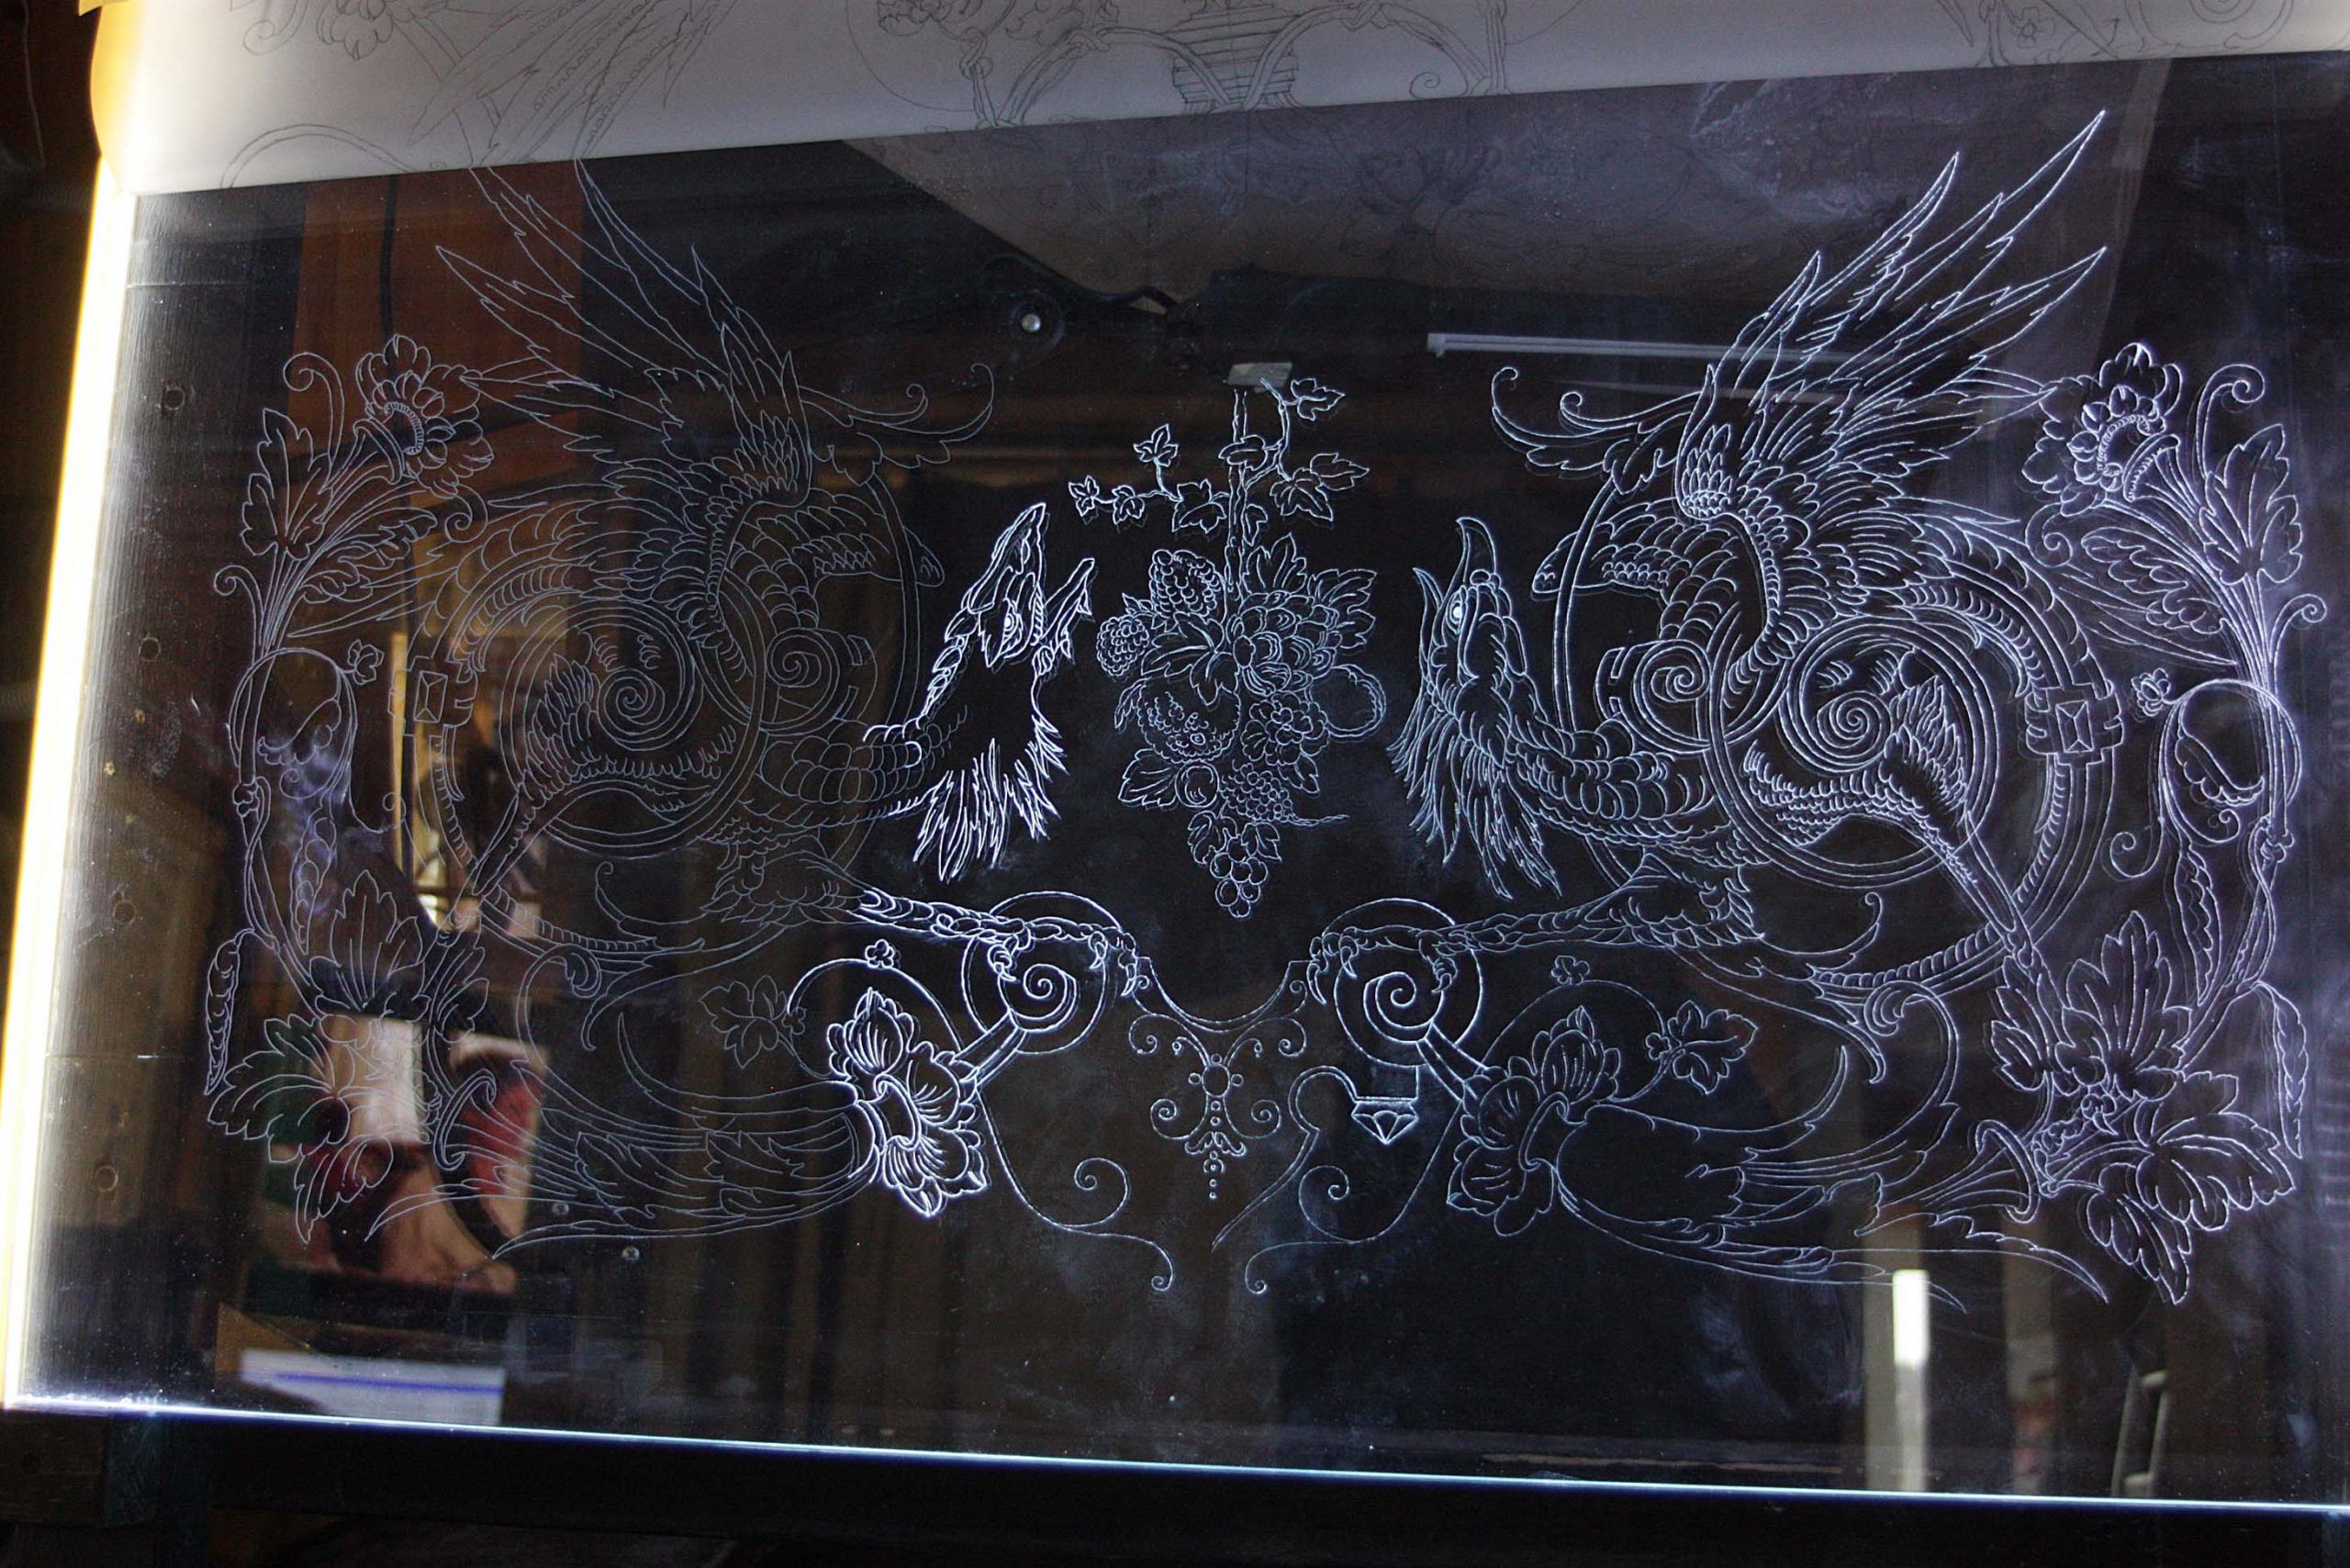
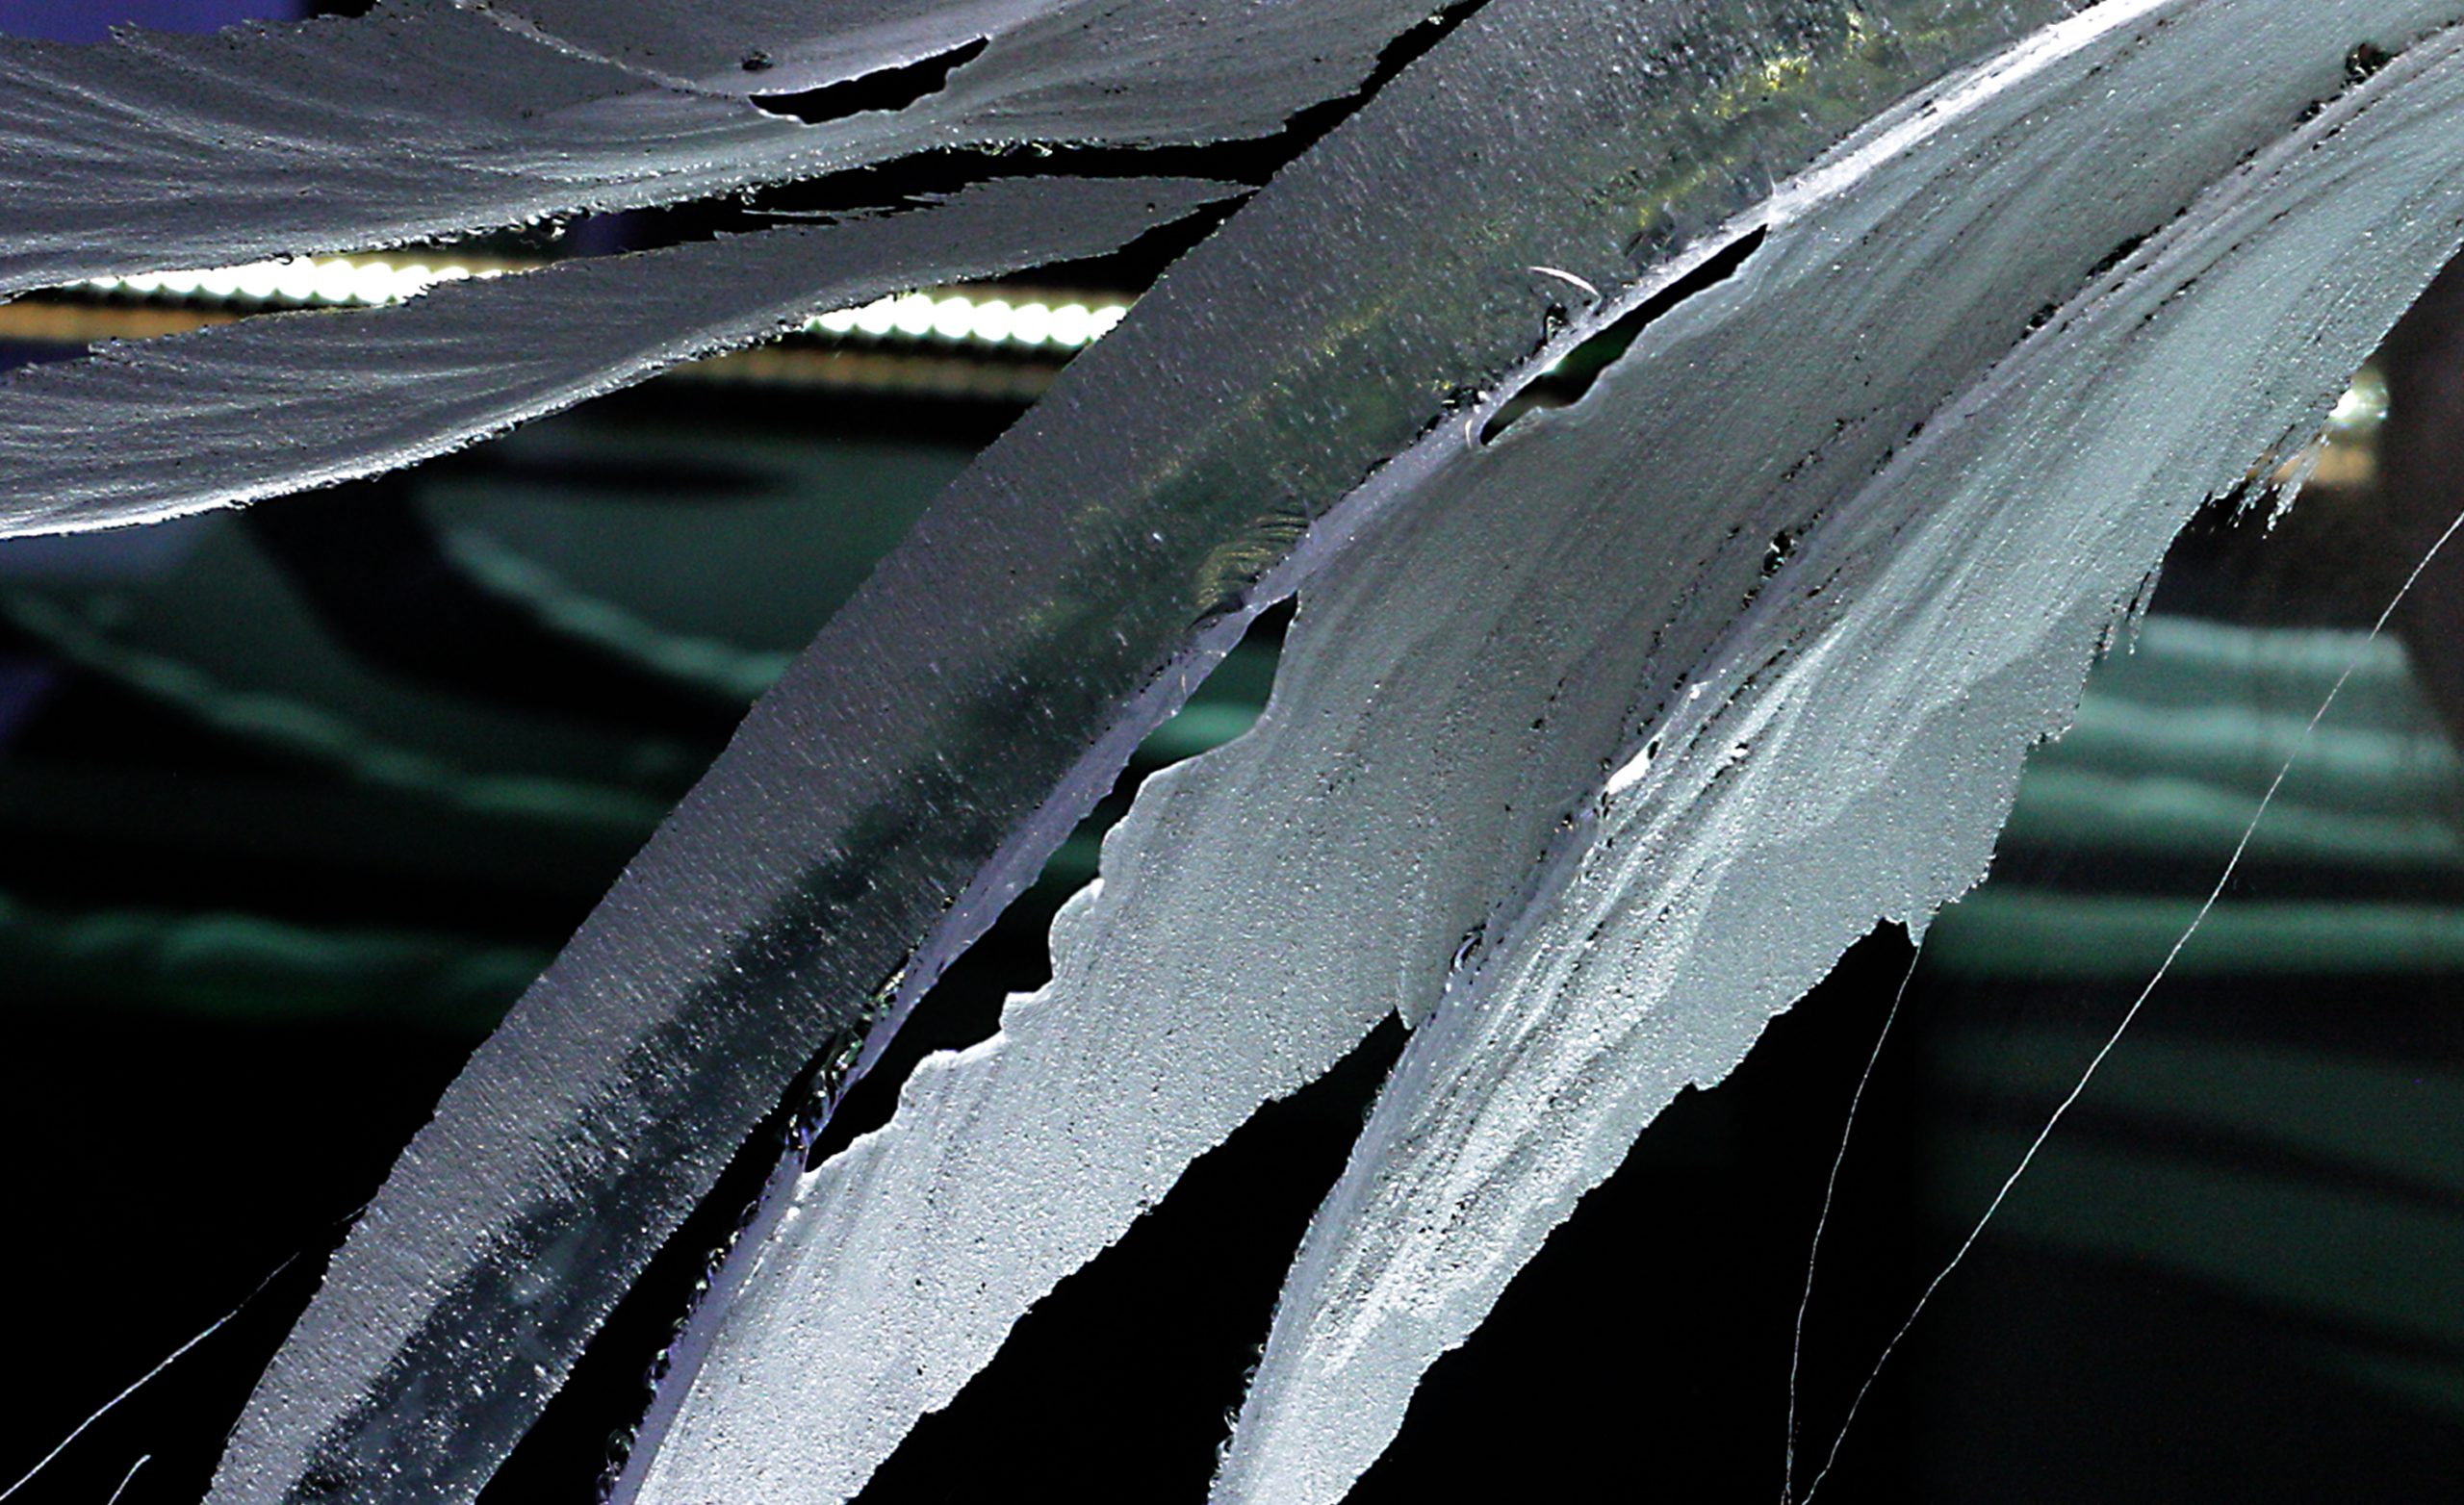
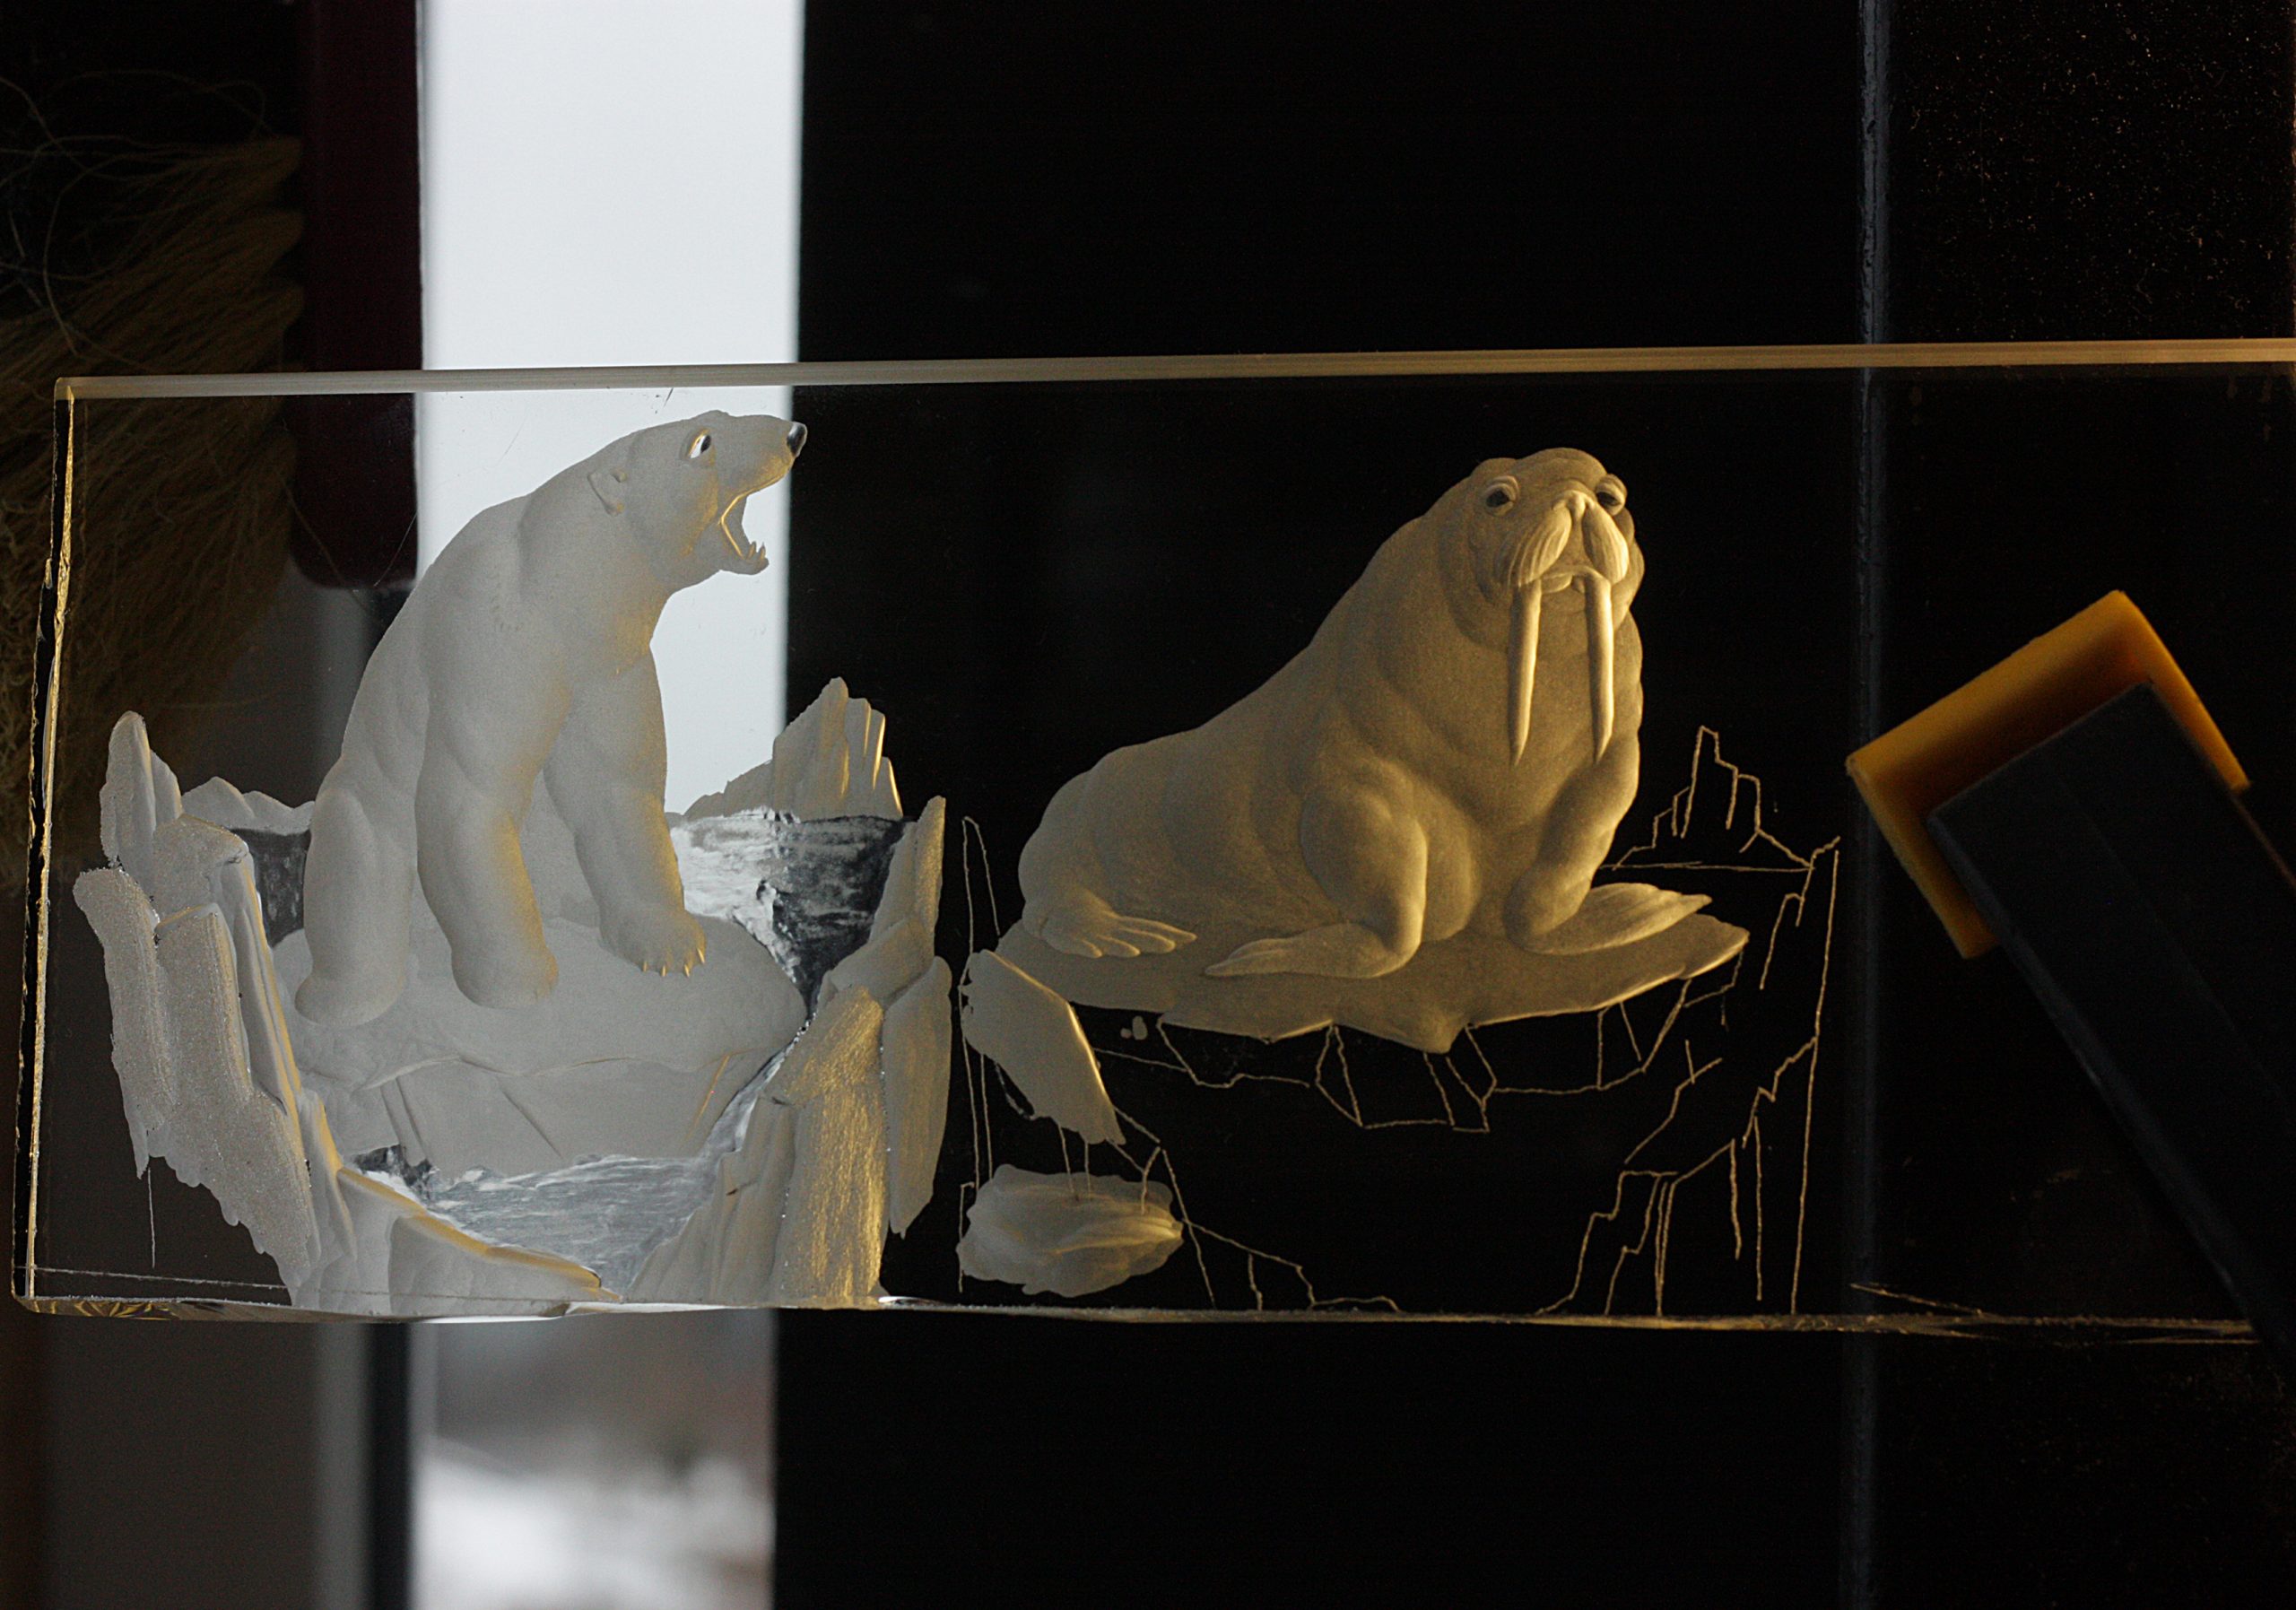
In addition to diamond disks, which form the required relief of the pattern, during work, circles of various materials are used, carrying abrasive grains of different sizes in their structure.
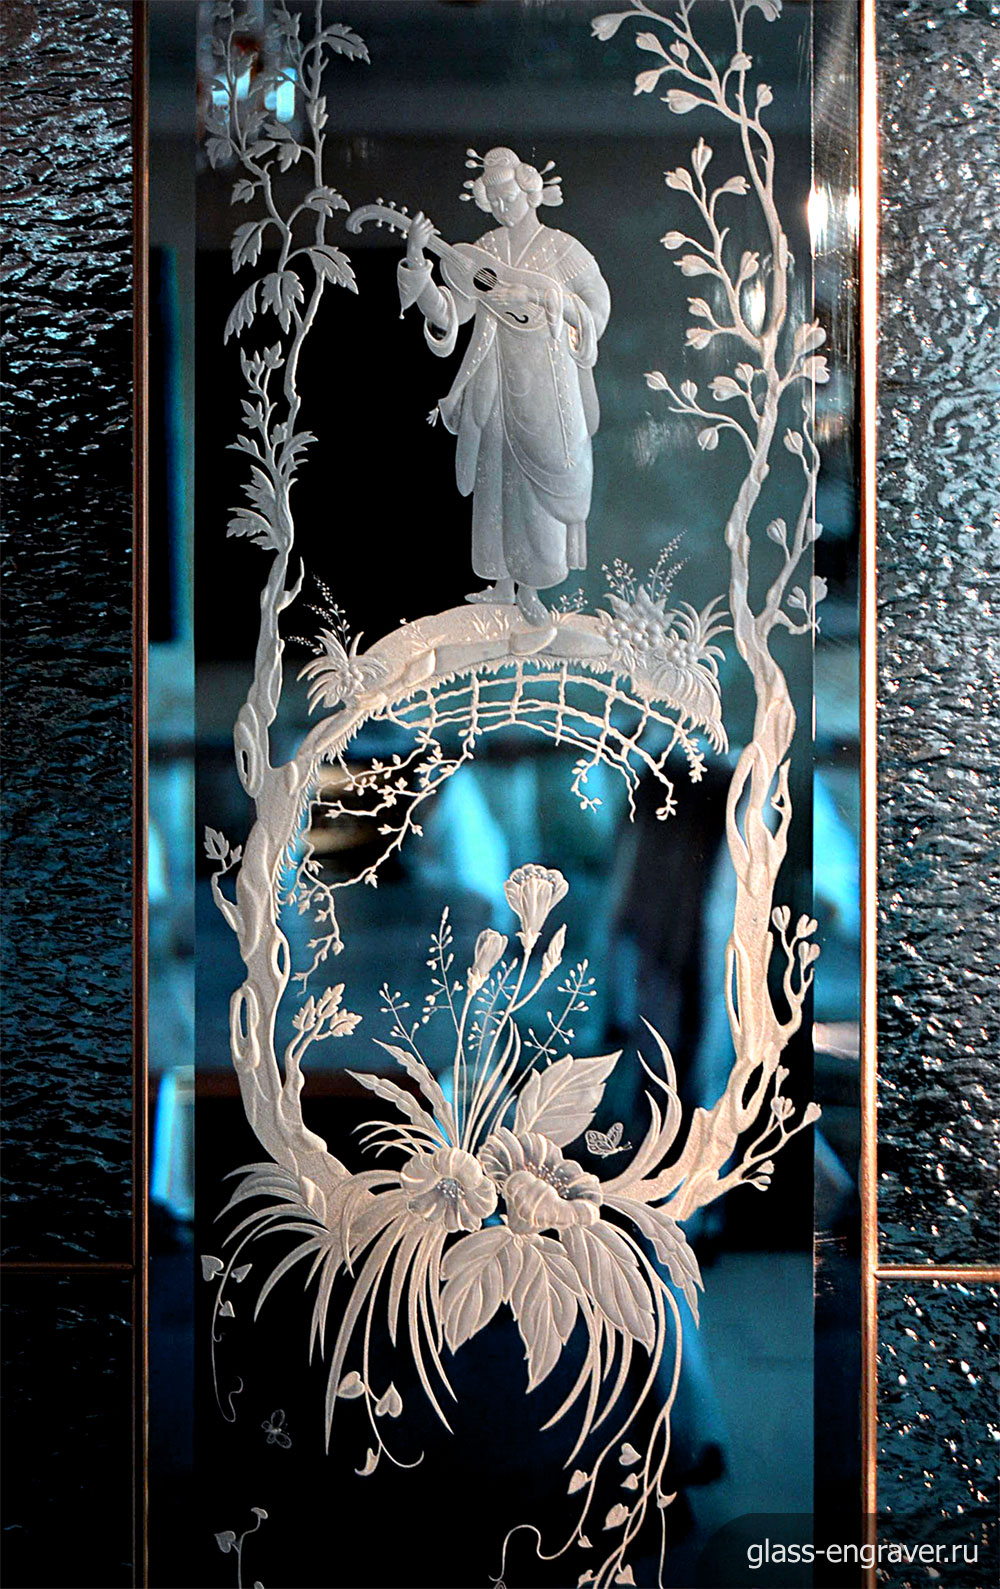
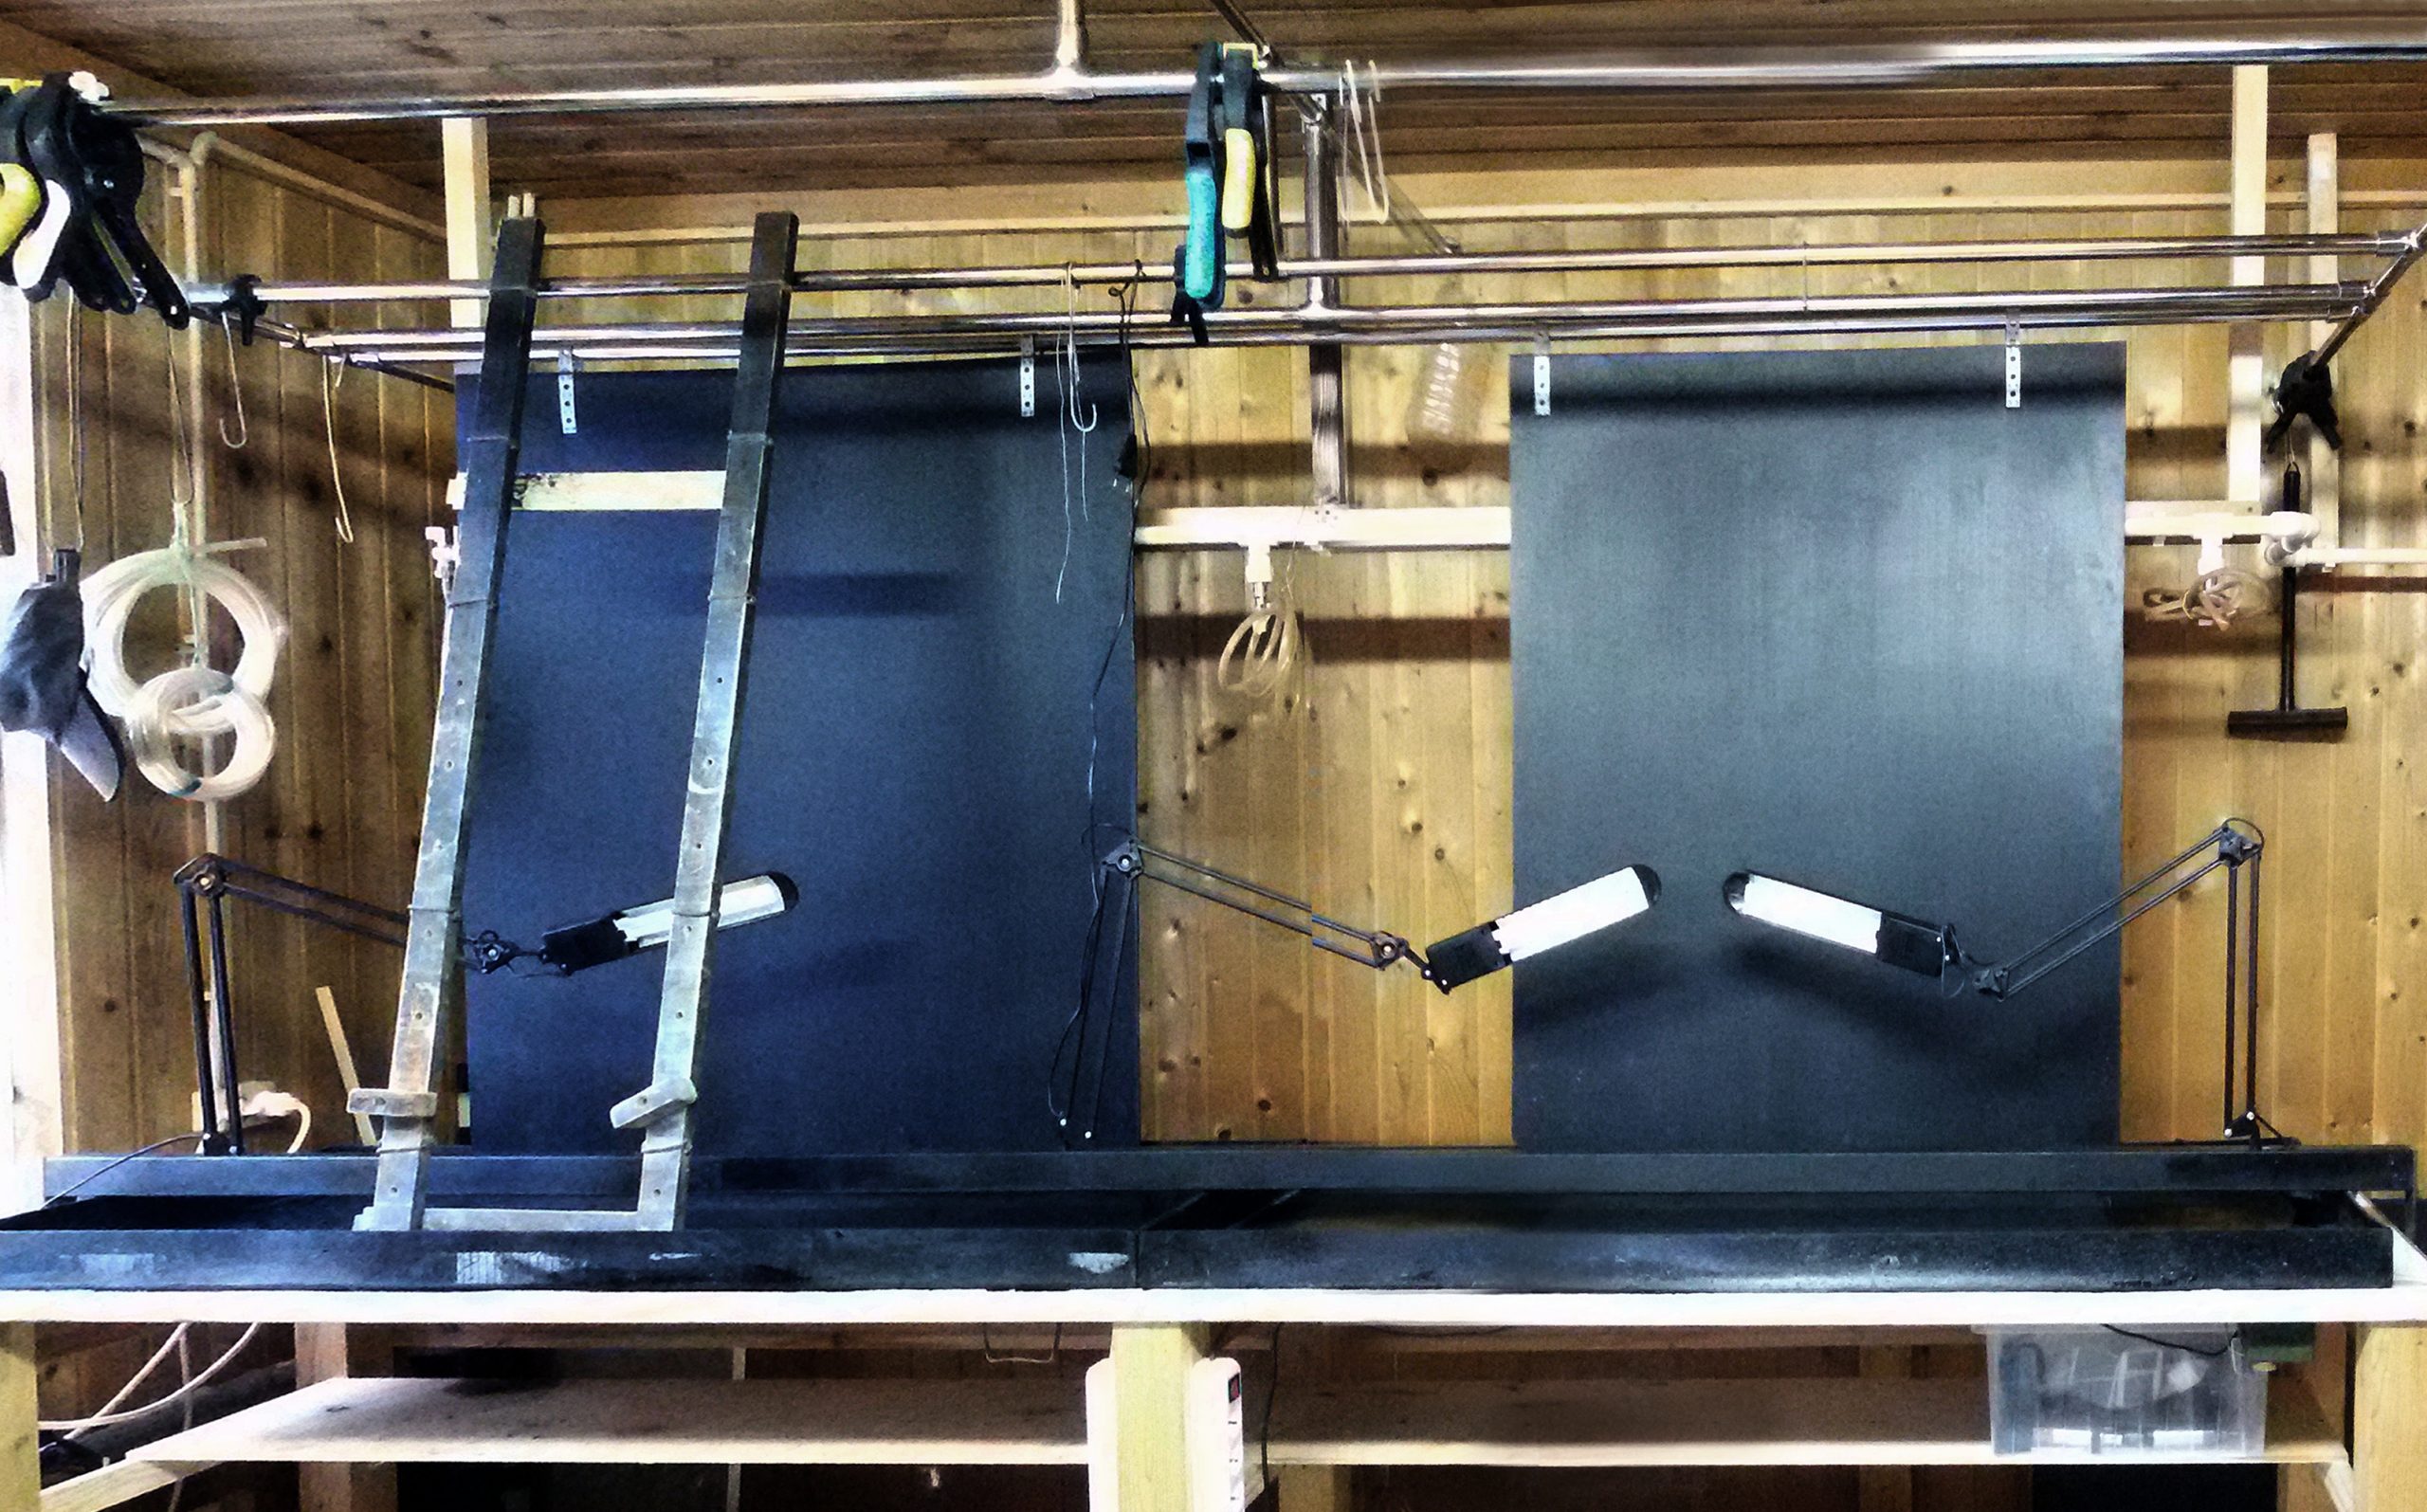
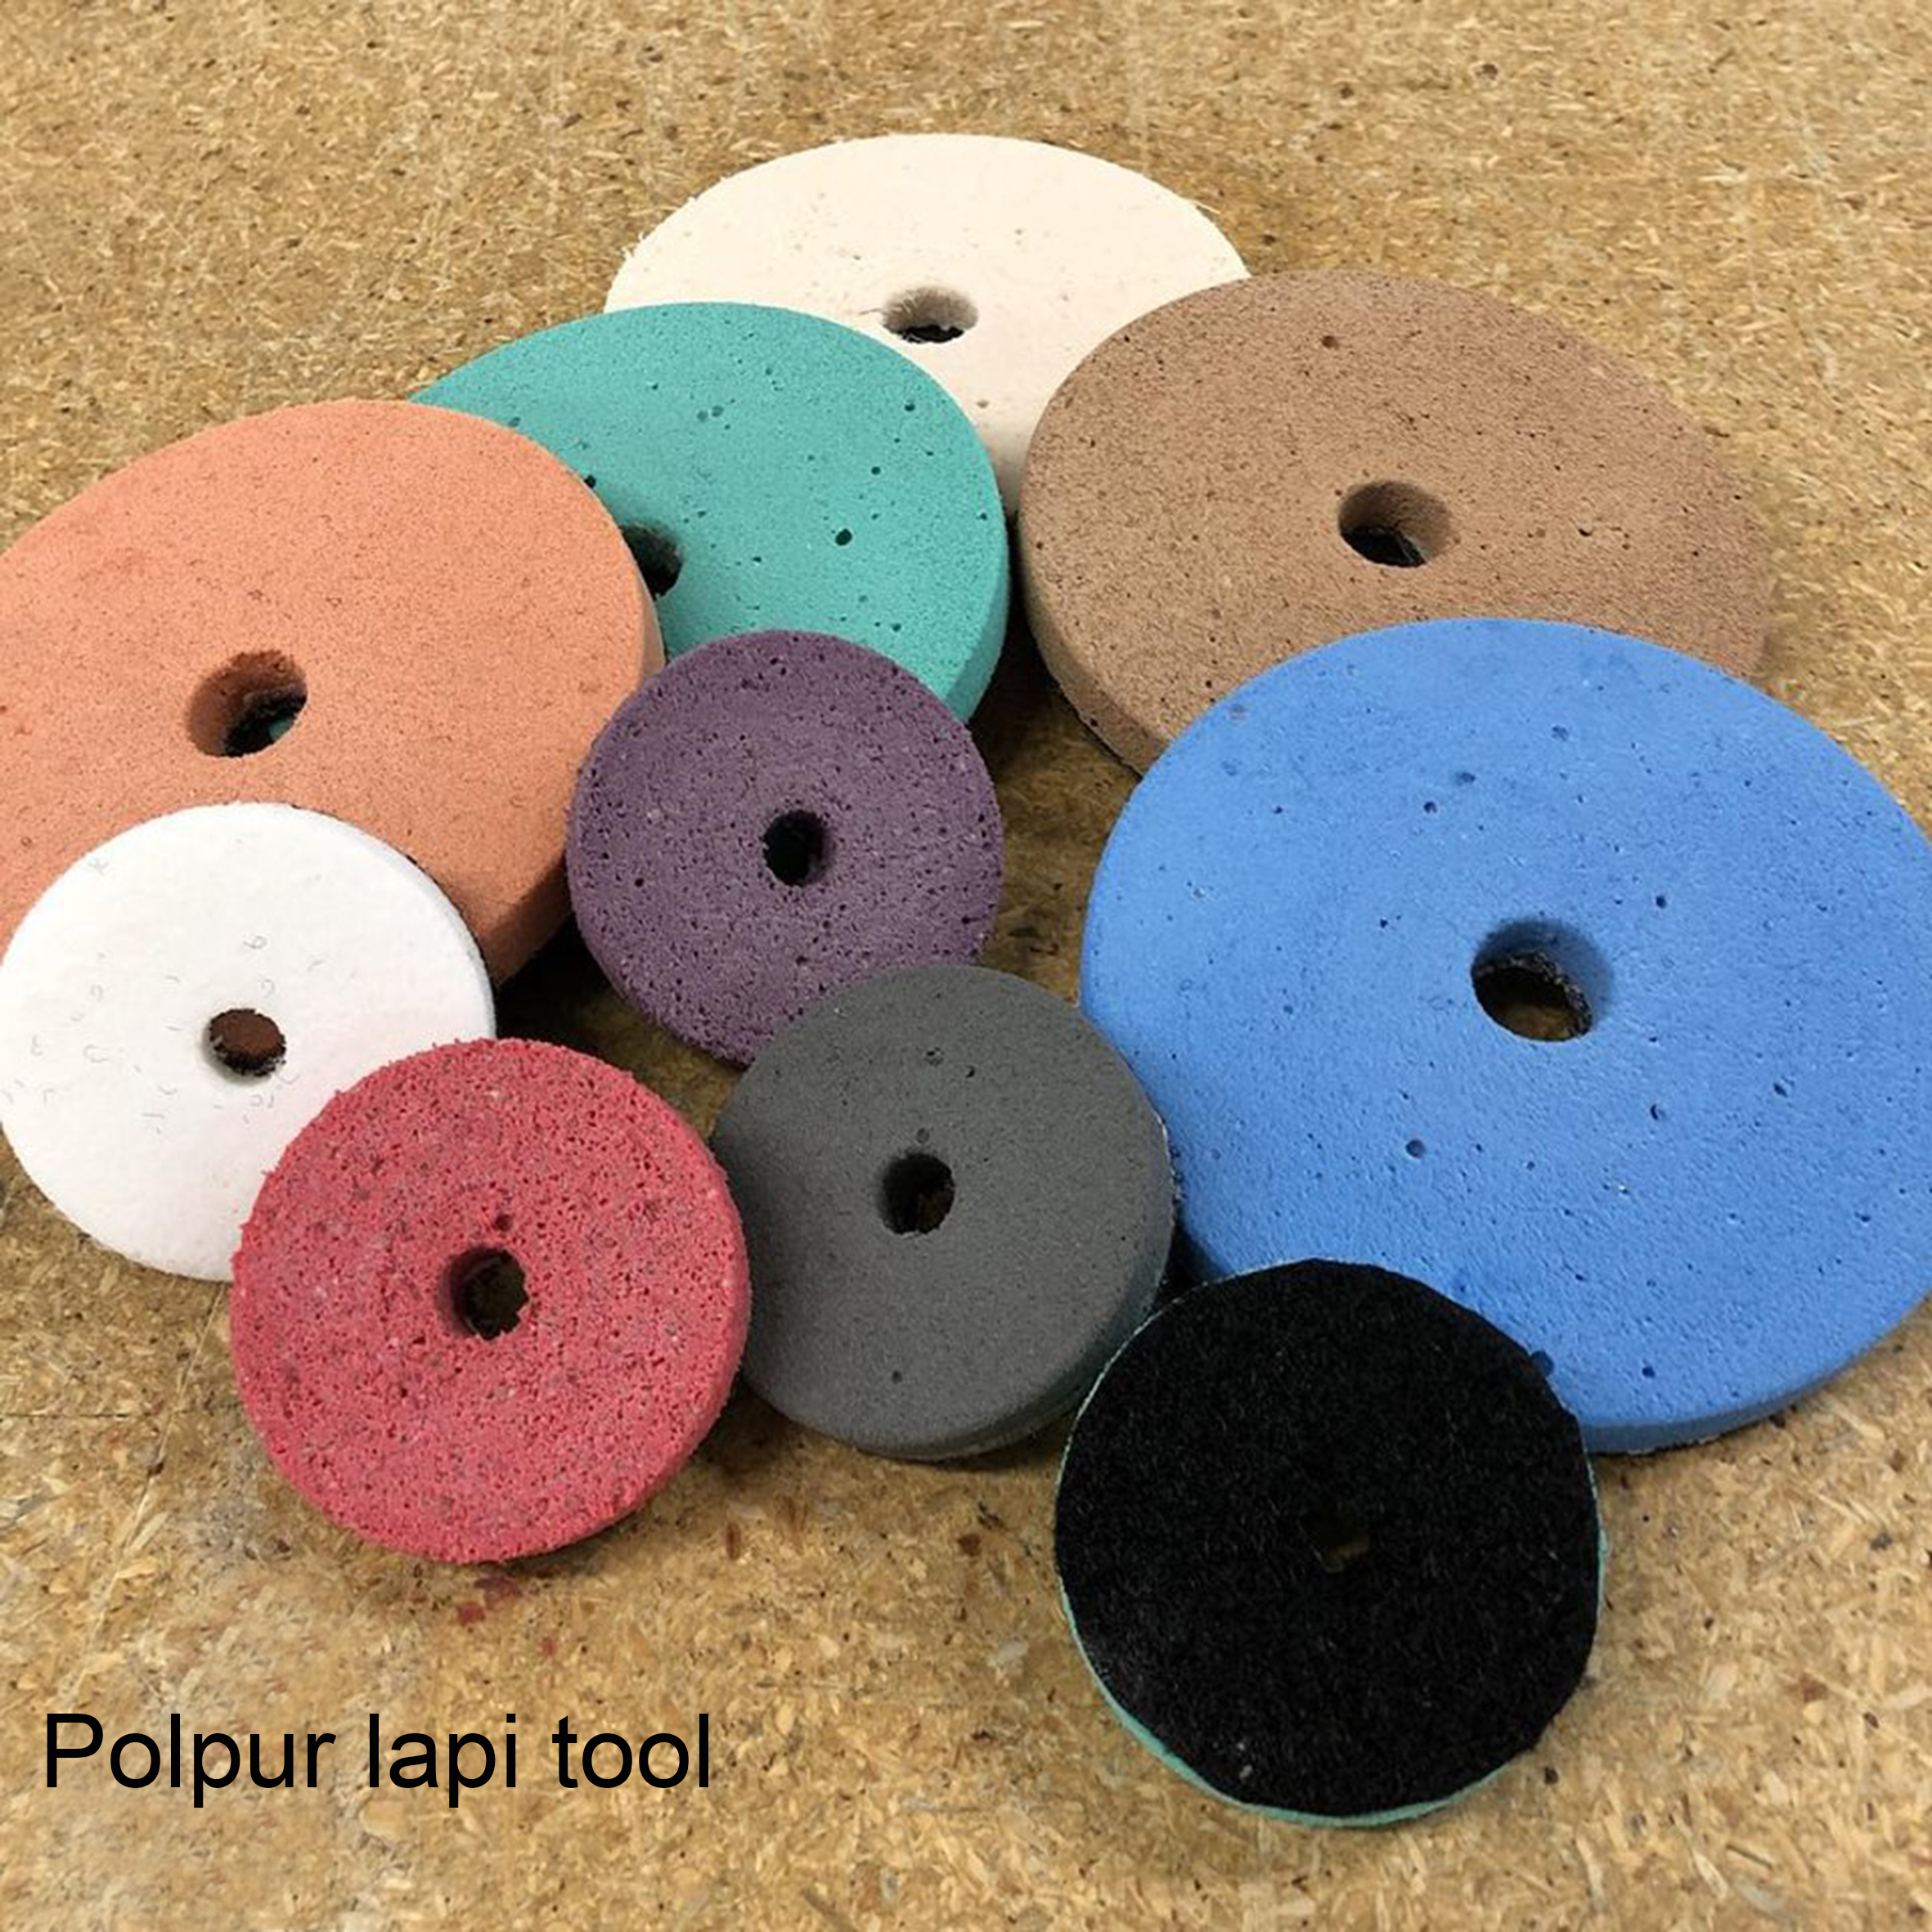
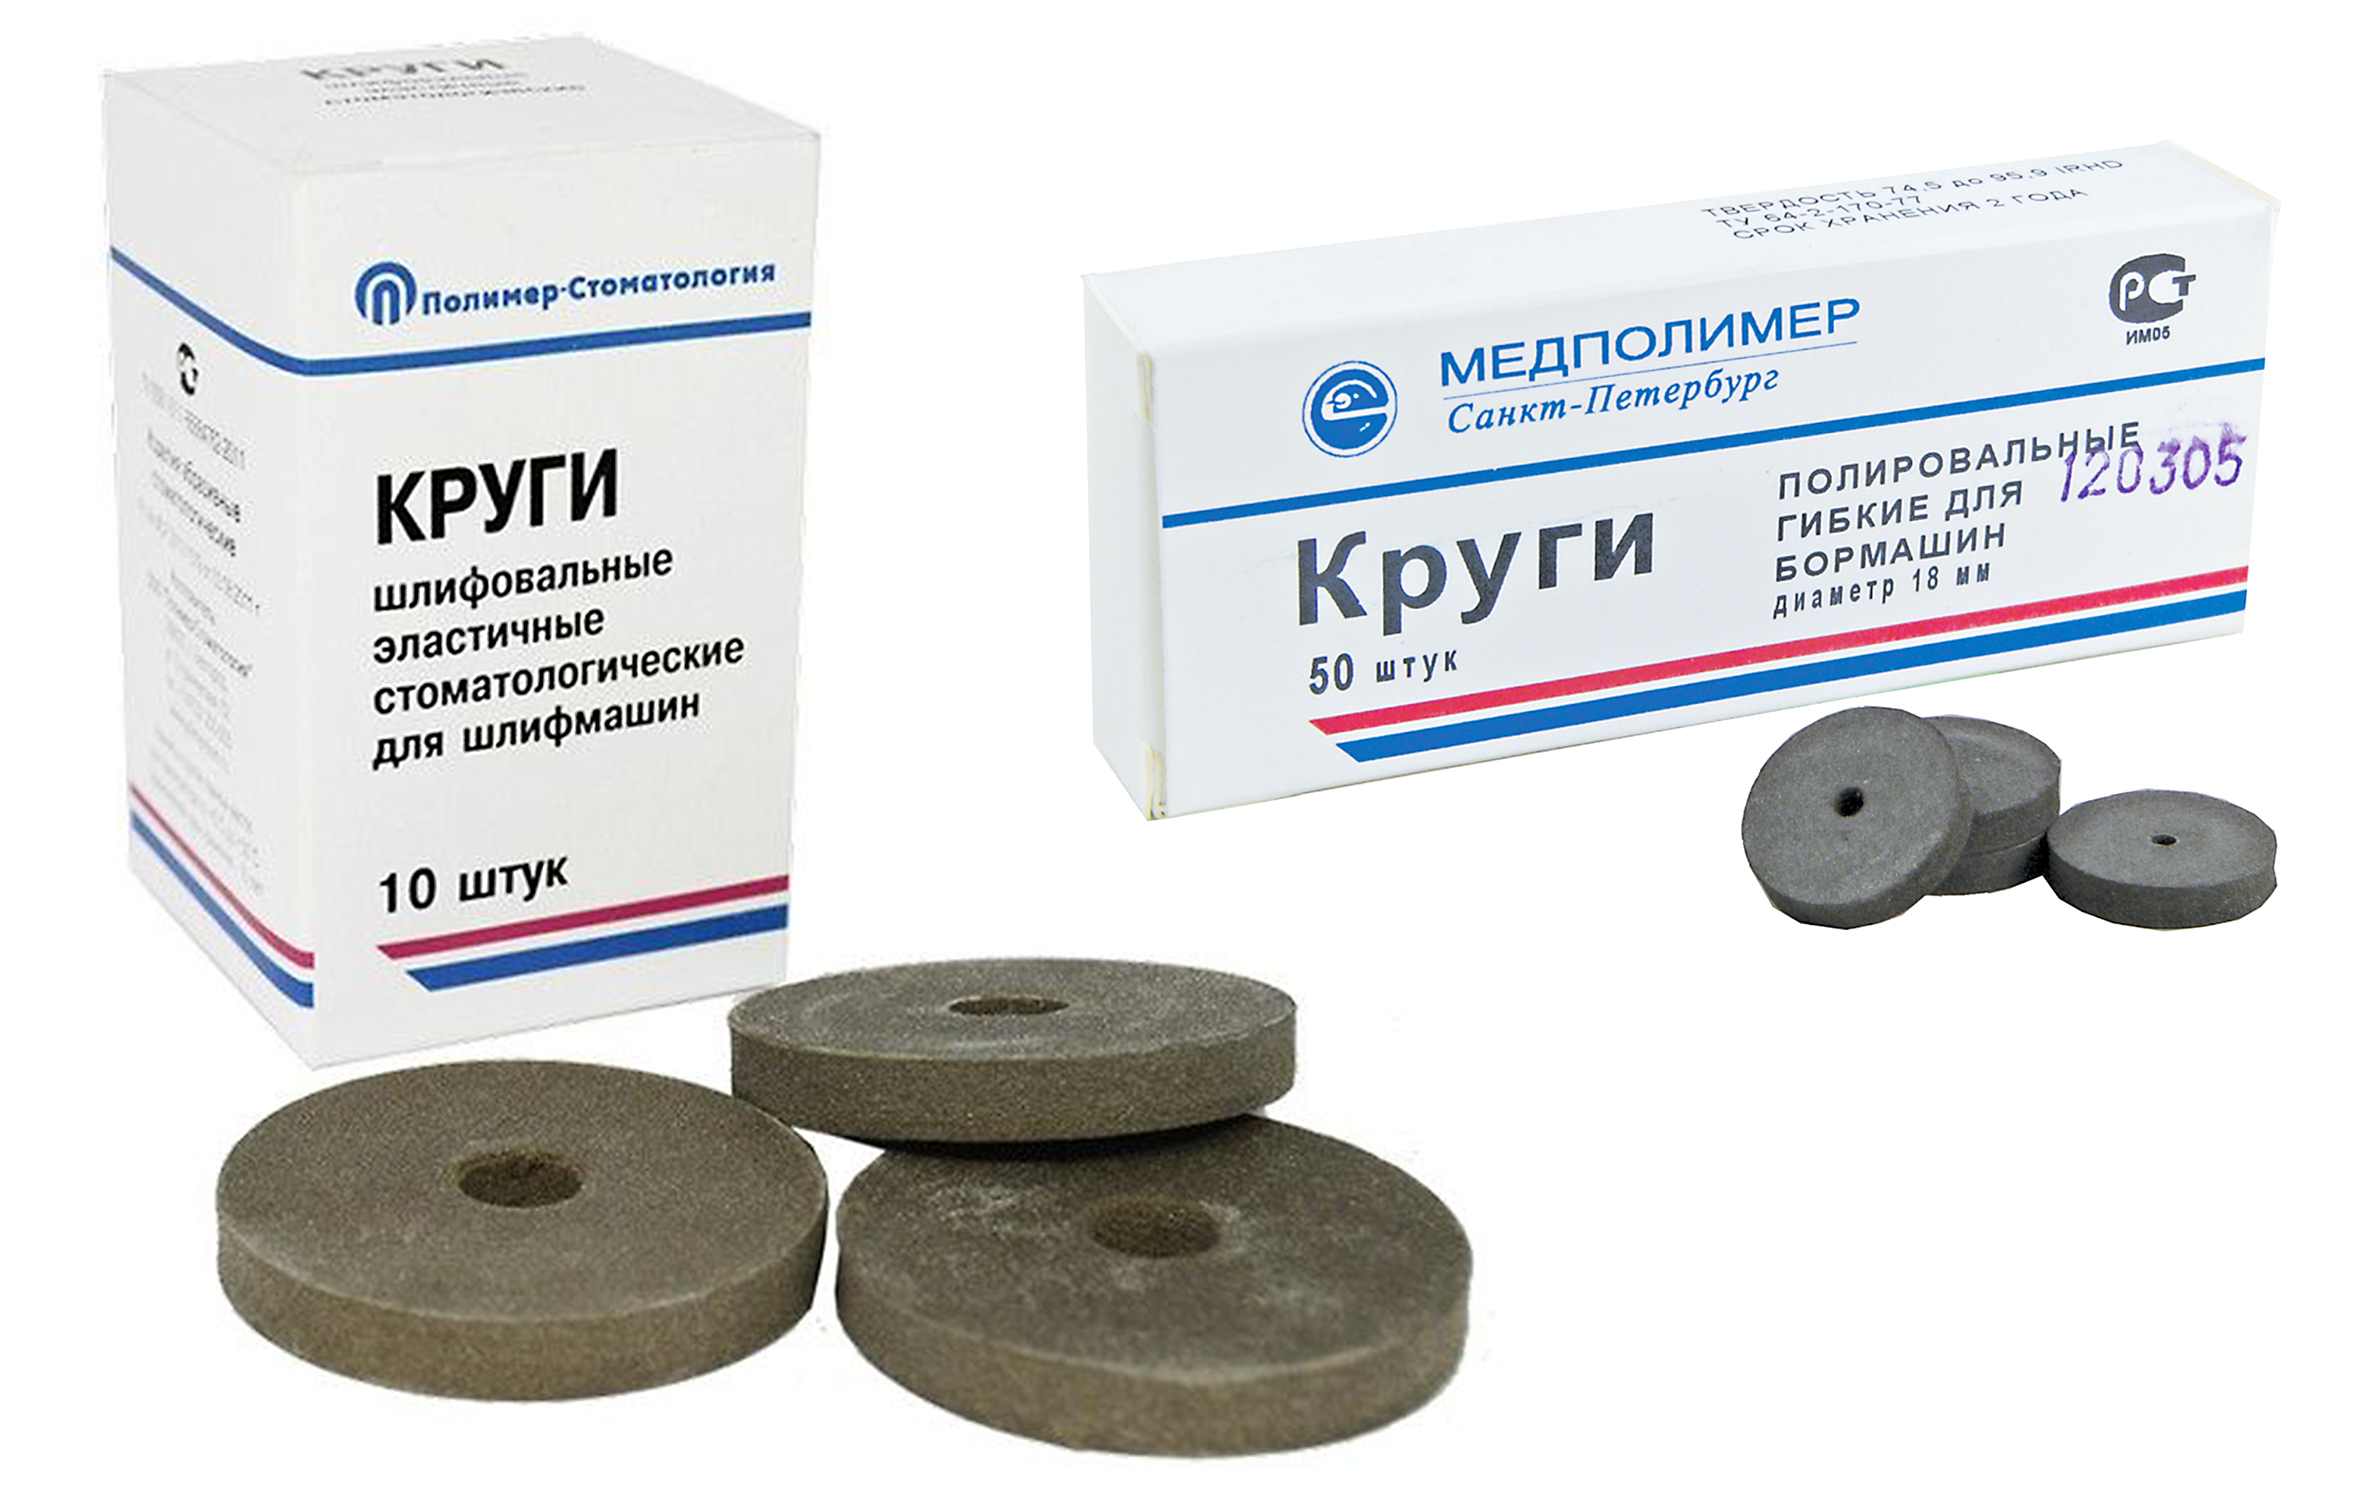
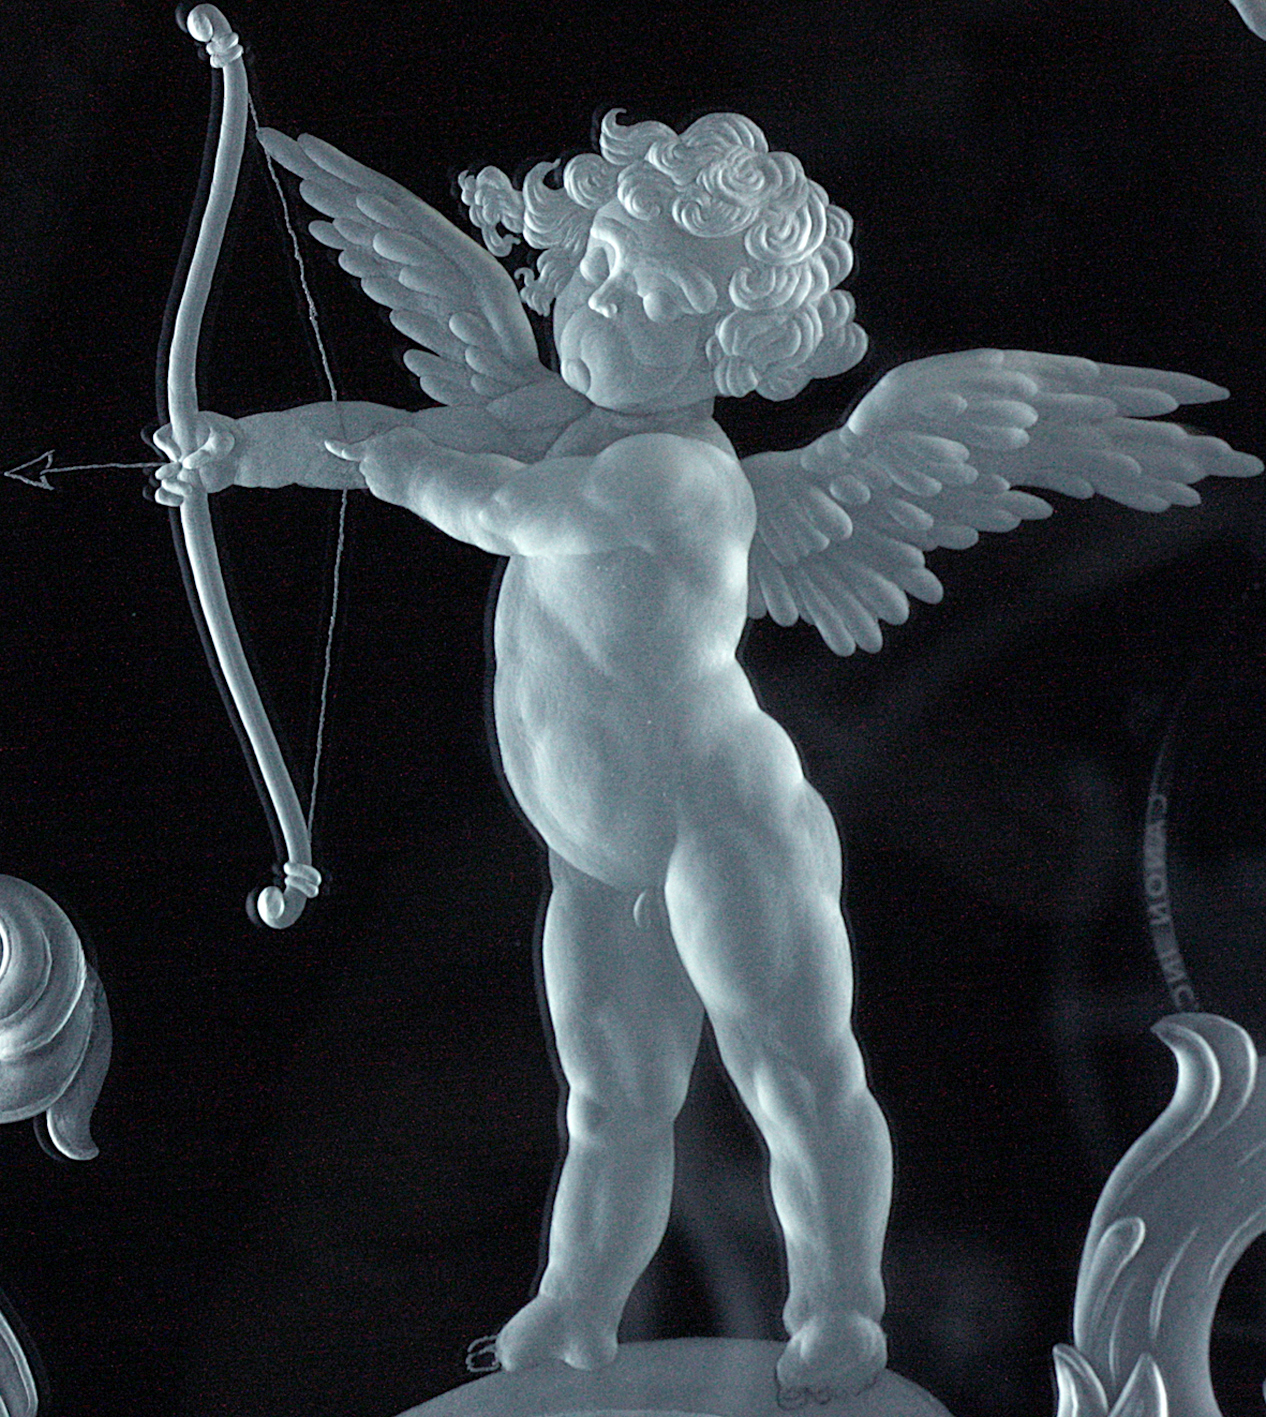
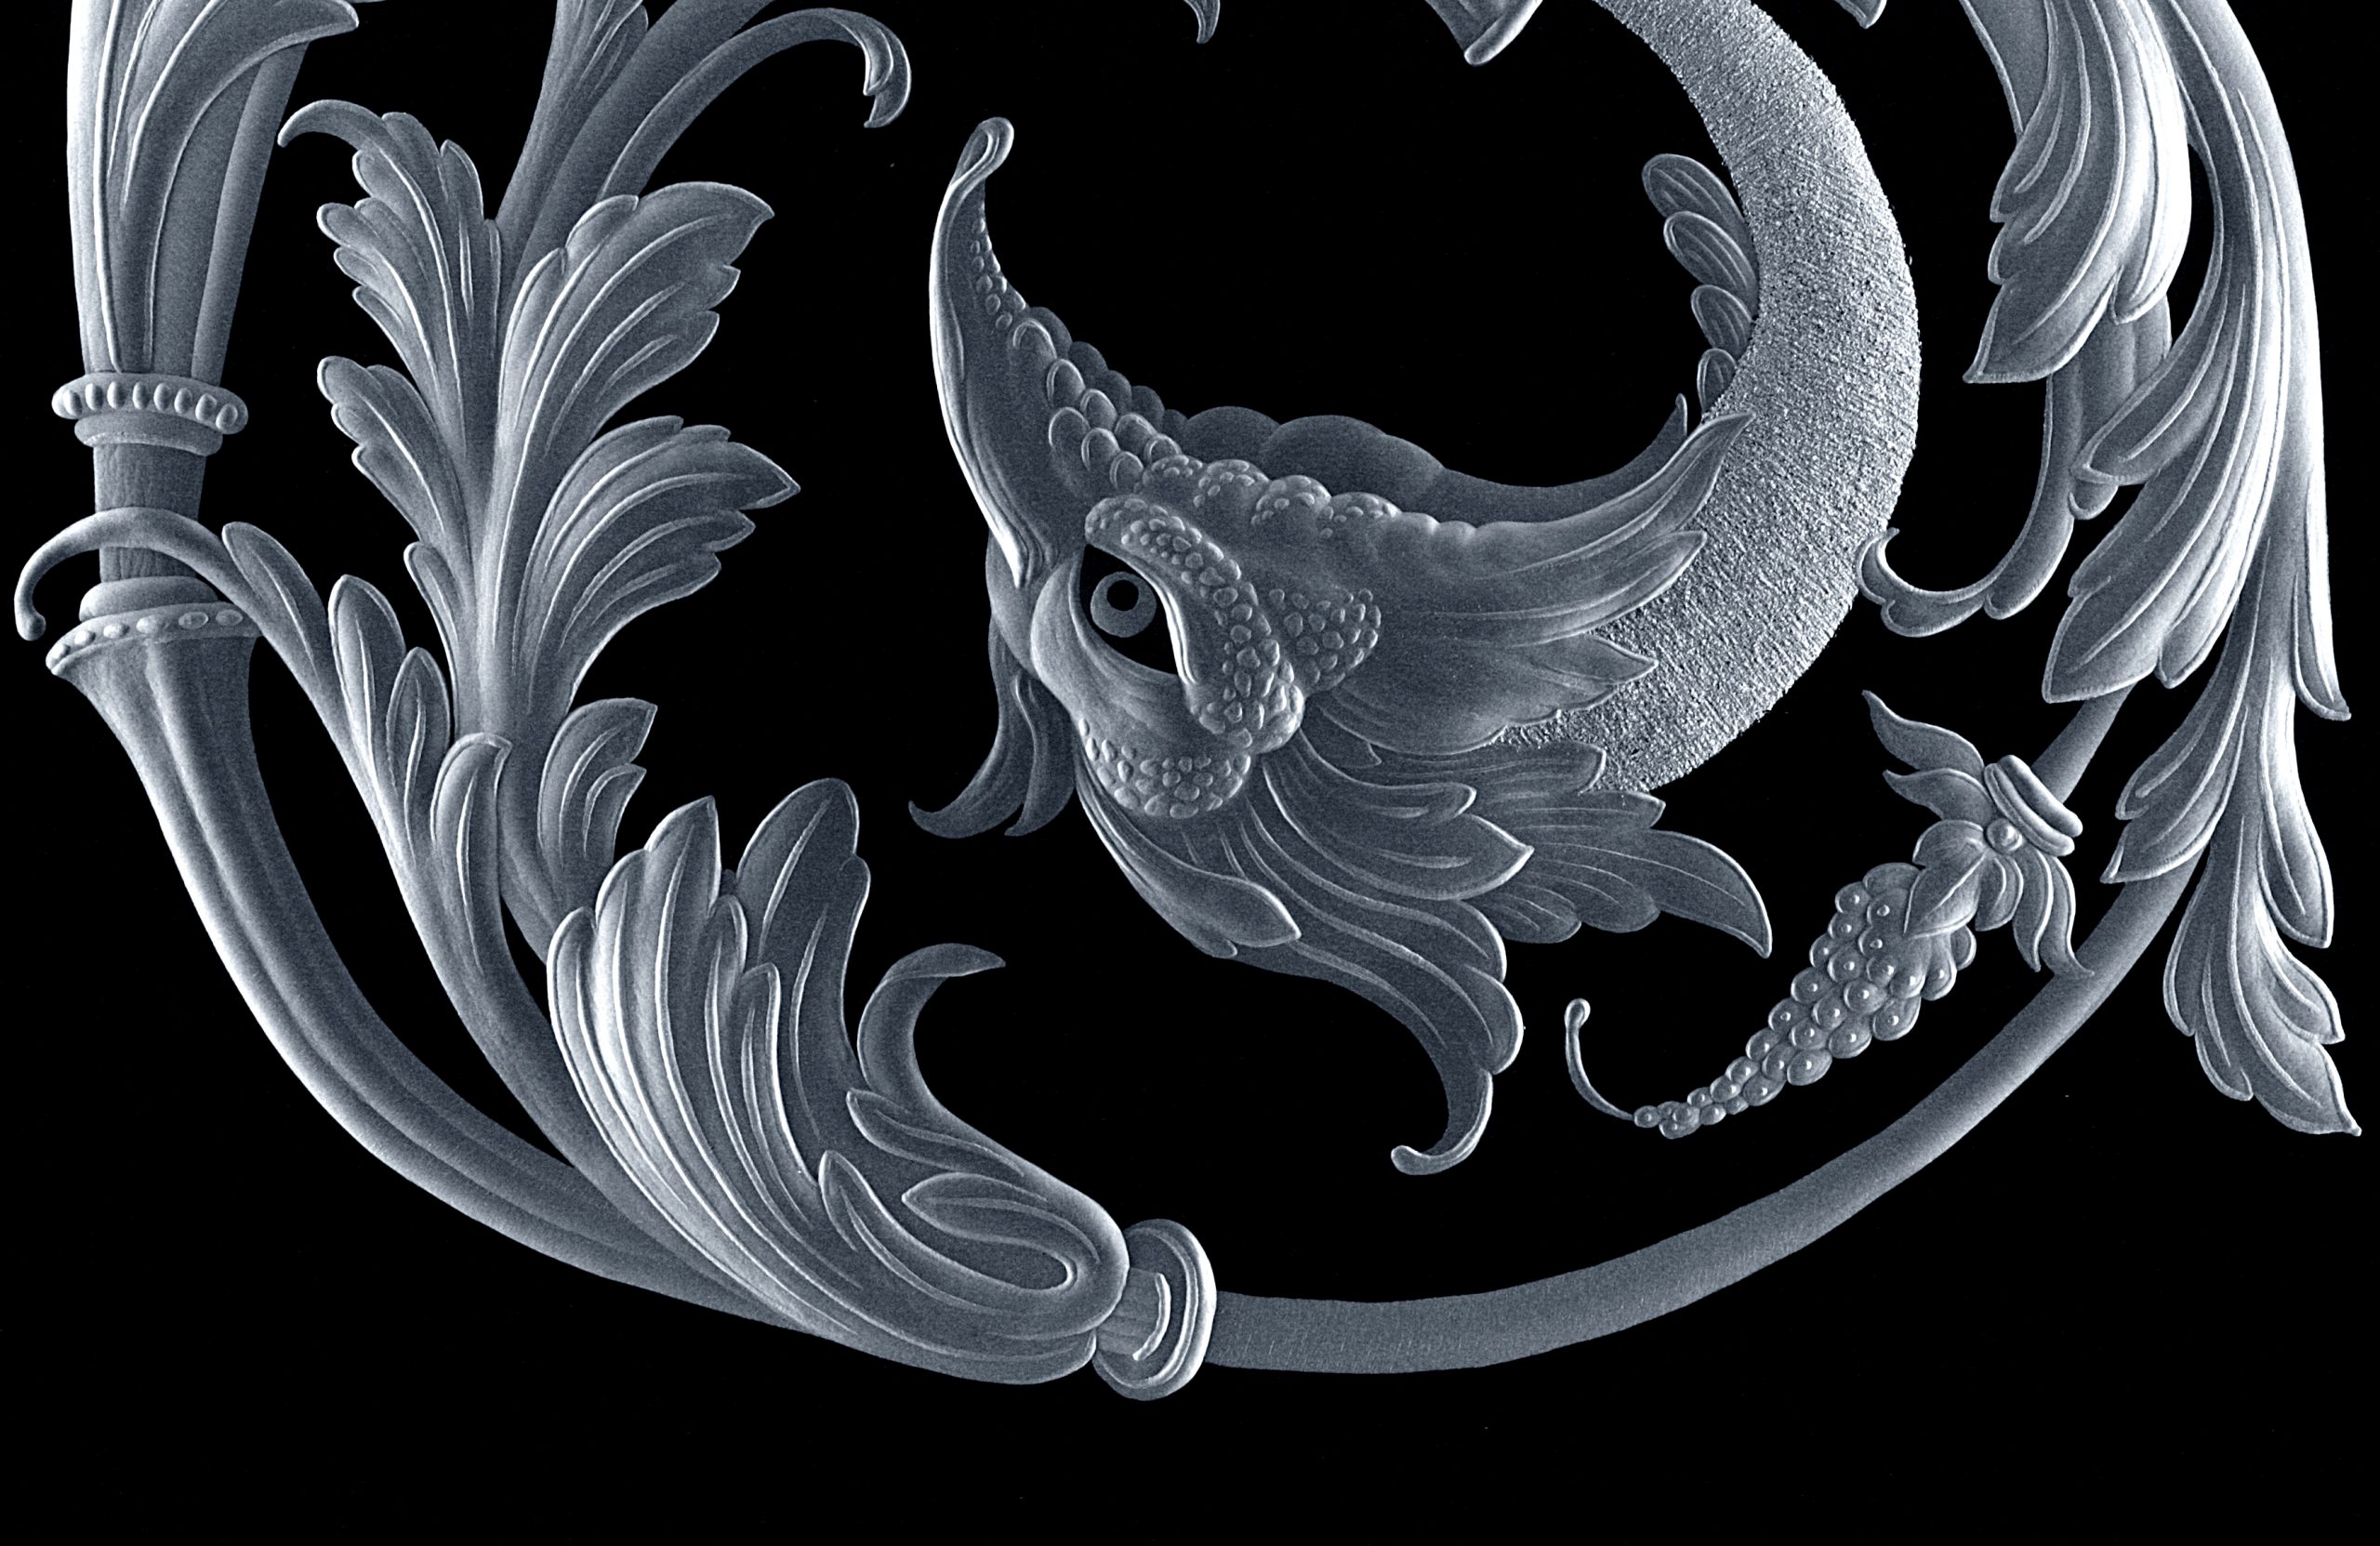
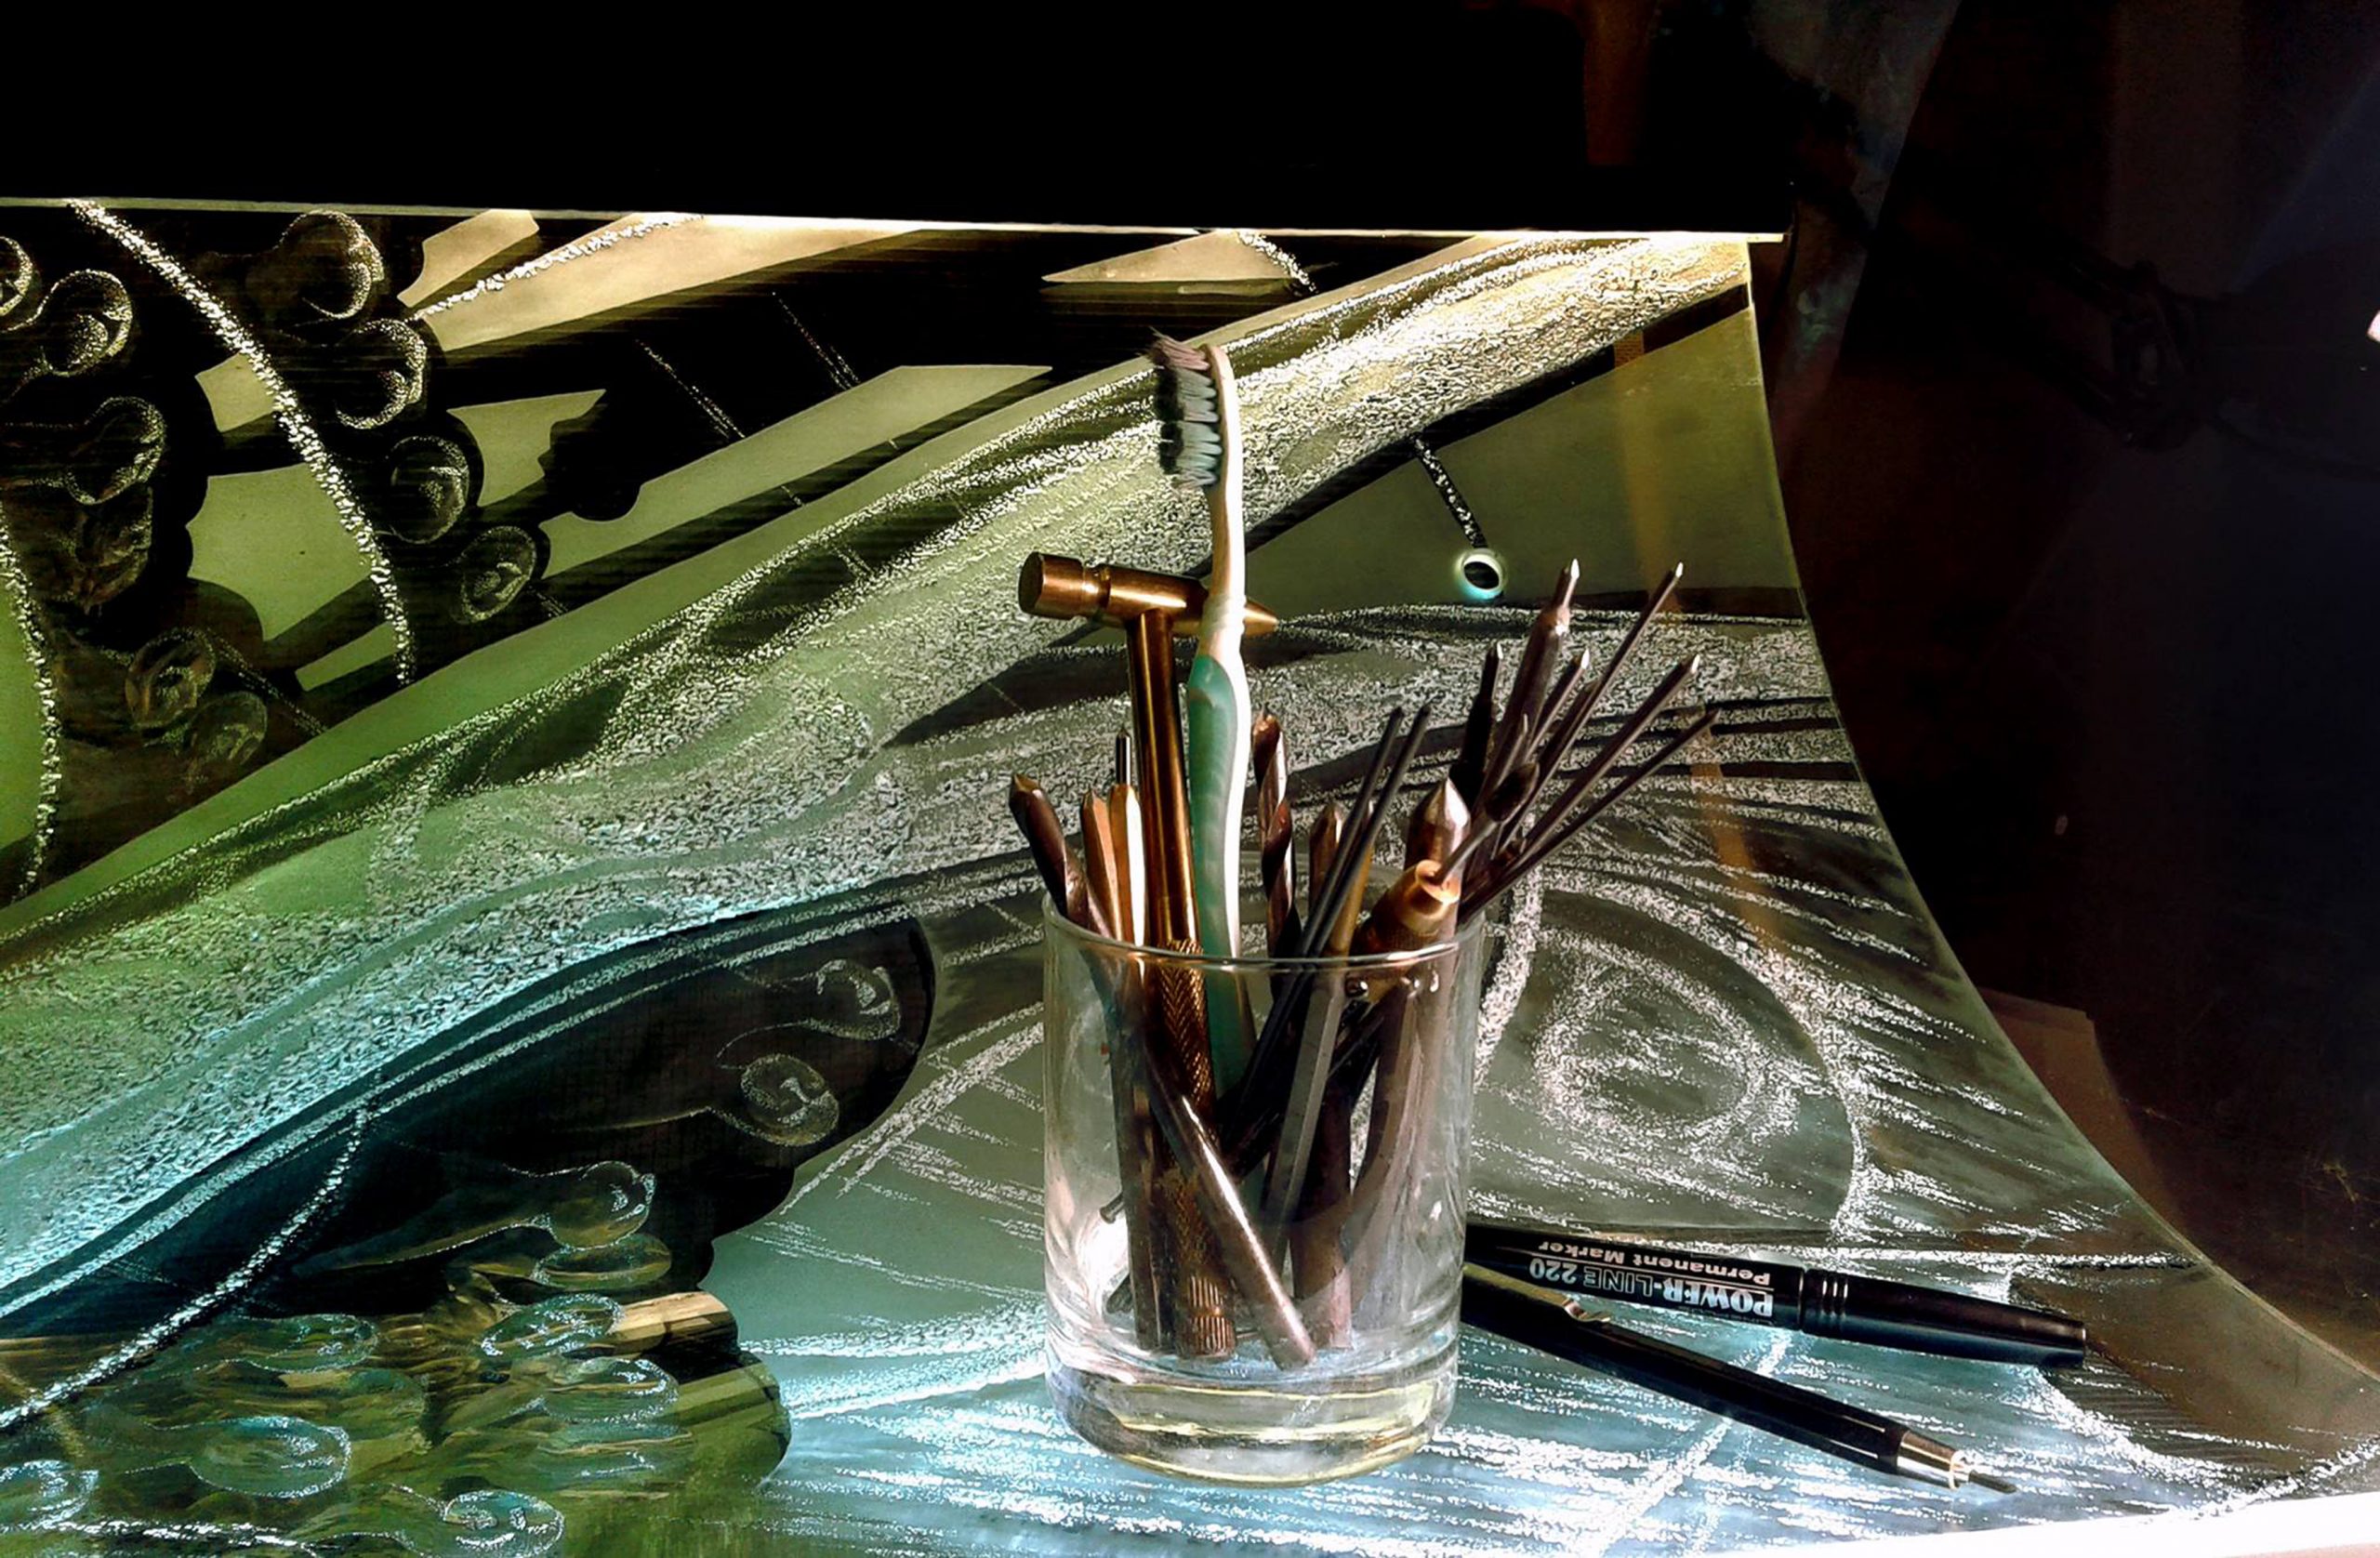
Such rigs include circles of the Lapi series of the Czech company PolPur (purple, orange, green, black, blue, brown, white). The use of these circles allows you to consistently change the texture of the surface up to polished. And rubber abrasive wheels produced by Medpolymer (Fig. 42, 43, 44).
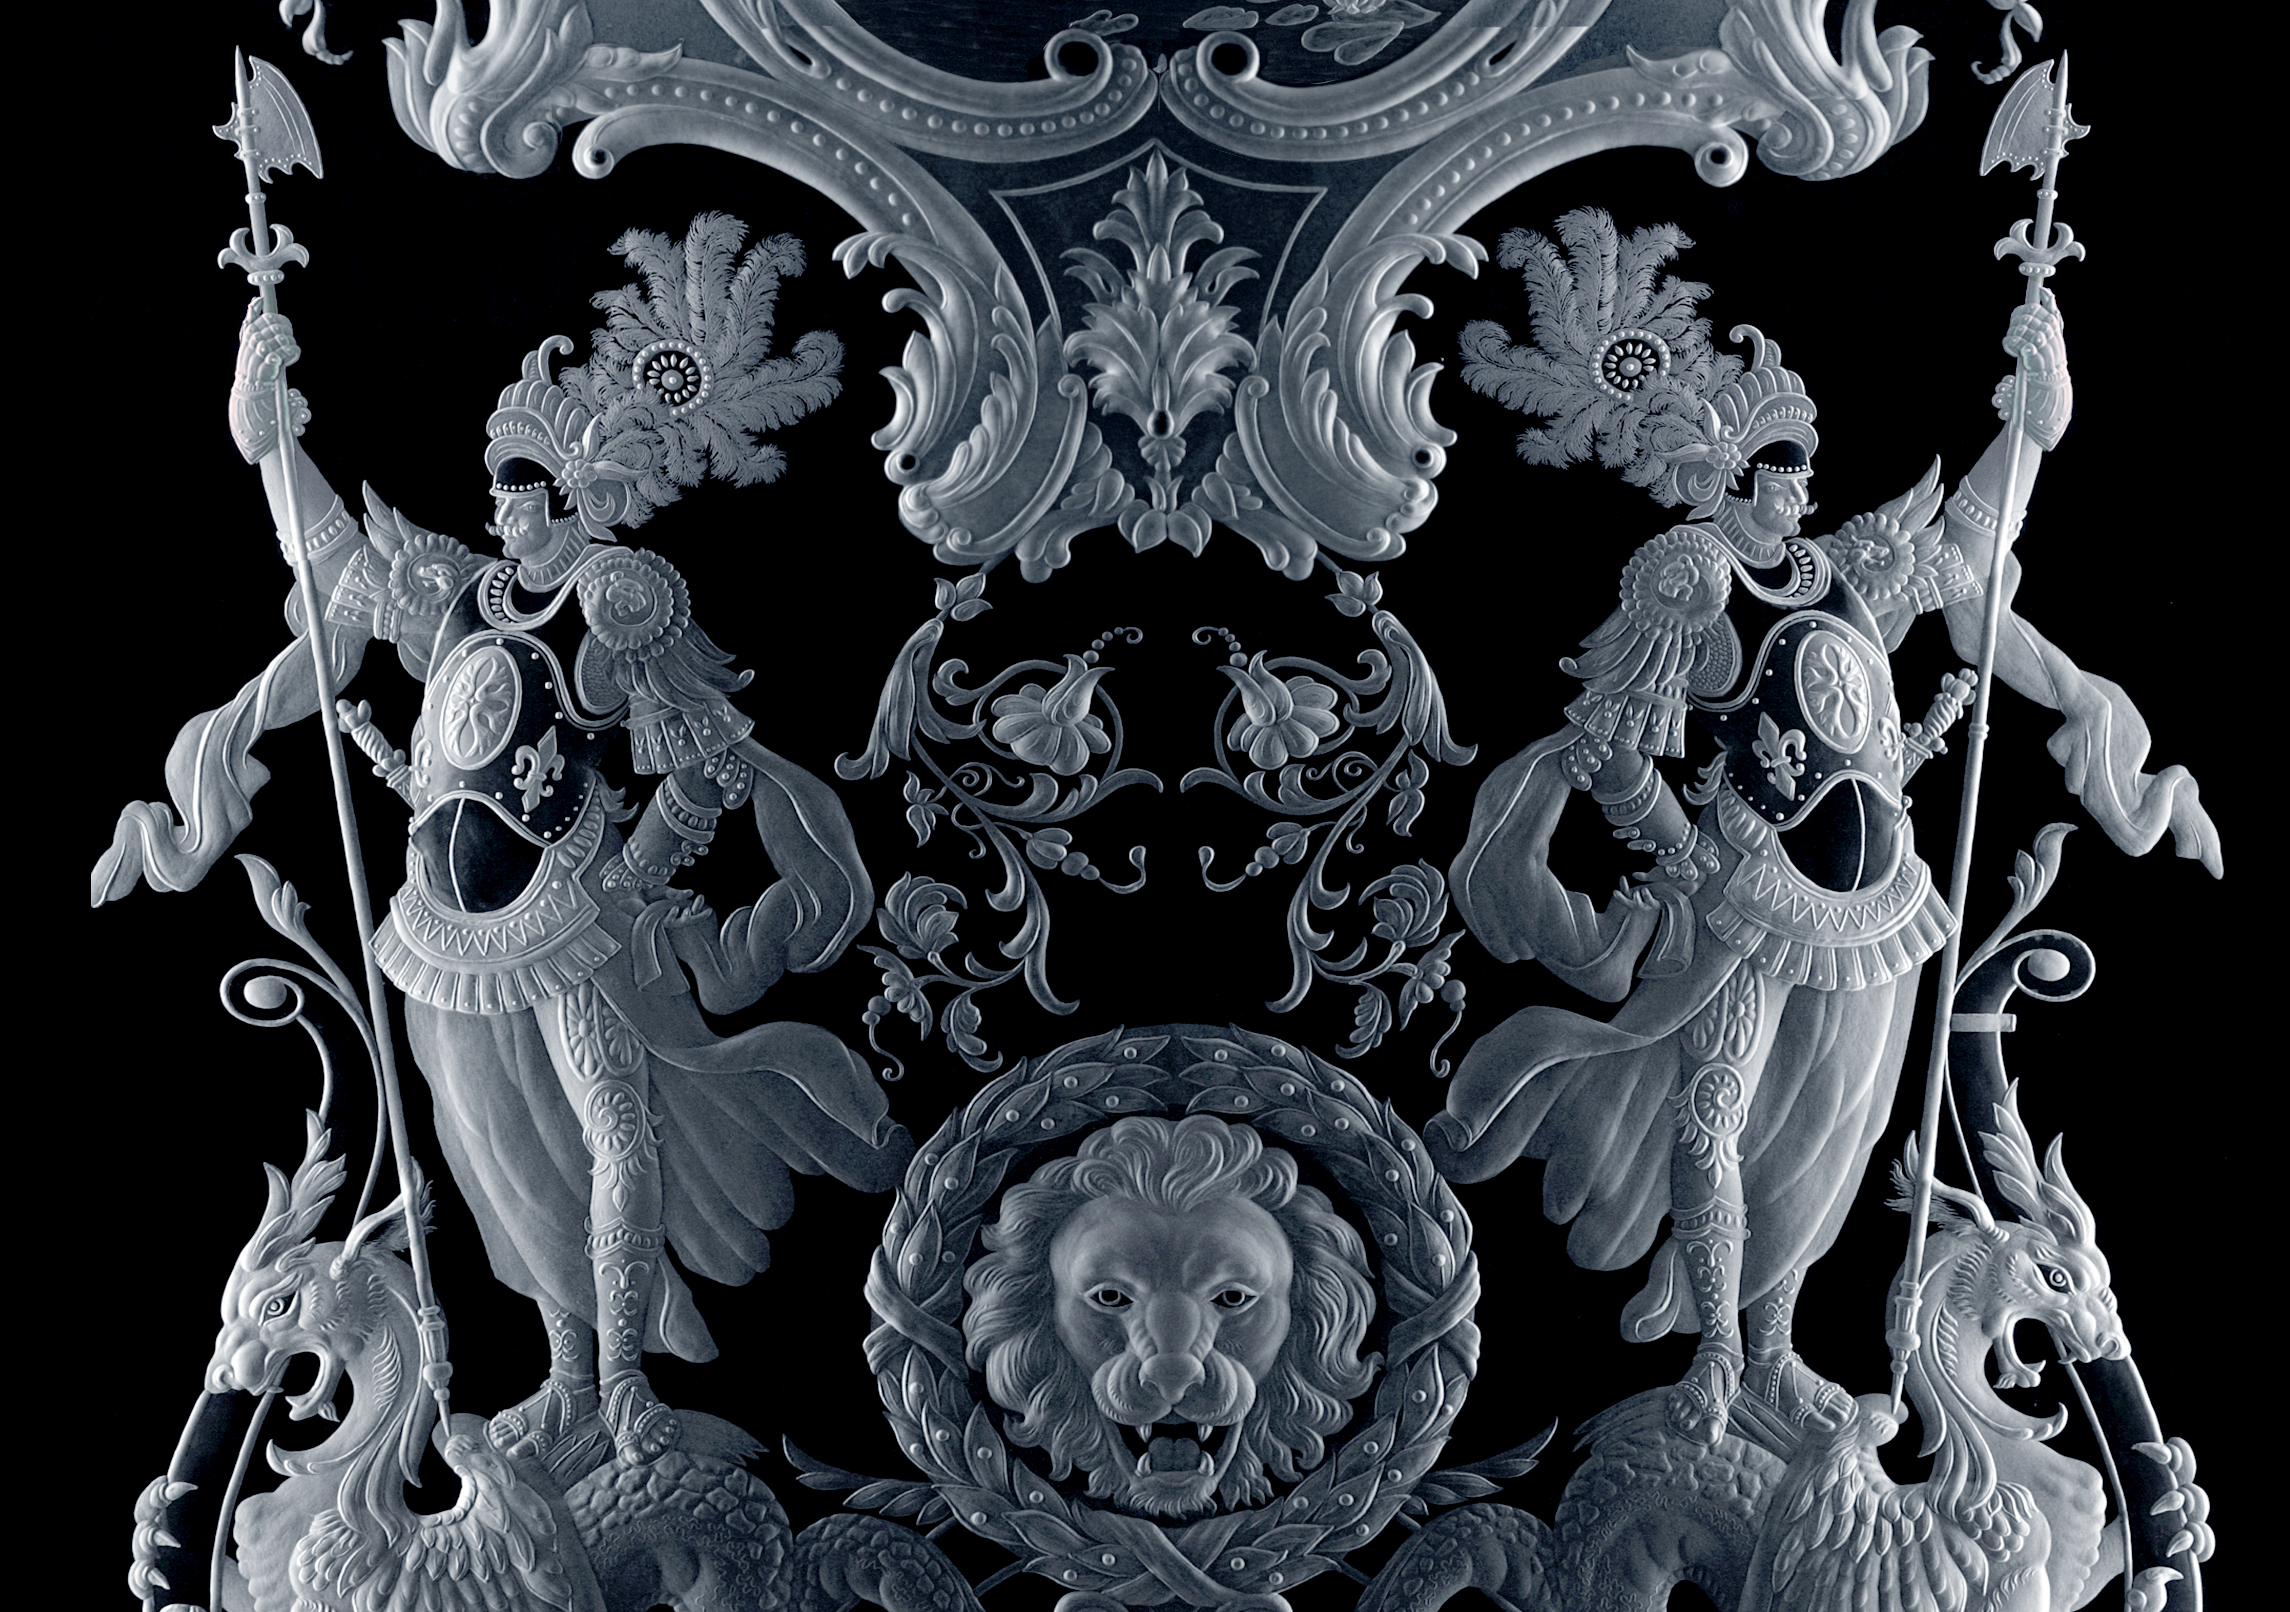
Thus, using a full set of rigs, the artist can not only cut the necessary relief in the glass, but also, if desired, apply a wide palette of surface textures.
Useful little things
A lot of such important little things have already accumulated. So when working on the Landscape seam with dimensions 1600 x 1400 mm, due to the complexity of the work in the upper part of such a large glass, we had to look for new solutions. As a result, the glass was moved forward from the pan and lowered down onto an additional shelf with a narrow pan for collecting water. The pallet is made of a 200 x 60 mm flat ventilation duct. The upper area of the glass has become quite accessible (Fig. 47,48).
From this mass of little things, a feeling of comfort in work is created.
I would like to emphasize once again the importance of careful organization of the engraving process down to the smallest nuances. This process itself must be well mastered by the author, and only in this case he will not have problems with the implementation of his ideas.
II.Process of work
Markup
The trace from the diamond bur should be as thin as possible and not deep, not disturbing the silhouette of the drawing. In cases where the accuracy of the silhouette is especially important, for example, when performing portrait engraving, it is better to draw the marking line with a slight lead, 0.5 mm, inside the silhouette. Thus, it is easier to get a clean edge of the selected relief without leaving any markings (Fig. 54, 55, 56).
Construction of volumes
It is necessary to start with distant shots with a minimum sample, while using circles of the largest possible diameter. The volume rolls out far below the next one planned in order. With a finely sharpened hard pencil, the next stage is marked, a set is made, etc. each time with smaller and smaller circles (Fig. 57-69).
We have prepared several collections of photographs under the general title “Metamorphoses”, illustrating the gradual selection of volumes during engraving. These collections can serve as a tutorial for aspiring artists.
They can be viewed on our website (glass-engraver.ru) and our Facebook page.
Creating textures when engraving glass
Expansion of the texture palette when engraving glass
Glass engraving method “punching out” (pointillism)
The wider the palette available to the artist, the more picturesque and sophisticated the matte glass engraving becomes.
The technique of engraving on glass with a diamond tip or today a finely sharpened point of a hard-alloy scarpel has been known since ancient times – English (Dutch) pointillism on glass.
We called our approach the “punching out”. Scarpels and a light hammer hit the surface of the glass with tiny dots and rough, glittering chips, which enhance the contrast when conceived by the artist (Fig. 78, 79, 80, 81).
Using a diamond saw blade to engrave glass
Making test specimens of glass engraving
Despite many years of experience, we begin each serious project with a detailed thought of the work plan and, as a rule, the manufacture of a series of probes.
So for a fragment of large glass in the bedroom with Cupid, it was necessary to find the texture of the curtain in the background, a fundamental solution to the figure and smoke from the katsea (Fig. 90, 91, 92).
While working on the “Landscape” panel (Fig. 93), we had to solve a lot of new problems for ourselves and, accordingly, make a whole series of probes. Here is some of them.
Samples for engraving winter fir trees (Fig. 94, 95, 96).
With this focus on probes for almost every job, we are solving multiple problems at once. On the one hand, this is making the right decision in the technique of performing a fragment of the main work, on the other hand, it is the creation in the workshop of a large collection of diverse probes, even such seemingly small ones. They can be the basis for future work (Fig. 100, 101, 102, 103).
We hope the technique that we have outlined here can help a young artist in mastering the skills of engraving, express his ideas most fully and vividly, and express himself.